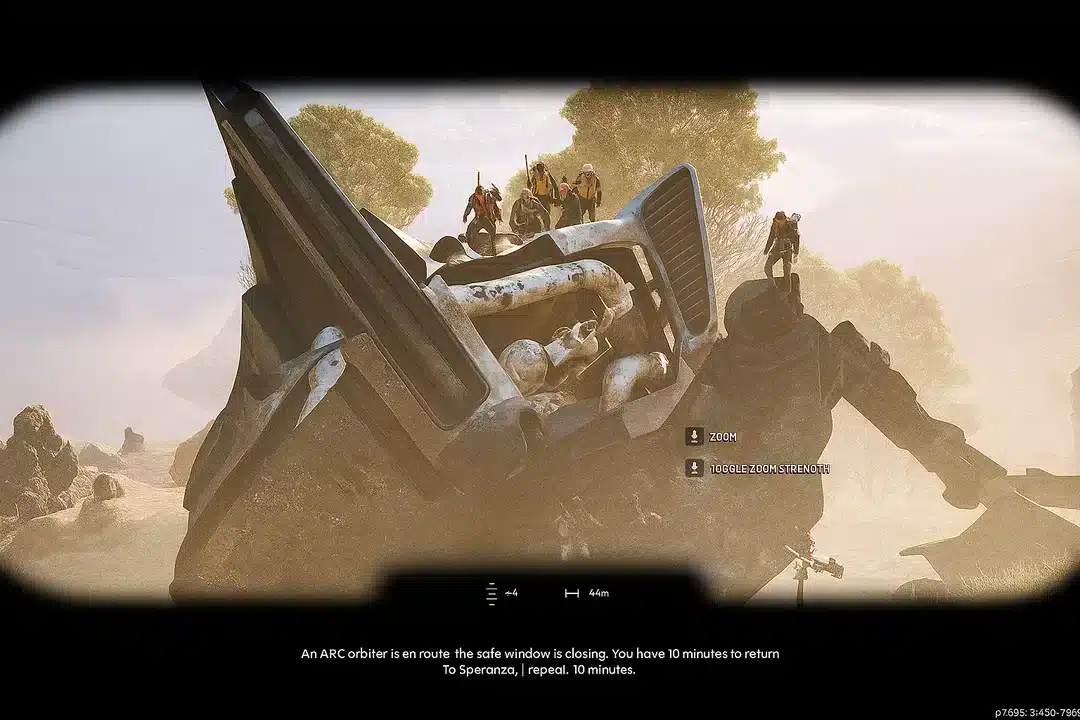
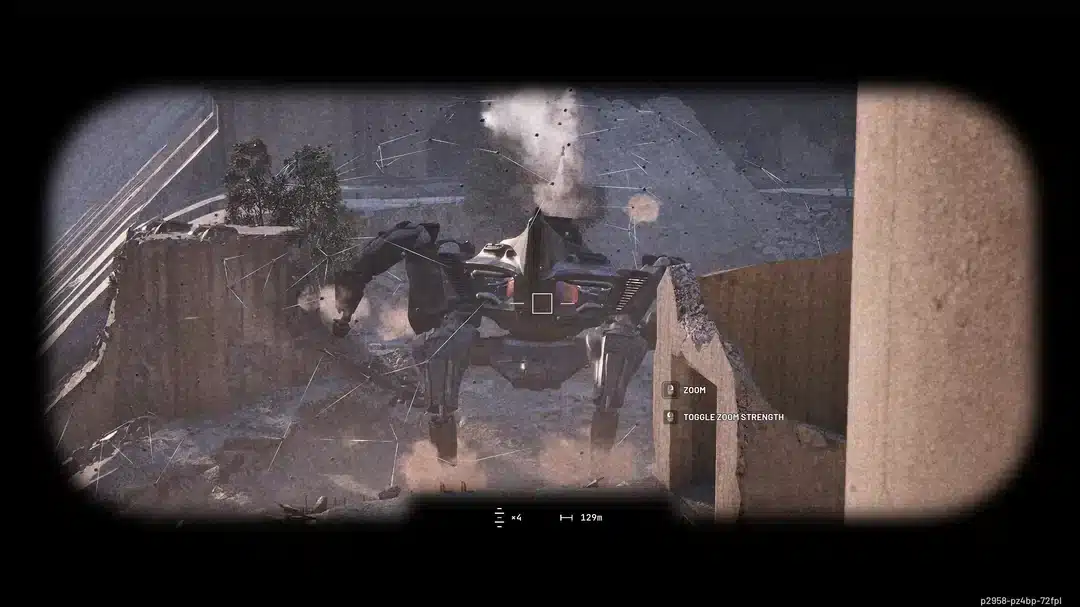
The arc raiders matriarch is one of the most terrifying mechanical threats players can encounter in Embark Studios’ extraction-based PvPvE shooter. Towering over the battlefield and equipped with devastating area attacks, this boss encounter tests positioning, coordination, and raw survival instincts.
Facing the arc raiders matriarch without preparation is a fast way to lose your loot and your squad. Unlike smaller ARC machines, this enemy controls space, punishes overextension, and forces players to adapt mid-fight as its armor breaks and phases escalate.
So what is the arc raiders matriarch exactly? In simple terms, it is a high-tier ARC machine designed to dominate zones, pressure squads, and disrupt extraction routes. It acts as a roaming boss-level threat within ARC Raiders’ hostile open world, combining heavy firepower with reinforcement mechanics that punish uncoordinated teams.
Because ARC Raiders blends PvE and PvP elements, fighting this boss is never just about damage output. Other players can third-party your engagement at any time. That means defeating the Matriarch requires not only mechanical skill but also awareness, communication, and resource discipline.
Arc Raiders Matriarch: What Makes This ARC Boss So Dangerous?
What Is the Matriarch in ARC Raiders?
ARC Raiders places humanity in a war against massive mechanized invaders known as ARC. Within that hierarchy, the Matriarch stands out as a battlefield commander-class machine. It is built for suppression, territory control, and punishing grouped targets.
Unlike standard patrol units, the Matriarch dominates vertical and horizontal space simultaneously. Its heavy artillery patterns create zones of denial, forcing players to constantly reposition.
In the larger PvPvE ecosystem, this boss often appears near high-value loot areas. That makes every encounter high risk, high reward. Engaging it signals your location to other squads, increasing the pressure dramatically.
Attack Patterns and Combat Phases
The matriarch arc raiders encounter typically unfolds in escalating phases. At first, it relies on long-range bombardment and suppression fire. As players damage its armor, its behavior becomes more aggressive.
Here are the main combat threats to expect:
- Close-range shockwave punishers
- Heavy AoE explosive bombardment
- Drone or ARC reinforcement summons
- Suppression beams that restrict mobility
During early engagement, the Matriarch uses wide-area explosive arcs to scatter squads. Mid-fight, it deploys reinforcements to overwhelm distracted players. In late-phase combat, its aggression increases while safe zones shrink dramatically.
This layered pressure is what makes the encounter so punishing. If your squad panics or tunnels vision on damage, you will quickly lose control of the fight.
Arc Raiders Matriarch Weak Spot: Where to Aim for Maximum Damage
Understanding the arc raiders matriarch weak spot is the difference between a 10-minute resource drain and an efficient takedown. Like most high-tier ARC machines, the Matriarch is protected by layered armor plating.
Identifying the Arc Raiders Matriarch Weak Spot
At the start of the fight, most of its core systems are shielded by reinforced plating. Players must first break external armor sections to expose vulnerable internal components.
Common weak areas include:
- Glowing mechanical core sections after armor break
- Rear structural joints
- Damaged leg articulation points
- Overheated weapon modules after sustained fire
The key is patience. Instead of spraying randomly, focus fire to break armor panels systematically. Once exposed, weak points take significantly increased damage.
Precision becomes essential here. High recoil weapons without control waste valuable ammo during exposure windows. Coordinated bursts are far more effective than chaotic fire.
Best Weapons to Exploit the Weak Spot
To efficiently exploit exposed vulnerabilities, squads should prioritize armor-penetration and burst-damage builds.
- Break outer armor using sustained fire.
- Wait for exposure animation or visual cue.
- Focus all DPS on the exposed core.
- Rotate aggro when targeted to preserve team health.
Explosive weapons are excellent for breaking plating. However, once the core is visible, precision rifles and high-DPS automatic weapons outperform splash damage builds.
The most effective squads assign roles clearly: one player draws attention, two focus DPS, and one controls reinforcement adds.
How to Kill the Matriarch ARC Raiders: Solo and Squad Strategy
When players search for how to kill the matriarch arc raiders, they often underestimate the PvPvE factor. This boss is dangerous on its own. Add rival players into the mix, and it becomes chaos.
Solo Strategy: Is It Even Possible?
Technically, yes. Realistically, it is extremely risky.
Solo players must rely on mobility, cover discipline, and resource conservation. Instead of full engagement, hit-and-run tactics are far safer. Break armor in stages and reposition constantly.
Important solo principles:
- Never fight in open terrain.
- Maintain a clear extraction route.
- Avoid full commitment if other squads appear nearby.
Because the Matriarch can summon reinforcements, solo players must eliminate adds quickly before returning focus to the boss.
Squad Strategy: Optimal Team Composition
Squad play is where this fight becomes manageable.
An ideal team structure includes:
- Aggro Controller (draws fire and repositions boss)
- Primary DPS (focuses exposed weak points)
- Add Clear Specialist (handles drones and ARC units)
- Support (healing, cooldown management, revives)
Communication timing is critical. Call out armor breaks. Announce phase transitions. Rotate targets deliberately.
When the boss shifts to high aggression, split positioning prevents full squad wipes from AoE bombardment. Tight stacking is a mistake.
Additionally, always assign one player to watch for third-party PvP threats. Many squads lose the fight not to the boss, but to opportunistic players waiting nearby.
Best Builds to Defeat the Arc Raiders Matriarch
Preparation determines success long before the fight begins.
Recommended Gear and Modifiers
Players tackling the matriarch arc raiders encounter should prioritize:
- Armor resistance to explosive damage
- Cooldown reduction for mobility skills
- Sustained ammo economy builds
- Movement speed bonuses for repositioning
High burst builds are effective, but survivability must never be ignored. A dead DPS player contributes nothing.
Resource Management During the Fight
Boss fights in ARC Raiders are long engagements. Poor resource management guarantees failure.
Follow these principles:
- Conserve heavy ammo for exposed weak points.
- Use healing only after major damage spikes.
- Avoid unnecessary reloads during exposure windows.
- Prepare extraction immediately after kill confirmation.
The longer you remain in the area post-fight, the higher the chance another squad ambushes you.
In PvPvE scenarios like this, performance stability matters as much as strategy. Lag spikes during exposure windows can mean missed weak-point bursts. Packet loss during AoE dodge timing can cause instant elimination.

How to Kill Matriarch Arc Raiders in High-Risk PvPvE Zones
Knowing how to kill matriarch arc raiders efficiently requires more than understanding damage windows. Because ARC Raiders operates within a PvPvE extraction structure, every boss fight is also a signal flare to nearby squads. The moment heavy artillery starts firing, other players know exactly where you are.
Choosing the Right Location to Engage
Not every battlefield is worth committing to. The best engagements happen in semi-covered terrain with multiple escape routes. Fighting in open fields exposes your squad to both the boss and rival Raiders.
Prioritize areas that offer:
- Natural cover such as broken structures or debris
- Elevated angles for precision damage
- Clear sightlines to detect incoming players
- Nearby extraction routes
Avoid narrow choke points. If the Matriarch traps your squad in a tight corridor, its AoE bombardment becomes nearly unavoidable. Wide positioning allows for aggro rotation and safe revive windows.
High ground provides two advantages: improved weak-point visibility and reduced splash damage exposure. However, do not cluster together. Spread positioning limits the impact of explosive bursts.
Timing the Engagement to Avoid Third Parties
Patience wins more fights than aggression.
Before initiating combat, scout the perimeter. Listen for distant gunfire. Watch for movement in high-traffic loot zones. If another squad is nearby, consider letting them initiate first.
Strategic timing tips:
- Engage after hearing another team extract nearby
- Wait until storm or map pressure forces rivals elsewhere
- Bait impatient squads into attacking the boss first
- Disengage if multiple teams collapse on your position
In extraction shooters, survival is more valuable than ego. Sometimes the best decision is walking away.
The Matriarch Arc Raiders: Advanced Combat Mechanics Explained
The matriarch arc raiders encounter becomes more manageable when you understand its internal mechanics rather than simply reacting to chaos.
Armor Break System and Damage Scaling
The Matriarch uses layered armor plating to mitigate incoming damage. At full armor integrity, most shots deal reduced effectiveness. Only after specific plates are destroyed do true damage windows open.
Damage scaling operates in phases:
- Full armor phase – low multiplier damage
- Partial break phase – moderate multiplier
- Core exposure phase – maximum burst potential
During core exposure, coordinated fire is essential. This window is short. Squads that hesitate miss the highest damage opportunity.
Another critical factor is heat buildup. Sustained fire on weapon modules can cause temporary system overloads. These brief stuns provide additional exposure windows. Exploiting these moments requires disciplined aim and communication.
Reinforcement Waves and Battlefield Control
The Matriarch rarely fights alone for long. At certain health thresholds, it summons ARC reinforcements.
These units serve different roles:
- Suppression drones that pressure ranged players
- Fast-moving units that harass supports
- Mid-tier armored units that absorb attention
Ignoring reinforcements leads to squad collapse. Assign one player to add control at all times. Crowd management prevents chip damage from snowballing into full wipes.
Battlefield control is about tempo. If reinforcements overwhelm your backline, the boss regains control of the fight. Clear adds quickly, then refocus on armor break cycles.
Best Weapons and Loadouts to Counter the Matriarch
Choosing the correct build dramatically shortens the encounter and reduces risk exposure.
High-DPS vs Sustained Damage Builds
High-DPS explosive builds excel during the armor break phase. Rockets and heavy-caliber weapons shred plating quickly.
However, once the core is exposed, precision builds dominate. Automatic rifles with stable recoil or semi-automatic marksman weapons maximize burst potential during short vulnerability windows.
Balance is key. A squad composed entirely of heavy explosives risks ammo depletion before phase transitions complete.
Mobility Builds for Survival
Survivability often outweighs raw damage.
Mobility-focused builds allow players to:
- Dodge AoE bombardment
- Reposition during aggro shifts
- Escape collapsing third-party pressure
- Secure safe revive windows
Cooldown reduction and movement speed modifiers significantly increase survival probability during late-phase aggression spikes.
Below is a comparison of recommended build types against different combat phases:
| Build Type | Best Phase | Strengths | Weaknesses |
| Explosive DPS | Armor Break | Fast plating destruction | Ammo heavy |
| Precision Rifle DPS | Core Exposure | High weak-point multiplier | Requires aim consistency |
| Support/Control | Reinforcement | Squad sustain & add clear | Lower direct damage |
| Mobility Specialist | Phase Escalation | Survivability & repositioning | Minimal burst damage |
An optimal squad typically includes at least three of these archetypes working in sync.
Loot, Rewards, and Risk vs Reward Analysis
Defeating the Matriarch is not just about pride. The rewards justify the danger-if you survive extraction.
What You Gain from Defeating the Matriarch
Successful kills can yield:
- High-tier crafting materials
- Rare mechanical components
- Advanced weapon modification parts
- Valuable trade resources
These materials accelerate progression and strengthen future raid loadouts. For squads aiming to dominate late-game content, targeting high-tier ARC threats becomes necessary.
When It’s Not Worth the Fight
Sometimes discretion is smarter than ambition.
Avoid committing if:
- Your squad lacks sufficient ammo reserves
- Healing resources are already low
- Extraction zones are far away
- Multiple PvP squads are active nearby
Remember, in PvPvE systems, risk multiplies exponentially the longer you remain in one location. Secure the kill, loot quickly, and extract immediately.
The longer you celebrate, the higher the chance someone else capitalizes on your exhaustion.
Connection Stability: The Hidden Factor in Boss Fights
High-intensity boss encounters expose network weaknesses instantly. Lag during a core exposure window wastes your highest damage opportunity. Packet loss during AoE dodge timing can mean instant elimination.
Because ARC Raiders demands precise hit registration and rapid repositioning, connection stability directly impacts success.
ExitLag enhances competitive performance by optimizing your connection routes in real time. Using Multipath Connection technology, it sends data through multiple simultaneous routes to maintain stability and reduce packet loss. Its Traffic Shaper prioritizes game packets, ensuring smoother performance even during peak network congestion.
With worldwide server coverage and support for thousands of games, ExitLag gives Raiders a consistent advantage during high-stakes encounters. In extraction shooters, where losing a fight means losing your loot, stable performance is not optional-it is essential.
When strategy, squad coordination, and connection stability align, even the arc raiders matriarch becomes a calculated challenge rather than an unpredictable threat.
All game images used in this blog belong to Embark Studios. They are used for informational/educational purposes only and do not imply endorsement or affiliation with the rights holders.