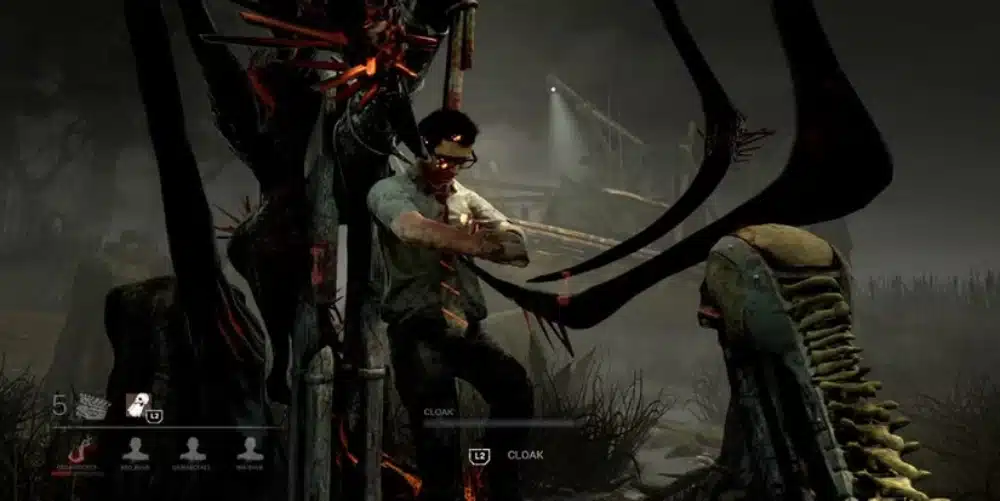
Dead By Daylight Survivor: Aurora Stardotter is the newest face joining the roster of Dead By Daylight Survivors, and she brings a completely fresh identity to the Fog. As a divine investigator and astrologist, her story ties directly into the Chorus Of Sin chapter and the new Killer known as The Judgment.
Players jumping into her kit quickly notice how different she feels compared to older survivors. Indeed, Dead By Daylight Survivor: Aurora Stardotter is built around a mix of generator efficiency, chase information, and team support through a Boon Totem.
So what exactly makes her stand out? In short, Aurora Stardotter rewards players who finish generators quickly, share information during chases, and coordinate healing with teammates through her Boon perk. That combination makes her one of the more flexible additions to the current perk pool.
This guide breaks down every perk, the strongest builds, and the mistakes most new players make with her kit. Whether you are grinding solo queue or running coordinated squads, understanding Dead By Daylight Survivor: Aurora Stardotter properly will make a real difference in how many generators your team finishes.

Who Is Dead By Daylight Survivor: Aurora Stardotter?
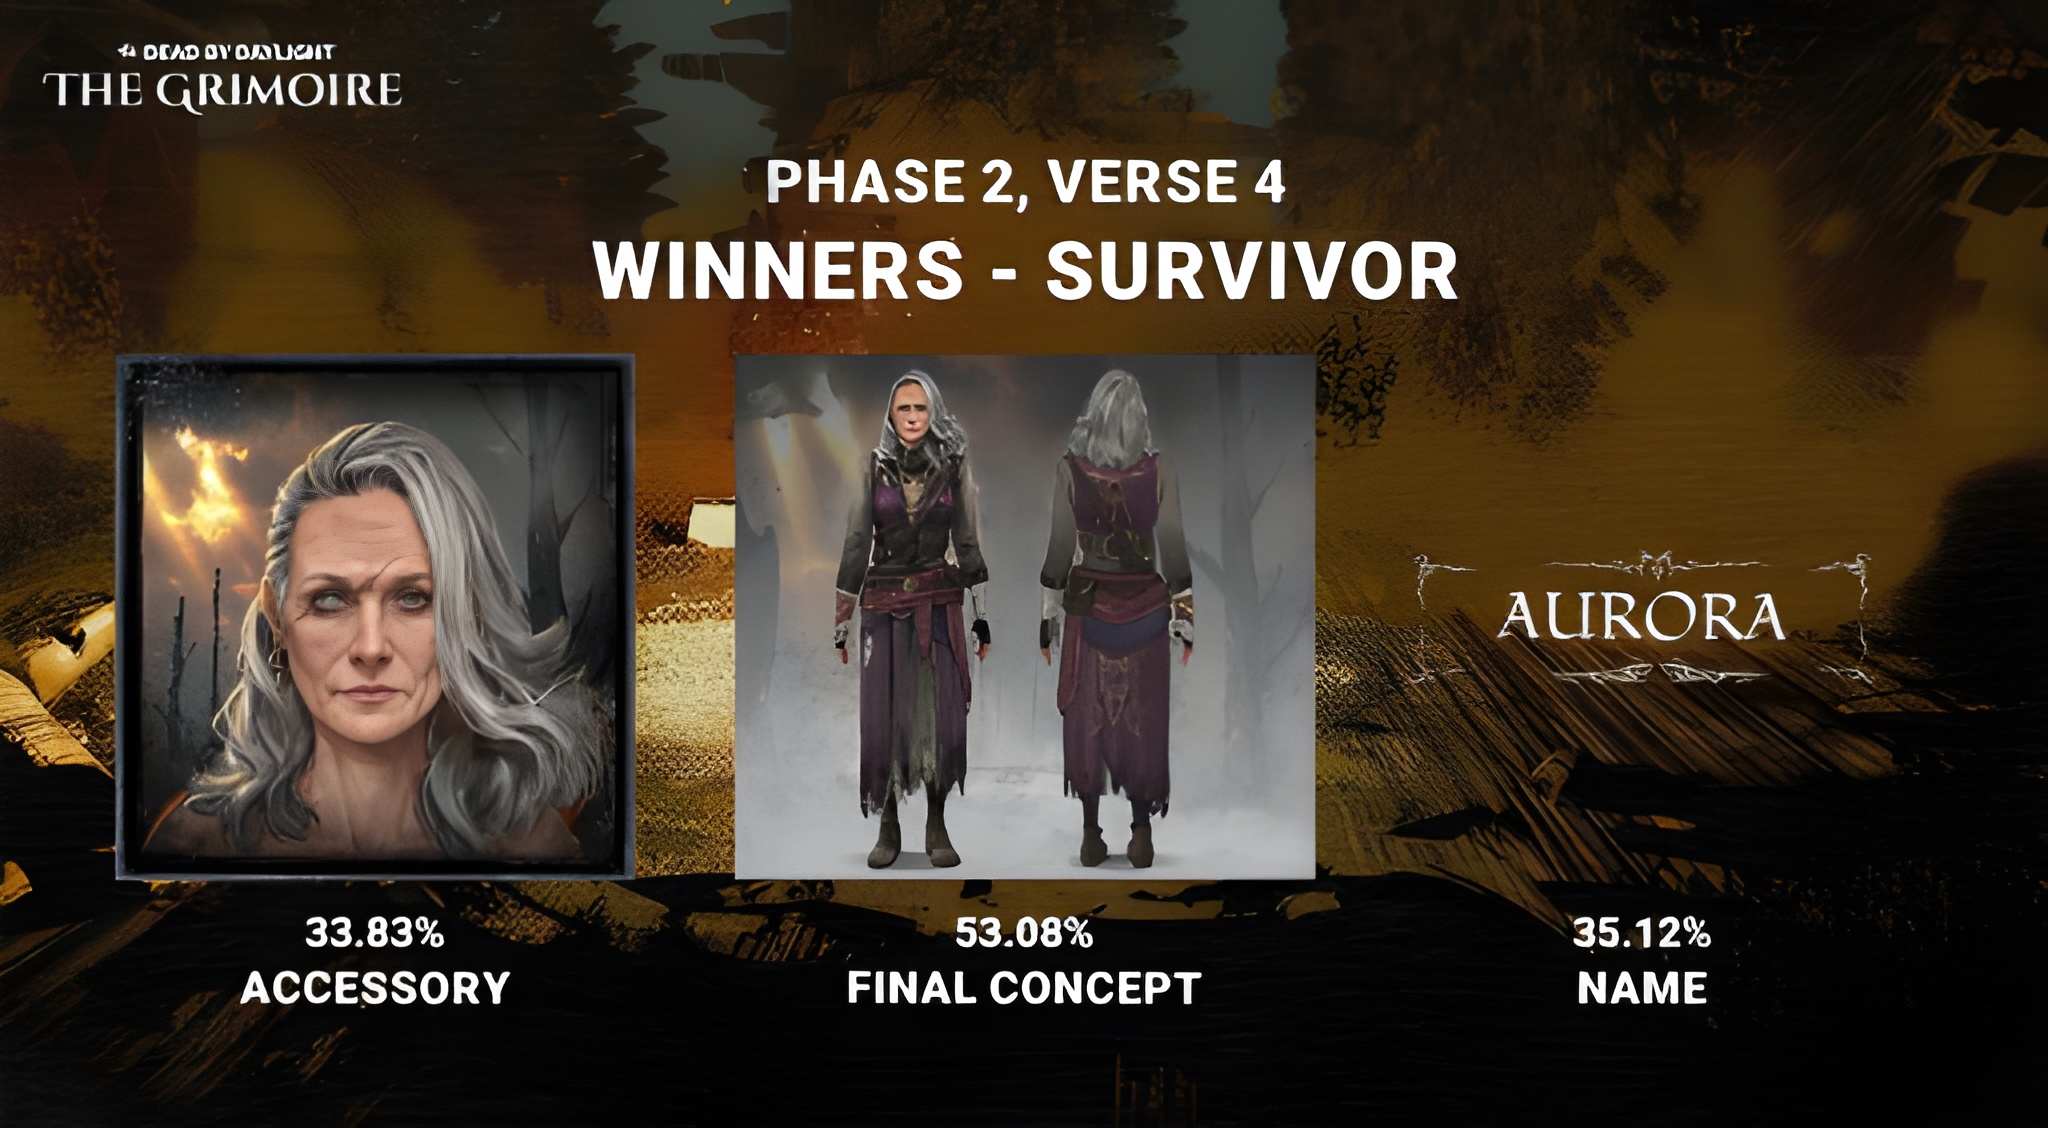
Aurora Stardotter is described as a divine investigator and astrologist from a world destroyed by The Judgment. She is notably the first older female Survivor added to the game, which already sets her apart visually from the rest of the cast.
Her backstory is tied to the Chorus Of Sin chapter, a community-voted release where fans helped shape the killer's power and the survivor's design. As a result, her lore feels more collaborative and unique compared to previous chapters.
Her Role In The Chorus Of Sin Chapter
The Chorus Of Sin chapter pairs Aurora with The Judgment, a divine Killer whose power revolves around a column of light that inflicts delayed damage and the Heresy status effect. Their stories are directly linked, since The Judgment is responsible for the destruction of Aurora's world.
Consequently, the chapter frames her as someone actively investigating and resisting the forces that destroyed everything she knew. This narrative backdrop gives extra context to her perks, which lean heavily into cooperation and information sharing.
Why She Matters For Dead By Daylight Survivor Builds
Aurora introduces three teachable perks that did not exist before, expanding the pool of tools available for Dead By Daylight Survivor Builds. Her perks focus on three different pillars of survivor gameplay:
- Generator completion rewards through Haste and healing progress
- Chase-based aura sharing for team awareness
- Boon Totem support that speeds up repairs for the whole squad
Because of this spread, she is not a one-trick survivor. Instead, she offers tools that fit multiple playstyles depending on how you build around her.
Dead By Daylight Best Survivor Perks From Aurora
Understanding each perk in detail is the first step toward building a strong loadout. Below is a breakdown of her three teachables, all released as part of patch 10.1.0 during the public test build phase.
What Does Fruits Of Your Labor Do?
Fruits Of Your Labor rewards you every time a generator is completed anywhere on the map. You earn a token for each finished generator, regardless of who repaired it.
Then, whenever you personally finish repairing a generator, you consume your stored tokens. For each token, you gain a short burst of Haste and a percentage of healing progress, scaling up to 20 percent per token at the highest tier.
This perk essentially punishes killers who let generators fly early, since surviving team also gets faster and healthier as the match progresses. It synergizes well with efficient, coordinated teams.
How Does Salvation's Cry Work?
Salvation's Cry activates the moment the Killer starts chasing you. When that happens, you briefly see the auras of your other teammates, giving you a sense of where everyone is positioned.
At the same time, survivors who are not currently being chased see your aura and the Killer's aura for several seconds. This creates a two-way information exchange that helps the whole team make smarter decisions.
Because this perk depends on being chased, it favors players who are confident in their chase skills. If you can loop a killer for a while, Salvation's Cry turns every chase into a team-wide intel package.
What Is Boon: Steadfast?
Boon: Steadfast lets you set up a Boon Totem that creates a supportive radius around itself. Inside that zone, generators regress much slower if the Killer kicks them, while survivors repair generators noticeably faster.
This perk turns any dull totem into a strategic anchor point for the match. Teams that protect and reuse the Boon effectively can stabilize generator progress even under pressure.
Building Around Dead By Daylight Survivor: Aurora Stardotter
Now that the perks are clear, the next step is figuring out how to combine them with the wider perk pool. This is where Dead By Daylight Survivor Builds really come alive.
Best Generator-Focused Build
If your priority is finishing the match as fast as possible, lean into repair speed and efficiency. This build works especially well in coordinated squads.
- Fruits Of Your Labor (Aurora Stardotter)
- Boon: Steadfast (Aurora Stardotter)
- Prove Thyself
- Stake Out or a repair-speed perk of choice
This combination stacks multiple sources of repair speed while also giving you Haste and healing whenever a generator finishes. As a result, your team spends less time exposed near completed generators.
Best Chase-Information Build
For players who enjoy looping and want to help teammates through chases, this setup maximizes information sharing. It pairs naturally with Aurora's Salvation's Cry.
- Salvation's Cry (Aurora Stardotter)
- Kindred or Windows Of Opportunity
- An exhaustion perk such as Sprint Burst or Lithe
- Decisive Strike or Off The Record for anti-tunnel protection
This build accepts that you might be chased often, then turns that pressure into useful information for the rest of the team. It is one of the more team-oriented options among current Dead By Daylight Best Survivor Perks.
Aurora Stardotter Perk Comparison Table
The table below summarizes each perk so you can quickly compare their core function and ideal playstyle.
| Perk Name | Core Effect | Best For | Playstyle Fit |
|---|---|---|---|
| Fruits Of Your Labor | Haste and healing progress on gen completion | Gen-rush teams | Efficient, fast-paced |
| Salvation's Cry | Aura sharing during chases | Chase-confident players | Aggressive looping |
| Boon: Steadfast | Faster repairs and slower regression in radius | Totem control teams | Support and stability |
| Prove Thyself (pairing) | Bonus repair speed near teammates | Any Aurora build | Coordinated squads |
Is Dead By Daylight Survivor: Aurora Stardotter Good Right Now?
This question comes up constantly among newer players testing her kit. The honest answer is that none of her three perks are considered meta-defining on their own, but they gain real value when paired with strong synergy perks.
Her strength lies in flexibility rather than raw power. Because her perks touch three separate systems, generators, chases, and boon support, she fits naturally into almost any survivor loadout.
Does She Work Well In Solo Queue?
Salvation's Cry is particularly useful in solo queue, since it gives you passive information about the Killer's location without needing communication. This alone makes her worth testing if you frequently play without a voice chat group.
However, Boon: Steadfast requires setup time and map awareness to place effectively. In solo queue, that setup can be riskier since you cannot coordinate protection with your team ahead of time.
Pro Tips: Dead By Daylight Survivor: Aurora Stardotter
- Save Fruits Of Your Labor tokens for late game: Since tokens carry over the whole match, waiting until you have multiple stacked gives a bigger burst of Haste and healing at once.
- Place Boon: Steadfast near contested generators: Setting the totem close to generators the Killer keeps returning to maximizes the regression reduction where it matters most.
- Pair Salvation's Cry with looping perks: Because the perk only triggers while you are chased, running exhaustion perks that extend chases increases how often your team gets useful aura reads.
- Communicate Boon locations even in solo queue: Pinging the totem location, if your game allows it, helps teammates use the healing and repair radius more effectively.
- Avoid stacking too many Haste sources: Fruits Of Your Labor already grants Haste, so combining it with similar effects can lead to diminishing returns rather than meaningful speed gains.
Common Mistakes Dead By Daylight Survivor Players Make
- Placing the Boon Totem too far from action: Many players hide the totem in a corner for safety, but this wastes its repair bonus. Fix: place it near generators your team is actively working on, even if it is slightly riskier.
- Ignoring Salvation's Cry information: Some players see the shared aura but do not adjust their positioning. Fix: use that information to rotate toward safer generators or avoid running into the Killer's path.
- Running Fruits Of Your Labor without generator-speed support: Without extra repair speed perks, tokens build up too slowly to matter. Fix: pair it with Prove Thyself or similar perks so generators finish fast enough to generate consistent value.
- Forgetting the Boon can be snuffed out: Killers can extinguish Boon Totems, removing the buff entirely. Fix: check on the totem periodically or be ready to relight it elsewhere if it gets destroyed.

Improve Your Connection While Playing Dead By Daylight Survivor: Aurora Stardotter
Chases and generator races in Dead By Daylight depend heavily on precise timing, and that gets much harder when your connection is inconsistent. Even small spikes in latency can cause missed skill checks or delayed hits during a chase.
This is where ExitLag becomes a useful tool for players testing new builds around Dead By Daylight Survivor: Aurora Stardotter. It is not a VPN. Instead, ExitLag analyzes multiple network routes in real time and automatically picks the fastest, most stable path to the game's servers.
With support for thousands of titles and servers spread across dozens of countries, ExitLag helps reduce delay and packet loss during intense chase sequences. Its Multipath Technology keeps your connection alive by routing through alternative paths if one starts to fail.
If you want smoother chases and more consistent generator timing while running Aurora's kit, you can grab the tool through ExitLag Download and test it directly in your next match.
Final Thoughts On Dead By Daylight Survivor: Aurora Stardotter
Overall, Dead By Daylight Survivor: Aurora Stardotter brings a well-rounded set of tools to a roster that already has hundreds of options. Her perks may not dominate every tier list, but they offer genuine flexibility across generator speed, chase information, and team support.
For players exploring the current pool of Dead By Daylight Best Survivor Perks, she is absolutely worth testing, especially in coordinated teams that can protect her Boon Totem and capitalize on shared chase information. As the meta continues to shift, Aurora Stardotter stands as proof that even non-meta-defining kits can carve out a real niche in Dead By Daylight Survivors gameplay.
All game images used in this blog post belong to Behaviour Interactive. They are used for informational and educational purposes only and do not imply endorsement or affiliation with the rights holders.