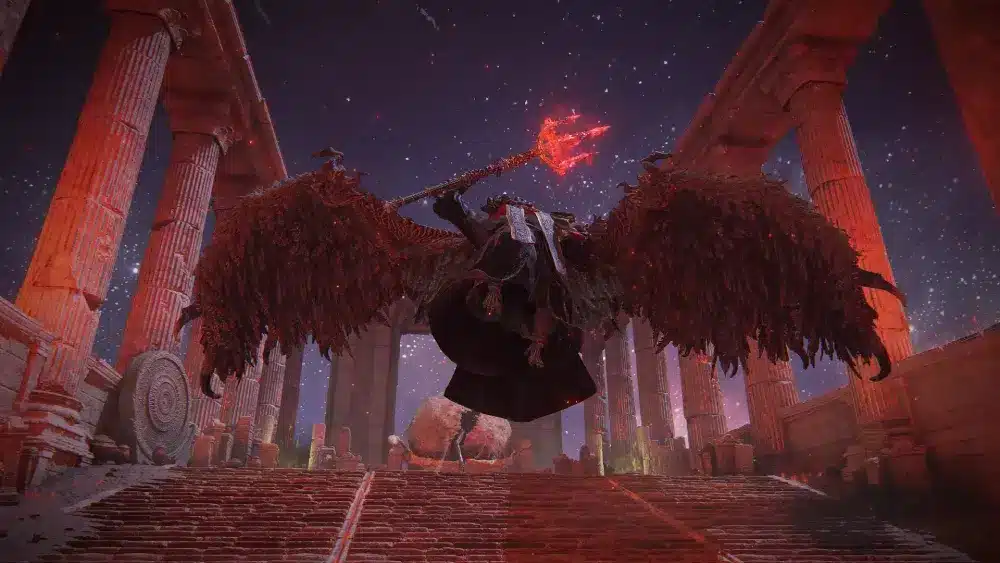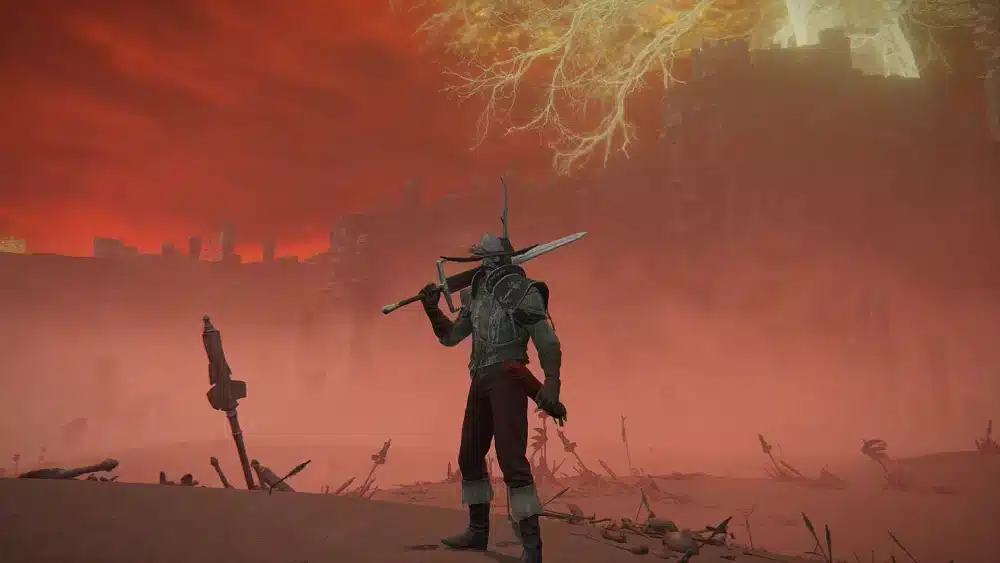
Deathroot Elden Ring is an important Key Item for Tarnished who want to complete Gurranq, Beast Clergyman’s progression and unlock several Beast-related rewards. There are nine Deathroots scattered throughout the base game, hidden behind bosses, optional dungeons, and Tibia Mariner encounters.
Finding every deathroot elden ring location takes you from the early areas of Limgrave all the way to the Mountaintops of the Giants and Hidden Path to the Haligtree. Fortunately, you do not have to find them in one specific order, making it possible to integrate the hunt naturally into your journey through the Lands Between.
So, what is deathroot elden ring used for? Deathroot is given to Gurranq at the Bestial Sanctum in exchange for progressive rewards, including Bestial Incantations, the Clawmark Seal, an Ash of War, a weapon, and an Ancient Dragon Smithing Stone after the ninth Deathroot.
Deathroot is associated with Those Who Live in Death, and several pieces are obtained by defeating Tibia Mariners. Others wait inside chests after dungeon boss encounters, meaning players focused only on Elden Ring’s main story can easily miss several of them.
The complete hunt remains part of the original Lands Between rather than Shadow of the Erdtree. Bandai Namco describes the expansion as taking players into the separate Land of Shadow, where new weapons, equipment, enemies, bosses, and storylines were introduced.
Deathroot Elden Ring: What Is It Used For?
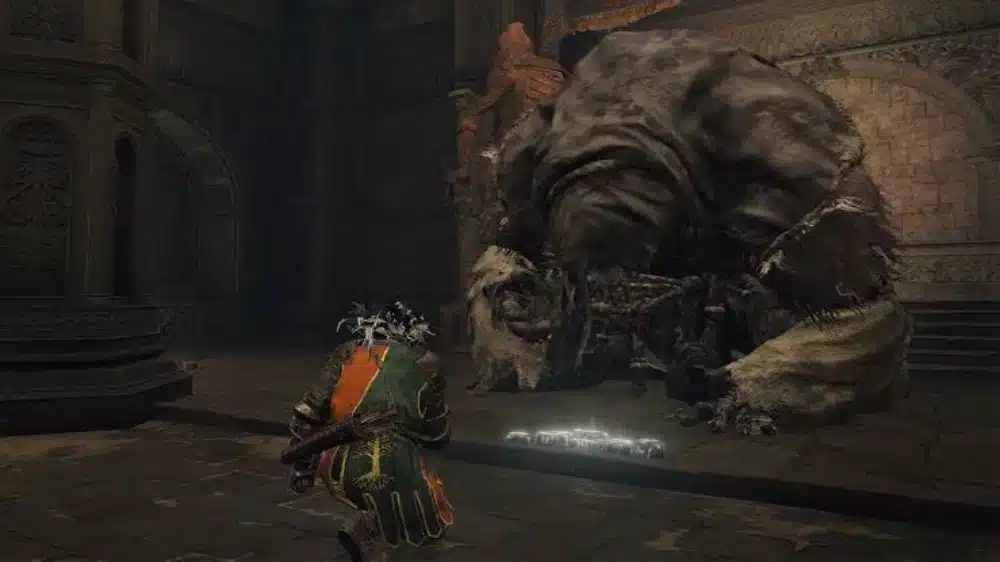
Collecting Deathroot serves primarily to progress your interactions with Gurranq, Beast Clergyman.
Deathroot and Gurranq, Beast Clergyman
Gurranq resides inside the Bestial Sanctum in northeastern Caelid. Although this region can be extremely dangerous during the early game, you can gain access to a convenient teleport route relatively early.
After meeting D, Hunter of the Dead and progressing the Deathroot-related interaction, players can learn about Gurranq and use a Sending Gate to reach the Bestial Sanctum.
Gurranq wants you to bring him elden ring deathroot. Each time you deliver enough to reach the next step in his progression, he provides another reward.
This makes Deathroot especially interesting for characters using Faith and Strength.
The Clawmark Seal supports Beast Incantations and scales with both Strength and Faith, while Gurranq eventually teaches several Beast Incantations as you continue feeding him Deathroot.
How to reach the Bestial Sanctum
An efficient way to begin the quest is through Summonwater Village in northeastern Limgrave.
You will encounter a Tibia Mariner in this ruined settlement. Defeat the boss to receive a Deathroot.
D, Hunter of the Dead can subsequently direct you toward the Beast Clergyman. Following his instructions gives access to a Sending Gate that teleports you near the Bestial Sanctum.
Be careful after arriving.
The surrounding Dragonbarrow area contains enemies considerably stronger than many early-game opponents. You do not need to fight everything outside the Sanctum simply to speak with Gurranq.
Once you have activated the nearby Site of Grace, returning with additional Deathroots becomes much easier.
Elden Ring Deathroot Locations: All 9 at a Glance
There are exactly nine Deathroots to collect across the base game.
Complete Deathroot location table
Use this table as a quick elden ring deathroot locations checklist before following the detailed routes below.
| # | Region | Location | How to Obtain |
| 1 | Limgrave | Summonwater Village | Defeat the Tibia Mariner |
| 2 | Limgrave | Deathtouched Catacombs | Defeat Black Knife Assassin and loot the chest |
| 3 | Liurnia | Eastern Liurnia | Defeat the Tibia Mariner |
| 4 | Liurnia | Black Knife Catacombs | Defeat Cemetery Shade and loot the chest |
| 5 | Altus Plateau | Wyndham Ruins | Defeat the Tibia Mariner |
| 6 | Mt. Gelmir | Gelmir Hero’s Grave | Defeat Red Wolf of the Champion and loot the chest |
| 7 | Mountaintops of the Giants | Near Castle Sol | Defeat the Tibia Mariner |
| 8 | Mountaintops of the Giants | Giants’ Mountaintop Catacombs | Defeat the Ulcerated Tree Spirit and loot the chest |
| 9 | Hidden Path to the Haligtree | Hidden dungeon area | Defeat the Stray Mimic Tear and loot the chest |
These deathroot locations elden ring players need are spread across areas with dramatically different difficulty levels. Therefore, attempting to collect all nine immediately after starting the game is neither practical nor necessary.
Do you need all nine Deathroots?
You need all nine if you want to complete Gurranq’s entire Deathroot reward progression.
However, individual rewards arrive throughout the quest.
This means Faith/Strength players can start benefiting from the quest long before reaching late-game areas. Even obtaining the first few pieces can provide useful Beast-oriented equipment and Incantations.
The Beast Eye you receive from Gurranq is also useful during the hunt.
When you enter an area containing Deathroot, the game can notify you that the Beast Eye quivers. Treat that message as an indication that Deathroot is somewhere nearby.
Deathroot Locations Elden Ring: Limgrave and Liurnia
The first four pieces are obtainable before reaching the later regions of the Lands Between.
Summonwater Village Deathroot
The easiest starting point for all deathroot locations elden ring progression is Summonwater Village.
Travel toward northeastern Limgrave and locate the flooded ruins.
The Tibia Mariner found here fights from a spectral boat and summons skeletal enemies. Focus on the Mariner rather than spending too much time eliminating every skeleton it summons.
Mobility makes this encounter significantly easier.
Torrent allows you to close the distance when the Tibia Mariner teleports elsewhere around the ruins. Once defeated, the boss drops your first Deathroot.
This encounter also fits naturally into D, Hunter of the Dead’s storyline and provides an early introduction to Those Who Live in Death.
Deathtouched Catacombs Deathroot
The second early Deathroot is inside Deathtouched Catacombs in northern Limgrave.
Explore the dungeon until you can open the path to its boss.
The Black Knife Assassin waiting at the end is already injured when encountered here, making this version of the enemy considerably more manageable than some later Black Knife encounters.
Defeat the Assassin and do not immediately leave the dungeon.
The Deathroot itself is inside the chest associated with completing this dungeon.
That detail is important throughout the hunt. Some Deathroots are direct boss drops, while dungeon Deathroots are obtained from chests.
Liurnia Tibia Mariner Deathroot
After entering Liurnia of the Lakes, another Tibia Mariner provides the next elden ring deathroot.
This encounter takes place in eastern Liurnia near the Carian Study Hall area.
As with the Summonwater Village version, the Mariner can teleport and summon undead enemies.
Keep pressure on the boss whenever possible. Torrent provides excellent mobility for covering the distance between its new positions.
Defeating this Tibia Mariner gives you another Deathroot directly.
Black Knife Catacombs Deathroot
Black Knife Catacombs can create some confusion because the dungeon contains more than one notable boss encounter.
For the Deathroot, your target is the route leading to Cemetery Shade.
Defeat Cemetery Shade and check the chest afterward to obtain the Deathroot.
Do not confuse this objective with the dungeon’s hidden Black Knife Assassin encounter.
Players working through elden ring all deathroot locations only need the appropriate boss route and chest for the Deathroot itself, although completing the dungeon more thoroughly can provide other useful rewards.
Elden Ring Deathroot Locations in Altus Plateau and Mt. Gelmir
The next stage of the hunt moves into significantly more dangerous territory.
Wyndham Ruins Tibia Mariner
Once you gain access to Altus Plateau, head toward Wyndham Ruins.
Another Tibia Mariner awaits here.
By this stage of Elden Ring, these enemies should feel familiar. However, later versions can summon more dangerous undead support, so blindly chasing the Mariner can leave you surrounded.
Create space when necessary, then attack when you have a safe opening.
Defeating the Wyndham Ruins Tibia Mariner provides the fifth piece for your deathroot elden ring collection.
This is also an important milestone because Gurranq’s behavior changes during the progression of his quest.
Gelmir Hero’s Grave Deathroot
The Mt. Gelmir Deathroot requires considerably more effort.
Enter Gelmir Hero’s Grave and progress through its hazardous dungeon layout.
Hero’s Graves are notorious for environmental dangers, and reaching the boss can be as challenging as the actual encounter.
At the end, you must defeat Red Wolf of the Champion.
After winning, loot the appropriate chest to claim the Deathroot.
If you are collecting every elden ring deathroot locations entry in progression order, this is an excellent piece to obtain while exploring Mt. Gelmir rather than returning much later.
All Deathroot Locations Elden Ring: Mountaintops and Haligtree Route
The final three Deathroots require substantial story progression.
Mountaintops of the Giants Tibia Mariner
One late-game Tibia Mariner appears in the Mountaintops of the Giants near the route associated with Castle Sol.
This encounter is unusual because the Mariner can summon a giant skeletal enemy.
Do not assume you must defeat every summoned creature before attacking the boss.
The Tibia Mariner remains your primary objective. Use terrain and mobility to avoid unnecessary pressure while attacking it whenever an opportunity appears.
Once the Mariner falls, you receive another Deathroot.
At this point, players following all deathroot locations elden ring are approaching the end of the collection.
Giants’ Mountaintop Catacombs
The next Deathroot waits inside Giants’ Mountaintop Catacombs.
This dungeon can be disorienting because of its repeating rooms and layout. Pay close attention to environmental differences as you navigate deeper underground.
Eventually, you will reach the boss encounter against an Ulcerated Tree Spirit.
These enemies are large, aggressive, and particularly dangerous in enclosed arenas. Watch its body movements carefully and avoid assuming that distance automatically means safety.
After defeating the boss, loot the chest to obtain the Deathroot.
Hidden Path to the Haligtree Deathroot
The final location is among the easiest to overlook.
Hidden Path to the Haligtree is part of the route accessed using the Haligtree Secret Medallion. However, simply moving through the area toward the Consecrated Snowfield can cause you to completely miss its Deathroot.
A hidden section involving invisible flooring leads deeper into the dungeon.
Proceed carefully and use environmental clues to navigate the invisible route.
Eventually, you can reach a Stray Mimic Tear boss encounter. Defeat it and loot the nearby chest to obtain the final Deathroot.
For players searching elden ring all deathroot locations, this hidden dungeon route is often the missing piece when the inventory count does not match expectations.
Elden Ring All Deathroot Locations: Best Collection Order
You can collect the nine pieces in different sequences, but following natural game progression reduces unnecessary travel and difficulty spikes.
Early-game Deathroots
Begin in Limgrave.
Summonwater Village is an ideal first target because it introduces the Tibia Mariner, provides Deathroot directly, and connects naturally with D and Gurranq.
Next, clear Deathtouched Catacombs.
Once you reach Liurnia, defeat the region’s Tibia Mariner and explore Black Knife Catacombs.
At that stage, you can already return to Gurranq several times and begin building a collection of Beast-related rewards.
Mid- and late-game Deathroots
Continue toward Altus Plateau and Wyndham Ruins.
Afterward, tackle Gelmir Hero’s Grave when you are comfortable exploring Mt. Gelmir.
The remaining pieces require progression into the Mountaintops of the Giants and eventually the Hidden Path to the Haligtree.
For a simple checklist, use this order:
- Summonwater Village — Tibia Mariner.
- Deathtouched Catacombs — Black Knife Assassin.
- Eastern Liurnia — Tibia Mariner.
- Black Knife Catacombs — Cemetery Shade.
- Wyndham Ruins — Tibia Mariner.
- Gelmir Hero’s Grave — Red Wolf of the Champion.
- Mountaintops of the Giants — Tibia Mariner.
- Giants’ Mountaintop Catacombs — Ulcerated Tree Spirit.
- Hidden Path to the Haligtree — Stray Mimic Tear.
You do not have to deliver each deathroot elden ring item immediately after obtaining it.
However, visiting Gurranq periodically lets you access rewards earlier instead of waiting until the end of the game.
What Rewards Does Gurranq Give for Deathroot?
Finding the Deathroots is only half of the process.
Return to the Bestial Sanctum and feed them to Gurranq to progress through his rewards.
Every Gurranq Deathroot reward
Gurranq’s progression provides a mixture of Incantations, equipment, an Ash of War, and an upgrade material.
| Deathroot Progress | Reward |
| 1st | Clawmark Seal and Beast Eye |
| 2nd | Bestial Sling |
| 3rd | Bestial Vitality |
| 4th | Ash of War: Beast’s Roar |
| 5th | Beast Claw |
| 6th | Stone of Gurranq |
| 7th | Beastclaw Greathammer |
| 8th | Gurranq’s Beast Claw |
| 9th | Ancient Dragon Smithing Stone |
The reward sequence makes the elden ring deathroot quest particularly appealing for Beast Incantation builds.
You do not need to wait until the final Deathroot to benefit.
Several useful abilities arrive during the early and middle stages of the progression.
Why Bestial Incantations matter
Bestial Incantations provide offensive and utility options with a distinctive playstyle.
Bestial Sling offers a quick projectile attack, while Bestial Vitality provides gradual HP recovery.
Later rewards expand the offensive possibilities further.
The Clawmark Seal is especially relevant because it supports builds combining Strength and Faith. FromSoftware has continued balancing Elden Ring equipment over time; official patch notes have included adjustments to the Clawmark Seal as part of broader equipment balancing.
You do not need a Beast-focused build to complete the quest, though.
The final Ancient Dragon Smithing Stone provides a strong incentive for players who simply want another valuable weapon-upgrade material.
Why Does Gurranq Attack You After Giving Him Deathroot?
One moment in this quest catches many first-time players by surprise.
Gurranq can suddenly become hostile after you have progressed far enough through his Deathroot feeding.
The hostile Gurranq encounter
After delivering the fourth Deathroot and later returning, you can encounter Gurranq in an aggressive state.
Do not immediately assume you have failed the quest.
This hostility is part of his progression.
You need to fight back, but the objective is not to kill him. Instead, deal enough damage to force Gurranq to submit.
His attacks can be extremely dangerous, especially for lower-level characters who reached the Bestial Sanctum early through teleportation.
Stay defensive and look for safe opportunities.
How to calm Gurranq without killing him
Once enough damage has been dealt, Gurranq will stop attacking.
Stop attacking him when he yields.
After the situation is resolved, you can continue bringing additional deathroot elden ring items and progress through the remaining rewards.
This is an important detail because players encountering his sudden aggression may believe they have permanently turned an important NPC hostile.
You have not.
The encounter is an intended part of Gurranq’s progression.
Can You Miss Deathroot in Elden Ring?
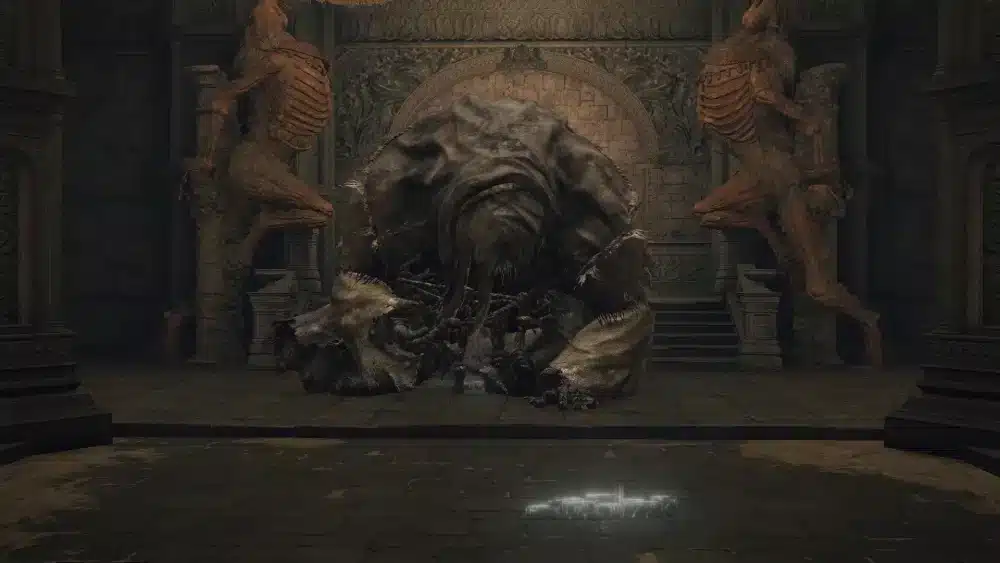
Deathroots are found almost entirely through optional exploration, so completing only mandatory objectives can leave several undiscovered.
Why Deathroot is easy to overlook
The Tibia Mariner encounters are relatively noticeable when exploring their areas, but the dungeon Deathroots require more deliberate exploration.
The final Hidden Path to the Haligtree piece is particularly easy to miss because it sits away from the straightforward route through the area.
If your elden ring all deathroot locations checklist is incomplete, verify these dungeon chests first:
- Deathtouched Catacombs.
- Black Knife Catacombs.
- Gelmir Hero’s Grave.
- Giants’ Mountaintop Catacombs.
- Hidden Path to the Haligtree.
Also check whether you defeated every Tibia Mariner associated with the collection.
Using a nine-entry checklist is much faster than wandering across the Lands Between waiting for the Beast Eye notification.
Does Shadow of the Erdtree add Deathroot locations?
The nine Deathroots covered here belong to Elden Ring’s base-game progression in the Lands Between.
Shadow of the Erdtree instead sends players to the Land of Shadow.
Bandai Namco describes this expansion as adding a new region alongside additional weapons, equipment, weapon skills, magic, enemies, bosses, and storylines. The DLC requires the base Elden Ring game.
The expansion also uses its own progression systems.
For example, FromSoftware's official guidance explains that Scadutree Fragments and Revered Spirit Ashes provide DLC-area enhancements through Scadutree Blessing and Revered Spirit Ash Blessing.
Therefore, players hunting the nine deathroot locations elden ring do not need to search the Land of Shadow to complete Gurranq’s progression.
How to Make the Deathroot Hunt Easier
The Deathroot quest stretches across a substantial portion of Elden Ring, but a few habits make the process much more efficient.
Use the Beast Eye as an exploration clue
The Beast Eye is designed to alert you when Deathroot is nearby.
Pay attention whenever its notification appears.
If you receive the message while entering a region or dungeon, check your surroundings instead of assuming the Deathroot will appear directly along the main route.
It may still require a boss fight.
You can also place custom map markers after discovering a difficult Deathroot location that you are not yet ready to clear.
Return once your character is stronger.
Do not rush late-game locations
There is little benefit in forcing your way into extremely difficult areas just to complete all deathroot locations elden ring earlier than intended.
The collection naturally follows game progression.
Early pieces give you several rewards while later pieces become accessible as the Tarnished reaches more dangerous regions.
That makes this approach practical:
- Collect Limgrave pieces early.
- Complete Liurnia during normal exploration.
- Add Altus and Mt. Gelmir pieces during mid-game progression.
- Save Mountaintops pieces for the late game.
- Collect Hidden Path to the Haligtree last if following natural progression.
This keeps the challenge appropriate while reducing unnecessary backtracking.
Deathroot Elden Ring and ExitLag: Improving Online Play
Collecting Deathroot itself can be completed as part of Elden Ring’s single-player adventure, but the game also includes online functionality.
Elden Ring online features and connection stability
Bandai Namco currently lists Elden Ring as supporting single-player and up to three players online, with Arenas supporting up to six participants.
Online interactions can include cooperative and competitive experiences.
For PC players using supported online features, connection consistency can become important when precise dodges, attacks, and reactions determine the outcome of an encounter.
Network instability is different from normal game difficulty.
High latency, packet loss, or unstable routing can interfere with online responsiveness even when your character build and mechanical execution are otherwise strong.
Using ExitLag for supported PC gaming
ExitLag provides connection optimization for PC and Mobile rather than consoles.
Its Real-Time Optimization technology is designed to identify efficient network routes, while Multipath Connection can send packets through multiple simultaneous routes to improve connection stability.
For supported PC games, this can help minimize network-related interruptions such as unstable routing, latency variation, and packet loss.
Elden Ring itself is available across PC and multiple console platforms. Bandai Namco currently lists PC, PlayStation 4, PlayStation 5, Xbox One, Xbox Series X|S, and Nintendo Switch 2 among its platforms.
Therefore, ExitLag should not be presented as an optimization solution for Elden Ring on PlayStation, Xbox, or Nintendo Switch 2.
For PC players who regularly switch between Elden Ring and other supported online or competitive games, however, ExitLag provides an option for optimizing the network route and maintaining a more stable gaming connection.
Deathroot Elden Ring: Complete Collection Checklist
Finding all nine Deathroots requires exploration across almost the entire base game, but the rewards make the journey worthwhile for completionists and Beast-focused builds alike.
Check your missing Deathroot by region
If Gurranq is still waiting for another piece, start by comparing your completed encounters against the full regional list.
Limgrave contains Summonwater Village and Deathtouched Catacombs.
Liurnia contains another Tibia Mariner and Black Knife Catacombs.
Altus Plateau and Mt. Gelmir contain Wyndham Ruins and Gelmir Hero’s Grave.
Finally, the Mountaintops of the Giants contain two more pieces, while Hidden Path to the Haligtree contains the ninth.
Remember the acquisition pattern:
- Four Deathroots come from Tibia Mariners.
- Five are associated with dungeon progression and chests.
- Nine are required for Gurranq’s complete reward sequence.
- The final reward is an Ancient Dragon Smithing Stone.
That breakdown makes troubleshooting a missing elden ring deathroot much easier.
What to do after collecting all nine
Once you have obtained the final Deathroot, return to the Bestial Sanctum and complete Gurranq’s progression.
Players interested in Beast Incantations will leave the quest with multiple offensive and utility abilities, the Clawmark Seal, and the Beastclaw Greathammer among the accumulated rewards.
Completionists also gain the satisfaction of clearing one of Elden Ring’s longer collectible chains.
More importantly, you no longer need to wonder whether an unexplored catacomb contains the final item you missed.
From Summonwater Village to the hidden paths leading toward the Haligtree, deathroot elden ring turns an apparently simple Key Item into a quest spanning much of the Lands Between. Follow the nine locations carefully, use the Beast Eye as an additional clue, and return to Gurranq as you progress to unlock the complete reward sequence.
For PC players who also use Elden Ring’s online features or play other supported multiplayer titles, connection consistency matters alongside character progression. ExitLag can optimize network routing in supported PC games, helping reduce network-related interruptions while you focus on exploration, combat, and completing every deathroot elden ring objective.
All game images used in this blog belong to FromSoftware. They are used for informational/educational purposes only and do not imply endorsement or affiliation with the rights holders.