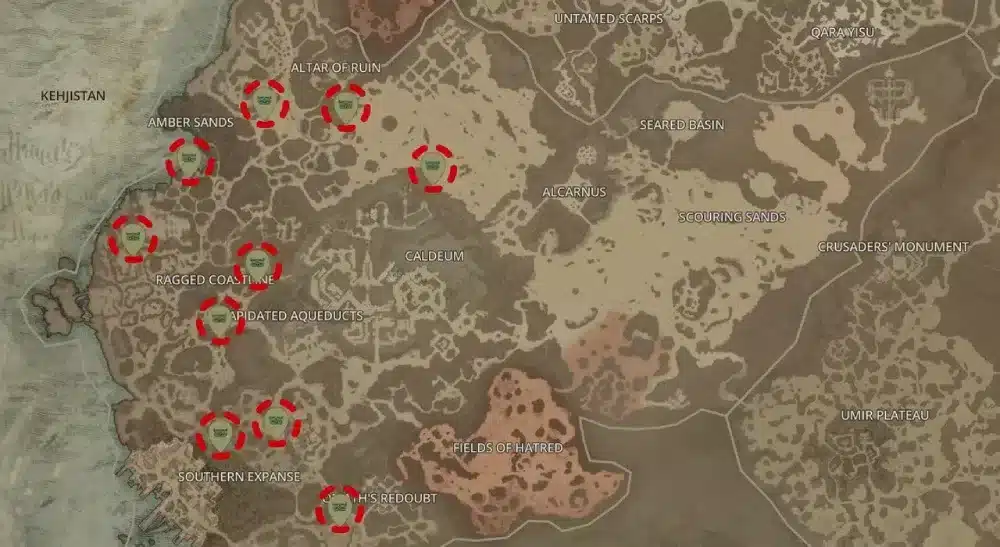
Infernal Hordes Diablo 4 is one of the most ambitious endgame features Blizzard has introduced, pushing players into fast-paced survival arenas where every second counts.
Unlike regular dungeons or Helltides, this mode forces adventurers to face relentless waves of demons, make risky choices through Infernal Offers, and manage resources like Burning Aether to claim powerful rewards.
Whether you’re chasing loot, testing your best builds, or preparing for the ultimate battle against the Fell Council, the Infernal Hordes provide both challenge and replayability for Diablo veterans and newcomers alike.

What Are Infernal Hordes in Diablo 4?
Infernal Hordes is one of the most intense endgame features introduced in Season 5. It challenges players with waves of demonic enemies inside hellish arenas, pushing skills, builds, and strategies to the absolute limit.
Unlike Nightmare Dungeons or Helltides, Infernal Hordes is structured around escalating waves, modifiers, and resource-based rewards that force players to make tactical decisions throughout the run.
How to Unlock Infernal Hordes in Diablo 4
Many players initially wondered: how to do Infernal Hordes Diablo 4? It’s not just about farming an item.
To unlock the activity, you must:
- Complete the questline “The Eyes of the Enemy” in World Tier 3.
- Upon completion, you are rewarded with a free Infernal Compass, granting access to your first Infernal Hordes run.
- Additional compasses can then be farmed or upgraded for higher tiers.
This ensures every player experiences the introduction quest before diving into the chaos.
Structure and Duration of Infernal Hordes
The mode is built around a series of escalating waves.
- Each Infernal Hordes run features 8 waves.
- Each wave lasts exactly 60 seconds, regardless of enemy spawns.
- Stronger elites and affixes appear as the waves progress.
This timed nature makes survival and speed equally important.
The Infernal Offers System
At the end of each wave, players are presented with up to three Infernal Offers. These aren’t simple loot chests—they are decisions that combine boons and banes.
- Boons provide buffs, extra Aether, or easier objectives.
- Banes apply penalties like more elite spawns, reduced healing, or environmental hazards.
Each Infernal Offer is tiered in rarity (S, A, B, C, D), as community tier lists classify them for strategic depth. Stronger boons are usually tied to harsher banes, making choices high-risk, high-reward.
This roguelike element makes every Infernal Hordes session unique.
Burning Aether – The Key Resource
Progress in Infernal Hordes revolves around Burning Aether, a unique currency earned during the run.
- Dropped primarily by Aether Fiends, Aether Lords, and Soulspires.
- Accumulated throughout the waves as you defeat these targets.
- At the end of the run, Burning Aether is spent on reward chests.
Reward Chest Types
- Gear Chests – Contain Legendary and Unique items.
- Material Chests – Offer crafting materials and resources.
- Gold Chests – Provide currency for enchanting and rerolls.
Efficient Burning Aether farming is the true measure of success in Infernal Hordes.
The Fell Council – Final Boss Challenge
After surviving all eight waves, players don’t just walk away with loot. Before claiming their rewards, they must face the Fell Council.
- You’ll fight three of the five council members each run.
- Each boss has unique abilities and mechanics.
- The combination of council members changes with every run, requiring constant adaptation.
- Defeating the council unlocks the Infernal Chests tied to your Burning Aether.
This final encounter ensures every Infernal Hordes run ends with an epic, high-stakes battle.
Progression of the Infernal Compass
Infernal Compasses are the entry key to this mode.
- Initial compasses obtained range from Tier 1 to Tier 3.
- Using Abyssal Scrolls (earned by salvaging compasses), players can upgrade compasses up to Tier 8.
- Higher tiers increase both difficulty and loot quality.
This progression system makes Infernal Hordes scalable for both midgame and hardcore endgame players.
Diablo 4 Infernal Hordes Best Choices
Knowing the Diablo 4 Infernal Hordes best choices is crucial. Community experience highlights the importance of balancing risk and reward.
Community-Proven Tip
Avoid selecting the Aether Fiend (Imitator) option when possible. It disrupts the Hellborne event cycle, reducing your chances of farming Burning Aether efficiently.
General Class Choices
- Barbarian: Favor defensive boons and physical damage multipliers.
- Sorcerer: Prioritize resistances and mana buffs.
- Necromancer: Enhance minion durability and cooldown reduction.
- Rogue: Critical damage multipliers and mobility boosts.
- Druid: Spirit regeneration and hybrid defenses.
Diablo 4 Infernal Hordes Loot Table
The Diablo 4 Infernal Hordes loot table depends on how far you progress and how much Burning Aether you collect.
| Progression | Rewards | Notes |
| Waves 1–3 | Rare Gear (Yellow) | Good for entry-level farming |
| Waves 4–6 | Legendary Gear | Standard farming tier |
| Waves 7–8 | Unique Items | Strong loot pool for builds |
| Fell Council Clear | Infernal Chests (Gear, Materials, Gold) | Chance for Uber Uniques |
Uber Uniques remain rare, but Infernal Hordes boosts their drop rate compared to standard activities.
Playing Infernal Hordes with ExitLag
While solo runs are possible, Infernal Hordes shines in multiplayer. Lag spikes can ruin your Burning Aether efficiency or wipe a run at the Fell Council.
ExitLag ensures stability by:
- Reducing ping with optimized routing.
- Preventing packet loss during wave clears.
- Guaranteeing responsiveness in boss fights.
- Improving consistency for cross-region co-op.
- Benefiting players who also participate in Legends multiplayer, ensuring both modes run smoothly.
A stable connection is just as important as your build when facing hell’s strongest armies.
Advanced Builds for Infernal Hordes
Succeeding in Infernal Hordes Diablo 4 requires more than surviving waves—it’s about optimizing builds for both DPS and survivability. Higher-tier compasses (T4–T8) demand precision, resilience, and synergy in co-op.
Barbarian
- Whirlwind or Hammer of the Ancients can handle early tiers but struggle in T8 compared to caster builds.
- Defensive shouts and Iron Skin remain critical for survival.
- Community feedback suggests Whirlwind performs at only ~5% of the DPS output of a Lightning Spear Sorcerer.
Sorcerer
- Hydra Sorcerer and Lightning Spear variants dominate endgame performance.
- Chain Lightning clears waves, while Hydra handles sustained pressure.
- Fire and shadow resistances are essential.
- Mana regeneration boons are key to consistency.
Necromancer
- Blood Wave Necromancer and Bone Storm builds excel in Tier 8 runs.
- Minions help with control, but endgame performance shines in corpse-based AoE builds.
- Cooldown reduction and Bone Storm uptime are crucial for survivability at 70k+ HP.
Rogue
- Twisting Blades remains strong, though not as dominant as caster archetypes.
- Critical chance and movement speed buffs are vital.
- Traps help secure choke points.
Druid
- Pulverize Druids are part of the current meta for T8 farming.
- Spirit generation is mandatory to keep Pulverize rotations active.
- High survivability makes them a reliable co-op choice.
Burning Aether Farming Strategies
Burning Aether fuels the reward system in Infernal Hordes. Efficient farming maximizes loot potential.
Practical Tips
- Target Aether Fiends, Lords, Soulspires, and Aetheric Masses – These provide the largest Aether gains.
- Select Aether-boosting boons – Infernal Offers like “+1 Hellborne spawn” or “Hellborne grant +1 Aether” are considered S-Tier by the community for farming efficiency.
- Avoid Hellborne rotation disruptors – The Aether Fiend (Imitator) bane reduces spawn cycles.
- Run in groups – Teams maximize Aether per wave by assigning dedicated Aether collectors.
Compass Progression and Upgrades
- Compasses initially drop between Tier 1–3.
- They can be upgraded up to Tier 8 using:
- Abyssal Scrolls (earned from salvaging compasses).
- Sigil Power and Forgotten Souls at the Occultist.
- Higher tiers increase difficulty, enemy density, and loot potential.
Optimal Compass Tiers and Routes
- Tiers 4–6: Balanced farming efficiency.
- Tiers 7–8: Maximum rewards, recommended only for optimized meta builds or groups with >70k HP tanks and endgame skills like Bone Storm.
- Solo vs Co-op: Solo is viable, but 4-player squads farm significantly more Aether.
Complete Loot Breakdown
The Diablo 4 Infernal Hordes loot table scales with progression, Burning Aether, and compass tier.
| Source | Reward Type | Notes |
| Waves 1–6 | Rare & Legendary Gear | Consistent gearing phase |
| Waves 7–8 | Unique Items | Build-defining loot pool |
| Fell Council Clear | Infernal Chests | Chance at Uber Uniques |
| Spoils of War | Gear & Materials | Standard Aether spend |
| Spoils of Gold | Gold Conversion | Up to 40 million gold for ~400 Aether |
Note: Uber Uniques remain extremely rare, but Infernal Hordes provides the best probability for farming them in Diablo 4.
Community Tips and Tricks
- Stack defenses first – Especially for early waves.
- Assign co-op roles – Crowd control, boss focus, and Aether collection.
- Adapt to council combinations – Fell Council members vary each run, requiring flexible tactics.
- Check community tier lists – Infernal Offers ranked S–D help guide high-value farming decisions.
- Meta builds matter – Hydra Sorcerer, Pulverize Druid, and Blood Wave Necromancer are considered top-tier for Tier 8 clears.
ExitLag and Multiplayer Stability
Infernal Hordes’ timed waves demand precision. A single lag spike can ruin an Aether farm or cause wipes against the Fell Council.
ExitLag ensures:
- Optimized routing, reducing ping.
- No packet loss during dense wave spawns.
- Responsive combat during 60-second wave timers.
- Stable cross-region co-op—also enhancing Legends multiplayer, ensuring smooth performance across Diablo 4’s online modes.
Final Thoughts
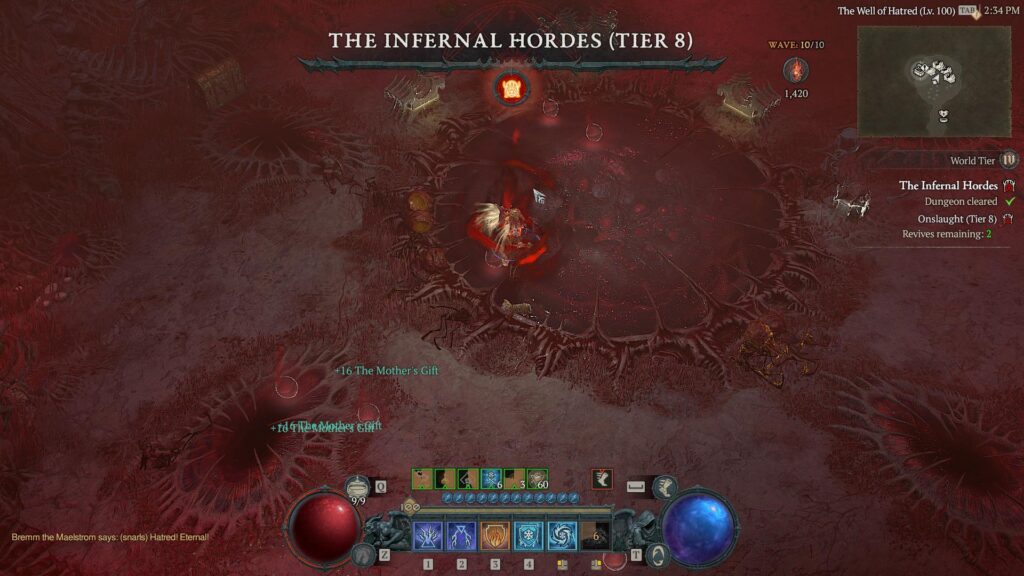
The Infernal Hordes Diablo 4 mode merges roguelike decision-making with ARPG intensity. With smart Infernal Offer choices, optimized builds, and efficient Aether farming, players can push compass tiers up to T8 and claim Diablo 4’s rarest loot. Pairing these strategies with ExitLag ensures your connection never holds back your progression.
All game images used in this blog belong to Blizzard Entertainment. They are used for informational/educational purposes only and do not imply endorsement or affiliation with the rights holders.
Got questions or want to connect with other players? Join the conversation at the ExitLag Forum!