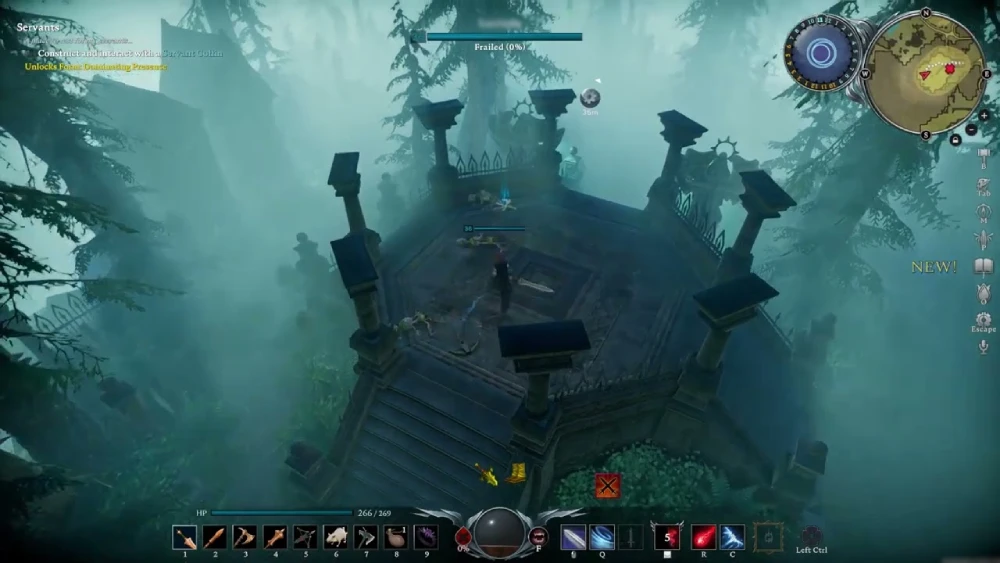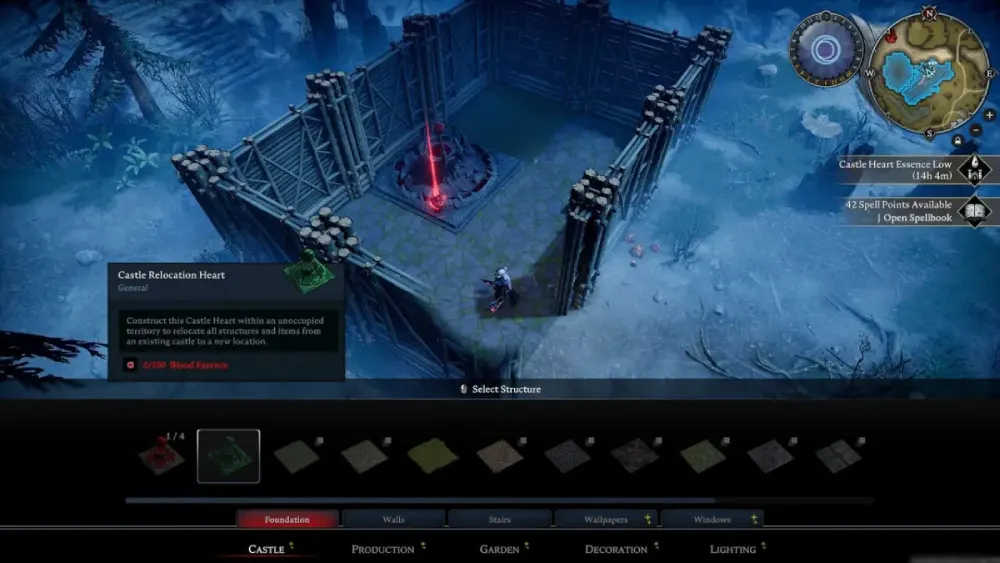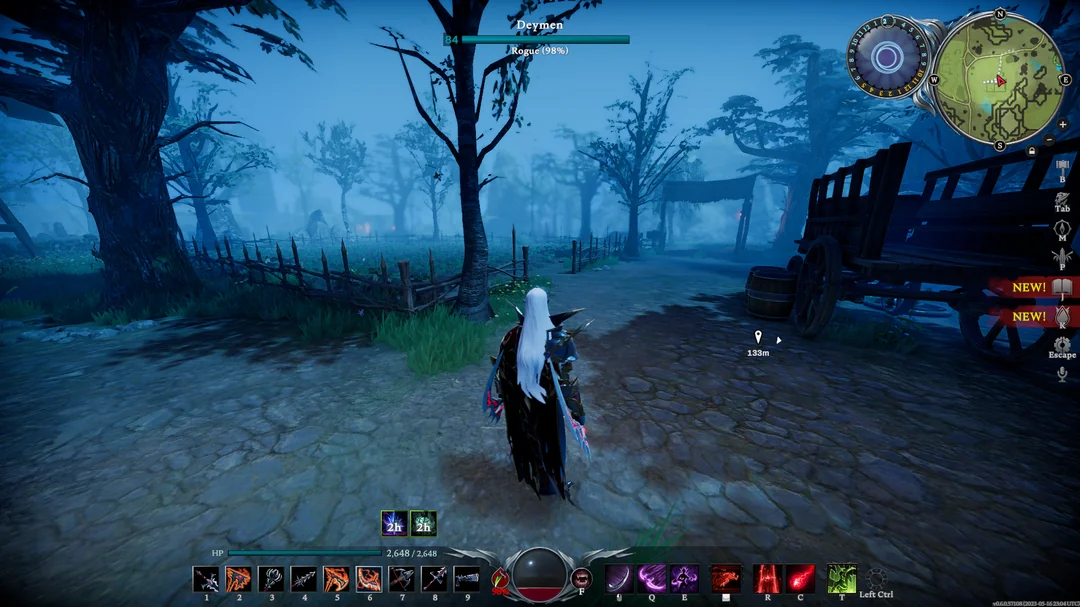
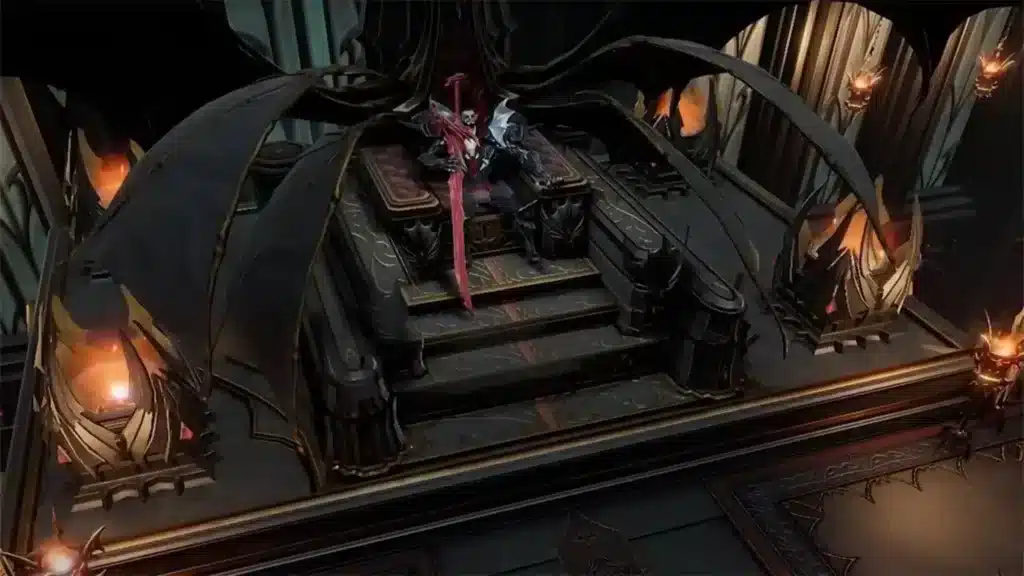
Conquering the dark corners of Vardoran culminates in the ultimate confrontation against Dracula The Immortal King. When players enter the blood-soaked throne room inside the Ruins Of Mortium, preparation defines survival. Therefore, mastering the intricacies of the V Rising Dracula Fight is essential for every vampire looking to claim ultimate dominance.
Facing this ancient monarch demands impeccable positioning, instant defensive responses, and optimized character equipment. Indeed, the battle test pushes your build synergy to absolute limits across intense multi-phase combat sequences. Successfully executing the V Rising Dracula Fight unlocks legendary rewards, including the Soul Shard Of Dracula and the prestigious Throne Of Darkness.
The V Rising Dracula Fight is the pinnacle endgame encounter located in the Blood Castle within the Ruins Of Mortium. Players must craft the Blood Key to breach his sanctum and conquer four escalating phases filled with bullet-hell projectiles, summoning swarms, and blood crystal arenas. Triumphing requires utilizing high-tier potions, 100% blood purity buffs, defensive counter shields, and agile ranged weapons like pistols or the longbow.

Preparing For The V Rising Dracula Fight
Stepping into the dark cathedral without complete preparation guarantees a swift and punishing defeat. Your gear level represents your first line of survival against his devastating magical scaling.
Furthermore, entering the sanctum requires holding a crafted Blood Key, obtained after defeating Lord Styx The Night Champion.
- Attain a minimum Gear Level of 90 using ancestral weapons and Dracula tier armor pieces.
- Consume high-tier consumables including Potion Of Rage, Witch Potion, and Vampiric Brew.
- Secure 100% Brute Blood for physical sustain or 100% Rogue Blood for mobility and guaranteed critical strikes.
- Equip defensive mobility spells such as Veil Of Chaos or Veil Of Frost to escape tight projectile corridors.
Consequently, entering the battle fully enchanted ensures your damage and recovery stay competitive throughout the prolonged duel.
Crafting The Blood Key And Unlocking The Sanctum
Breaching Dracula's Demise demands specific high-end crafting components produced at the Artisan Table. Without the key resting in your active inventory, the massive barrier gates will remain permanently sealed.
Moreover, gathering these materials requires farming challenging rift incursions across the scorched zone.
- Defeat Lord Styx The Night Champion to unlock the Blood Key blueprint.
- Gather 4 Onyx Tears, 4 Primal Blood Essences, and 200 Greater Stygian Shards.
- Craft the key at an upgraded Artisan Table inside your primary castle workshop.
- Travel to the eastern edge of the Ruins Of Mortium and unlock the massive gate doors.
Thus, unlocking the threshold marks your final passage toward challenging the throne.
Choosing The Best Weapons And Spells
Weapon flexibility allows you to adapt to Dracula's erratic teleportation and shifting combat ranges. Dual-wielded pistols provide essential iframe dodges, while the longbow applies reliable long-range burst damage.
In addition, bringing a slashing reaper helps you wipe out secondary swarms during hectic phase transitions.
- Dual Pistols: Grants Top Tier evasion via rolling dashes while maintaining steady ranged fire.
- Longbow: Delivers exceptional burst damage from safe maximum distances during ground hazards.
- Reaper: Deploys swirling stationary area slices that shred clusters of incoming minions.
- Frost Barrier: Negates projectile storms while launching retaliatory icy shards directly at the boss.
Therefore, hot-swapping between complementary armaments keeps your vampire lethal at any engagement distance.
Phase One: Mastering Boss Mechanics
The opening phase introduces Dracula's core sword combos, lunging thrusts, and red blood wave projectiles. During this phase, your primary objective focuses on conserving health reserves and memorizing telegraph animations.
Furthermore, taking unnecessary damage here depletes essential healing pools required for later, far more aggressive phases.
- Dread Stab lunges across the room, demanding immediate sideways sidesteps to prevent incapacitation.
- Blood Wave sends six exploding crimson beams expanding across the marble flooring.
- Howling Axes hurls spinning dual cleavers that return toward the boss like deadly boomerangs.
- Bat Swarms sweep across darkened arenas, requiring calm walking patterns to bait trajectory lines safely.
Consequently, remaining disciplined during the early skirmish preserves precious blood pools for the brutal trials ahead.
Dodging Melee Combos And Projectile Waves
Dracula attacks with deliberate rhythm, punctuating fast teleports with brief recovery windows. Moving in circular patterns around the outer ring prevents his forward thrusts from pinning you against arena walls.
Moreover, utilizing weapon skills to evade strikes saves your primary dash cooldown for emergency projectile rings.
- Keep moving in clockwise loops to naturally drift away from incoming lunges.
- Sidestep his initial axe throw rather than blowing a defensive counter early.
- Activate Frost Barrier when quadruple blade flurries fly toward your position.
- Punish his recovery animation with charged bow shots before he teleports away.
Taking time to bait his basic sequences turns dangerous melee exchanges into predictable damage windows.
Managing Dark Fog And Shadow Bats
Periodically, the arena plunges into pitch darkness while waves of blood bats swarm outward. Panic dashing during this sequence represents a fatal mistake, as Dracula prepares an unblockable grab immediately after.
In addition, staying composed allows you to guide the exploding bats away from your escape lane.
- Shuffle walk back and forth along the outer perimeter to guide incoming bat paths.
- Never use your primary dash ability while the room remains shrouded in darkness.
- Save your Veil ability strictly for the moment Dracula reappears to execute his blood-drain strike.
- Counter any stray bat explosions using Blood Rite to gain brief ethereal invulnerability frames.
Thus, maintaining spatial discipline during darkness keeps you entirely unscathed when the lights return.
Phase Two: Managing Blood Crystals And Swarms
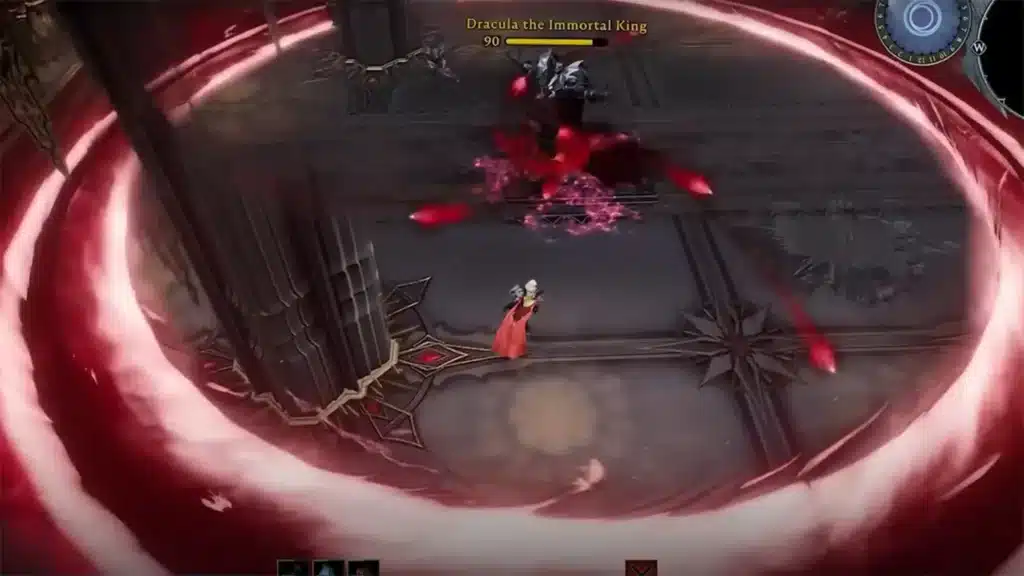
Dropping Dracula's health bar past the transition threshold triggers his second, significantly deadlier phase. The Immortal King summons towering Blood Crystals that emit damaging crimson pulses across the entire chamber.
Furthermore, ignoring these crystalline structures quickly suffocates the fighting space, leaving nowhere safe to stand.
- Blood Crystals spawn on arena flanks and must be shattered immediately with high-damage melee attacks.
- Blood Cross channels massive rotating fire walls paired with dense showers of tracking bolts.
- Crimson Slasher expands into wide multi-beam waves that require precise diagonal weaves.
- Aerial Sword Rain carpet-bombs floor segments, denying large sections of the fighting ring.
Therefore, prioritizing structural destruction over boss damage remains mandatory to keep escape routes clear.
Destroying Blood Crystals Under Pressure
Blood Crystals possess sturdy health pools and emit continuous harmful shockwaves until destroyed. Attempting to chip them down with basic ranged auto-attacks takes far too long while Dracula hunts you down.
Moreover, utilizing counter abilities directly against incoming boss strikes grants the necessary window to demolish them.
- Lure an incoming projectile into your Frost Barrier or Blood Rite near a crystal.
- Use the resulting invulnerability frames to walk directly into the crystal zone unharmed.
- Unleash heavy weapon whirlwind abilities to shred the crystal health bar in seconds.
- Veil away immediately as Dracula lands his overhead follow-up ground smash.
Consequently, systematically eliminating these pylons restores open room maneuverability before the next bullet wave.
Surviving The Blood Cross And Flame Wall
The Blood Cross represents one of the most visually chaotic bullet-hell mechanics in the entire encounter. Dracula teleports dead center, casting spinning fiery quadrants while spraying homing crimson darts toward players.
In addition, trying to rush into melee range during this channel usually results in instantaneous death.
- Retreat immediately to the absolute outermost edge of the arena where dart spacing widens.
- Strafe smoothly along the perimeter wall in a single consistent direction to outpace tracking missiles.
- Pop your defensive shield to absorb clusters of three or four darts, converting them into retaliatory damage.
- Wait patiently until the rotating flame beams dissipate before pushing back toward the center ring.
Keeping calm and respecting the perimeter boundary ensures you survive this devastating sequence every single time.
Phase Three: Heart Minions And Healing Denial
Reaching the third phase shifts the encounter into a desperate race against boss regeneration mechanics. Dracula floats above the chamber, channeling power while waves of blood thralls surge toward him.
Furthermore, permitting these summoned minions to reach the center restores massive portions of the boss health bar.
- Blood Thralls march inward from outer doorways and must be eliminated before touching Dracula.
- Feeding bites execute minions below thirty percent health for instant, effortless crowd clearing.
- Lingering area spells like Ball Lightning or Void prevent thralls from crossing choke points.
- Failing to control minion waves resets your hard-earned boss progression back up toward full health.
Thus, switching immediately into crowd-control mode prevents Dracula from undoing all your prior combat efforts.
Cleansing Swarms Before The Absorption
Neutralizing incoming adds demands sustained area-of-effect spells combined with fast sweeping physical strikes. Staggering your high-impact abilities ensures that multiple incoming lanes remain covered simultaneously.
Moreover, calling down lightning storms or summoner skeletons distracts thralls, breaking their direct march.
- Deploy persistent area spells across the main approach lanes as minions begin spawning.
- Swap to a Reaper weapon to throw rotating blades into congested enemy corridors.
- Bite weakened thralls below the threshold to instantly delete them while refreshing your own reserves.
- Trigger your ultimate ability if multiple heavy minions converge on the center simultaneously.
Consequently, denying all incoming blood thralls forces Dracula to begin the final showdown completely starved of vitality.
Shattering The Heart Of The Mountain
Once the minion onslaught ceases, Dracula's protective ward shatters, exposing his vulnerable core. You have a narrow offensive window to pour absolute maximum damage into the central focus before the final transition.
In addition, executing this burn cleanly transitions your character into the empowered final phase with maximum momentum.
- Unleash every held offensive cooldown directly into the stationary central core without hesitation.
- Refresh your active potion buffs if duration timers are nearing their natural expiration.
- Feed upon the exposed core immediately when prompted to trigger the climatic final sequence.
- Prepare your action bar instantly to handle newly acquired ancestral blood abilities.
Taking full advantage of this stationary burn phase sets up the final duel under optimal conditions.
Phase Four: The Final Ascended Showdown
Consuming the ancient core grants your vampire transcendent Dracula Blood, replacing standard abilities with supreme royal powers. However, your previous blood type buffs disappear, equalizing baseline survivability for the final sprint.
Furthermore, the boss unleashes unrelenting arena-wide shockwaves, turning the climax into a true test of reaction speed.
- Dracula Blood provides massive inherent power spikes and dramatically halved dash cooldown timers.
- Expanding arena pulse waves knock players back, requiring frame-perfect dodges toward the boss.
- Stacking debuff auras slowly amplify incoming damage, creating a strict internal enrage timer.
- Dracula remains largely stationary, allowing focused melee combos and persistent ground hazard deployment.
Therefore, playing aggressively with your shortened dash intervals is required to finish the fight before debuffs overwhelm you.
Leveraging Shortened Cooldowns In The Climax
Having access to halved dash timers completely changes your defensive approach during the final sprint. You can freely weave through consecutive projectile rings without worrying about extended vulnerability windows.
Moreover, combining rapid dashes with ethereal counters lets you ignore outward pulse waves entirely.
- Dash forward directly through expanding shockwaves to close the distance against the boss.
- Drop rotating Reaper blades at his feet to maintain continuous ticking damage while repositioning.
- Activate counter abilities to absorb incoming flying swords, gaining crucial invulnerability frames.
- Chain your rapid dash immediately upon exiting ethereal states to maintain perpetual motion.
Executing this aggressive rhythm burns through his final sliver of health while keeping your character safely untouched.
| Fight Phase | Primary Threat | Key Counter Mechanic | Recommended Weapon |
| Phase One: Duels | Teleport thrusts & axes | Circular strafing & counters | Longbow / Pistols |
| Phase Two: Crystals | Area crystals & fire cross | Perimeter kiting & crystal burst | Greatsword / Pistols |
| Phase Three: Swarms | Minion healing absorption | Area denial spells & feeding bites | Reaper / Bow |
| Phase Four: Climax | Pulse waves & enrage stacks | Rapid dashes & melee burns | Sword / Reaper |
Pro Tips: V Rising Dracula Fight
- Save your Veil for darkness: Resist the urge to dash away from bats in Phase One, saving your movement skill exclusively for Dracula's unblockable reappearance grab.
- Use Blood Crystals as shields: Position yourself directly behind active crystals during Phase Two to naturally block Dracula's tracking projectile barrages.
- Feed on low-health thralls: Instantly execute incoming minions below thirty percent health in Phase Three using your vampire bite to clear crowds without burning spell cooldowns.
- Dash through outward shockwaves: In Phase Four, dash directly toward Dracula through his expanding pulse rings rather than retreating backward into corner hazards.
Common Mistakes V Rising Dracula Fight Players Make
- Greedily trading hits in melee range: Many players attempt extended sword combos during Phase One, absorbing devastating incapacitating thrusts. Fix: maintain mid-range spacing using pistols or bows, punishing the boss strictly during his post-attack recovery animations.
- Ignoring Blood Crystals during bullet hell: Novice fighters often focus purely on damaging the boss during Phase Two while crystals accumulate, leading to unavoidable pulse damage. Fix: swap targets immediately to destroy newly spawned crystals, restoring open arena space before attacking Dracula.
- Panicking during the fire cross channel: Players frequently rush across the arena during the rotating cross attack, running straight into homing crimson missiles. Fix: retreat to the outer perimeter wall and strafe smoothly in one direction, using defensive counters to absorb unavoidable missiles safely.

What Are The Best Spells For The V Rising Dracula Fight?
Selecting your active spell kit determines whether you spend the encounter constantly fleeing or methodically countering every incoming strike. Combining a reliable defensive barrier with a flexible ranged disruption spell creates an impenetrable combat flow.
Furthermore, equipping high-tier jewels that add secondary healing or summon skeleton distractions provides immense utility.
- Frost Barrier: Blocks all incoming front-facing projectiles while hurling back damaging frost shards that chill the boss.
- Blood Rite: Provides instantaneous omnidirectional damage negation while triggering a healing burst and short immaterial stealth.
- Ball Lightning: Emits continuous area shocks that pull in and electrify marching thralls during minion waves.
- Void: Launches multiple explosive chaotic orbs that wipe out minion clusters and apply heavy burning damage.
Thus, utilizing dual counter setups gives you near-permanent invulnerability against Dracula's rapid projectile volleys.
How Do Blood Types Impact The V Rising Dracula Fight?
Entering the throne room with low-grade common blood places your vampire at a catastrophic tactical disadvantage. Securing a pure one-hundred-percent blood prisoner before heading out allows you to enter the battle with game-changing passive perks.
Moreover, drinking high-purity blood amplifies your offensive stats, spell leech sustainability, and movement speed ceilings.
- Rogue Blood (100%): Guarantees critical hits after dashing, speeds up Veil cooldowns, and maximizes movement speed to outrun projectiles.
- Brute Blood (100%): Delivers unmatched physical life leech, primary attack speed buffs, and health sustain during close-quarters crystal clearing.
- Scholar Blood (100%): Grants massive spell power boosts, spell life leech, and random cooldown resets to spam defensive barriers continuously.
Consequently, choosing between Rogue for agile dodging or Brute for sustained recovery depends on your preferred combat tempo.
Conquer Latency And Desync In V Rising With ExitLag
Executing frame-perfect dashes through blistering bullet-hell patterns during the V Rising Dracula Fight demands flawless connection responsiveness. In high-stakes boss encounters where a single millisecond of input delay means getting caught in an incapacitating thrust, network stability is everything. Experiencing sudden packet loss or erratic ping spikes on busy dedicated servers can ruin hours of careful progression in an instant.
ExitLag provides the definitive performance solution by optimizing your network route between your gaming PC and the multiplayer server. Operating as an intelligent connection optimizer rather than a basic proxy, it maps hundreds of global routes in real time to locate the fastest, most stable path available. Through proprietary Multipath Technology, your game data travels across multiple server pathways simultaneously. Therefore, if your local internet service provider suffers sudden packet drops or routing congestion, secondary pathways maintain your connection instantly, preventing rubber-banding and desync.
Furthermore, ExitLag supports over 4,000 titles across an expansive global infrastructure of more than 1,500 dedicated servers worldwide. Its intelligent Traffic Shaper prioritizes active game packets ahead of background desktop downloads, while the PC Boost tool cleans memory to maximize your frames during chaotic bullet-hell phases. Elevate your vampire combat precision today by picking up the official ExitLag Download for your battlestation.
Indeed, having an ultra-stable connection gives you the decisive edge needed to master the V Rising Dracula Fight and claim your throne.
All game images used in this blog post belong to Stunlock Studios. They are used for informational and educational purposes only and do not imply endorsement or affiliation with the rights holders.