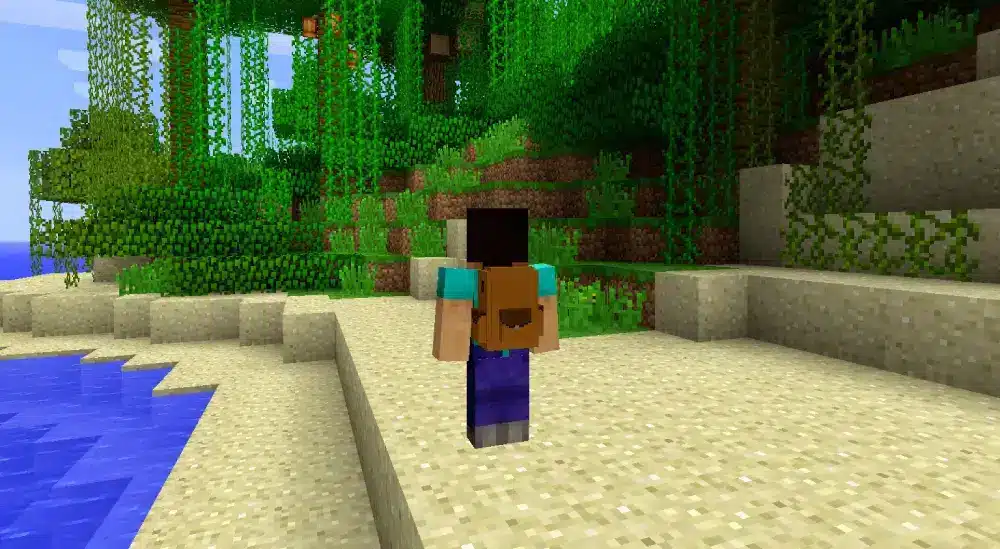
A Minecraft backpack is one of those upgrades that instantly makes survival feel smoother, especially when you’re mining, exploring, or building far from home.
Minecraft backpack options also solve the most common frustration in the game: running out of space right when you find something valuable.
What is a Minecraft backpack? A Minecraft backpack is a portable storage solution that expands your carrying capacity, usually through mods (and, in some setups, through alternative storage items), so you can manage loot without constant trips back to base.
Whether you play casually or grind long sessions, this guide will show you how to choose the right backpack setup, how crafting typically works in modded worlds, and how to keep your multiplayer sessions stable.
Minecraft backpack basics: why players use them
A backpack isn’t just “more slots.” It changes how you plan trips, organize resources, and stay productive.
Why Minecraft inventory fills up so fast
Your Minecraft inventory gets crowded quickly because the game rewards collecting everything:
- Multiple tool types (pickaxe, axe, shovel);
- Building blocks and decorative variants;
- Ores, drops, food, and seeds;
- Mob loot and rare items you don’t want to lose.
Meanwhile, your hotbar is limited, and swapping items mid-run slows you down. So, a Minecraft backpack becomes a quality-of-life upgrade that reduces downtime.
Backpack vs other storage options
It’s important to compare alternatives so you pick the best solution for your world:
- Ender Chest: great for secure personal storage, but limited space and not always practical mid-run;
- Shulker Box: strong late-game storage, but requires progression and can be slower to access repeatedly;
- Portable storage mods: usually faster to access and designed for long trips.
In other words, backpacks shine when you want fast access and consistent organization.
Backpack mod Minecraft options: how to choose the right one
Most players get a Minecraft backpack through mods. The key is choosing something that fits your mod loader, playstyle, and server rules.
Forge mods vs Fabric mods (and why it matters)
Before you install anything, confirm what your world uses:
- Forge mods are common in larger modpacks and often have deep upgrade systems;
- Fabric mods are known for lightweight performance and modern tooling.
Some servers only allow specific mod loaders, so always match the server’s setup. If you install the wrong type, the game may not launch or you won’t be able to join.
Features to compare before you commit
Not every backpack mod Minecraft setup feels the same. Compare features like:
- Slot count and upgrade capacity;
- Quick-open keybinds;
- Crafting cost and progression balance;
- Compatibility with other mods (like equipment slots);
- Sorting, filtering, and auto-pickup options;
- Whether backpacks drop on death (server settings vary).
Also, keep your gameplay fair. Use backpacks as storage tools, not as a way to bypass server rules or exploit systems.
Here’s a simple comparison table to help you decide what kind of backpack experience you want:
| Backpack Type | Best For | Typical Features | Difficulty to Set Up |
| Simple backpack | Vanilla-like survival | Basic extra slots, easy crafting | Easy |
| Upgradable backpack | Long-term worlds | Tier upgrades, filters, sorting | Medium |
| Adventure backpack | Exploration-focused | Extra utility (tools, supplies), quick access | Medium |
| Tech-integrated backpack | Modpacks with machines | Automation-friendly, advanced storage logic | Hard |
If you’re new, start simple. Then, once you know what you actually use, upgrade to a deeper system.
How to get backpack in vanilla Minecraft (and what to do instead)
A common question is how to get backpack in “pure” vanilla gameplay. The honest answer is: vanilla doesn’t usually include a traditional backpack item.
Early-game alternatives that mimic a backpack workflow
If you’re playing without mods, you can still create a backpack-style routine:
- Carry building blocks in a dedicated chest at your outpost;
- Use an Ender Chest as a “mobile vault” when available;
- Set up small waystations (tiny shelters with storage) along exploration routes.
This doesn’t expand your slot count directly, but it reduces the painful back-and-forth that kills momentum.
Mid-to-late game: storage progression that replaces the need
Later, many players rely on:
- Shulker Boxes for portable bulk storage;
- Ender Chest access for secure item transfer;
- Organized base storage that makes unloading fast.
If your goal is convenience, these solutions can cover a lot, just not as smoothly as a dedicated Minecraft backpack in modded play.
Backpack recipe and crafting tips in modded worlds
Once you install a backpack mod Minecraft setup, you’ll usually craft your first backpack early, then expand it with upgrades.
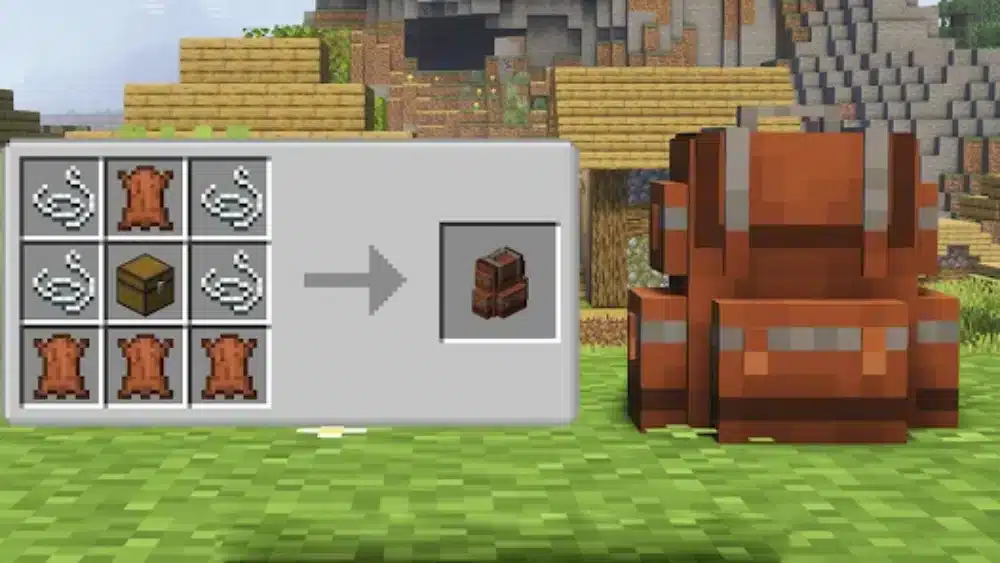
What a backpack recipe usually looks like
Each mod is different, but many follow a familiar pattern:
- Leather or fabric-like materials as the “shell”;
- String or similar binding materials;
- A chest or storage component as the “core”;
- Optional upgrades using iron, gold, or special components.
Because recipes vary, always check the recipe viewer your modpack provides (if available) or the in-game crafting guidance included with the mod.
Step-by-step: how to get backpack and set it up right
Here’s a clean, repeatable setup process that works in most modded worlds:
- Gather early materials (often leather, string, and basic storage parts);
- Craft the base backpack using the mod’s backpack recipe;
- Assign a keybind for quick access (avoid conflicts with sprint or crouch);
- Decide what the backpack is “for” (mining, farming, building, or travel);
- Add upgrades only after you’ve used it for a full session;
- Create a simple sorting rule (ores left, blocks middle, tools right);
- Test it in a short run, then adjust your layout.
That one routine prevents the “messy backpack” problem where you still can’t find anything.
Minecraft inventory management with a backpack
A backpack works best when you treat it like a system, not just extra space. Good organization saves time every session.
Create loadouts for the activities you actually do
Instead of carrying everything, build activity-based loadouts. For example:
Mining loadout
- Torches, food, spare pickaxe;
- Blocks for bridging;
- Empty slots reserved for ore and stone.
Building loadout
- Main palette blocks;
- Scaffolding blocks or ladders;
- Lighting and decorative details.
Farming loadout
- seeds, bone meal (if available), tools;
- space reserved for crops and drops.
This is where a Minecraft backpack feels powerful: it turns “inventory panic” into predictable workflows.
Quick habits that keep your backpack clean
- Put the same item types in the same slots every time;
- Keep one “trash row” for junk you’ll dump later;
- Store rare items in a protected section (top row);
- Leave buffer space for unexpected loot;
- Offload at base on a timer (every 20–30 minutes).
These small habits make your Minecraft inventory feel controlled instead of chaotic.
Advanced backpack tips for survival and multiplayer
Once you’re comfortable, you can optimize how your backpack supports your whole playstyle.
Use a “buffer strategy” for long trips
For long exploration runs, plan space like this:
- 30–40% free space at the start;
- 40–50% dedicated to expected loot (blocks, drops, ores);
- 10–20% reserved for emergencies (extra food, spare tools).
This keeps you from turning back early because your inventory filled with items you didn’t even want.
Avoid the most common backpack mistakes
Even a great Minecraft backpack can feel annoying if:
- Your keybind conflicts with core movement keys;
- You use it as a junk drawer (no sorting);
- You carry too many “just in case” items;
- You don’t respect server rules about portable storage.
Backpacks should reduce friction, not create more decisions mid-fight or mid-build.
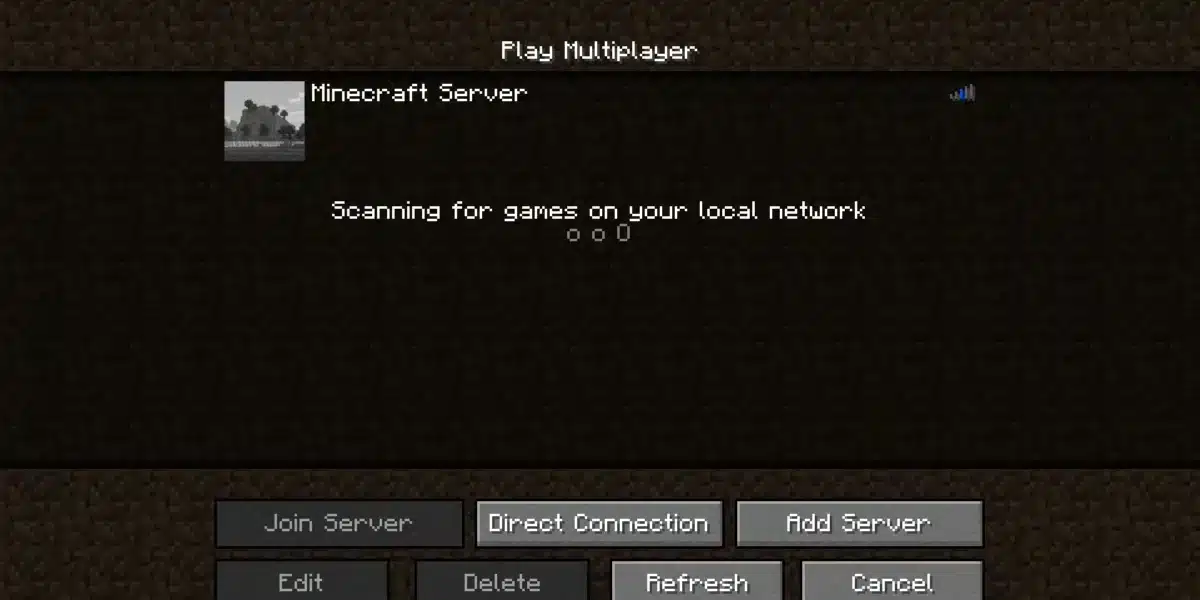
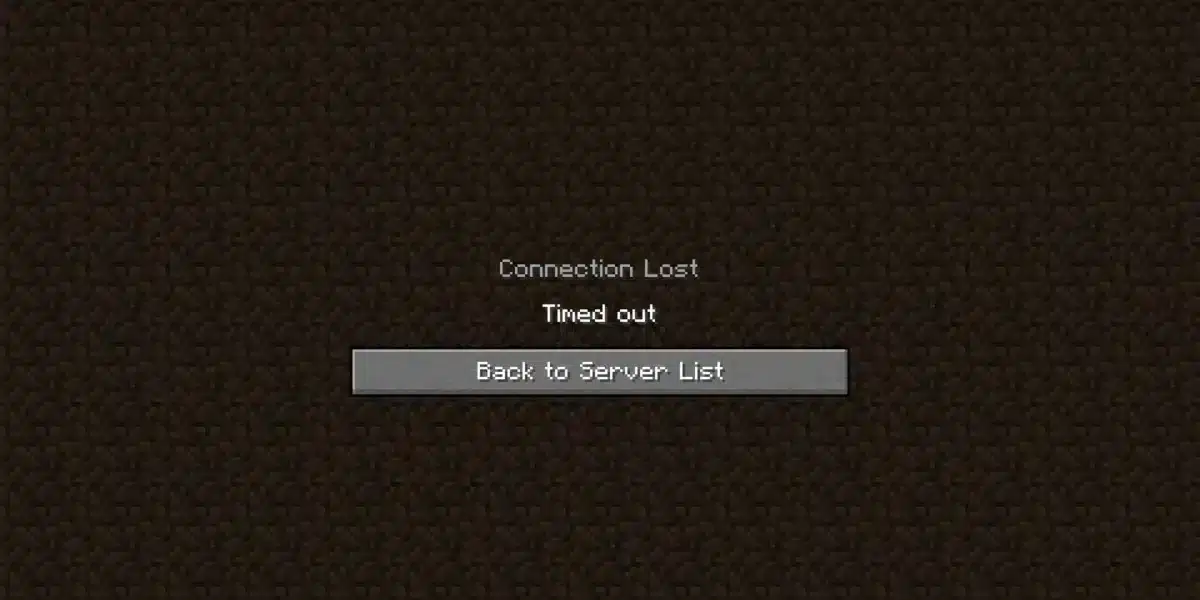
Minecraft backpack performance: why lag can feel worse on servers
When you’re on multiplayer, stability becomes part of quality-of-life too. Even if a backpack is client-side, server conditions can still make gameplay feel rough.
Why Minecraft feels “laggy” during building and farming
You may notice stutters or delays during:
- Chunk loading while flying or moving quickly;
- Busy farms with many entities (animals, villagers, item drops);
- Redstone-heavy areas;
- Peak server hours when more players are online.
This can look like delayed block placement, rubberbanding, or inconsistent responsiveness.
Quick checks that improve stability without overthinking
Try these practical steps first:
- Reduce render distance slightly during heavy builds;
- Avoid stacking multiple overlays;
- Keep entity-heavy farms a bit away from your main build zone;
- Close downloads, updates, and background sync tools;
- Restart the game client if performance degrades over time.
Then test again. Consistency matters more than chasing perfect numbers.
Minecraft backpack online play: stay smooth on multiplayer with ExitLag
If your connection feels inconsistent on servers, you can optimize your route so gameplay feels steadier across sessions.
What ExitLag does for Minecraft multiplayer
ExitLag is a route optimization software for online games. It helps your data reach servers through more stable paths by using multi-route logic to select the best connection route available.
Just as importantly, it is not a VPN: it does not focus on changing your location or hiding your IP. The goal is connection stability, not masking identity.
When it’s worth using ExitLag
ExitLag tends to help most when:
- Your server feels smooth sometimes and rough at peak hours;
- You get sudden spikes even when your local setup is fine;
- You’ve already addressed Wi-Fi issues and background usage;
- The route to the server seems unstable.
If you play long sessions and rely on smooth building, trading, or farming loops, stable routing can make your Minecraft backpack workflow feel better too, because you spend less time fighting delays.
FAQ
In most cases, the best way is using a backpack mod Minecraft setup that matches your mod loader (Forge or Fabric) and your server’s allowed mods.
Vanilla usually doesn’t include a traditional backpack item. Instead, use storage progression like Ender Chests and Shulker Boxes, plus outpost chests to reduce travel.
A backpack recipe often uses leather (or similar materials), string, and a storage core like a chest. Recipes vary by mod, so check your in-game recipe viewer.
Use loadouts (mining/building/farming), keep consistent slot rules, and leave buffer space so you don’t overflow during long trips.
Yes, when you use legit mods approved by your server or modpack. Avoid anything that breaks server rules or creates unfair advantages.
Ready to upgrade your Minecraft backpack runs with ExitLag?
A good Minecraft backpack setup isn’t just about carrying more, it’s about playing smarter, staying organized, and keeping your sessions smooth from start to finish.
If you want the best results, start simple: pick the right mod loader, follow a clear backpack recipe, and build an inventory routine you can repeat every session.
Minecraft backpack gameplay feels even better when multiplayer is stable and responsive, especially on busy servers and long building sessions.
If you want smoother multiplayer and fewer spikes, finish your setup and try ExitLag to optimize your route and keep your connection stable.
Got questions or want to connect with other players? Join the conversation at the ExitLag Forum!