If your game is lagging, freezing, or struggling to load worlds, learning how to allocate more RAM to Minecraft can be a game changer. Many players don’t realize that Minecraft doesn’t automatically use all the memory available on your system.
That means even if your PC is capable, your game might still run poorly, unless you adjust the settings correctly. how to allocate more RAM to Minecraft is one of the simplest and most effective ways to improve performance.
So, what is how to allocate more RAM to Minecraft? It’s the process of manually increasing the amount of system memory (RAM) that Minecraft can use, allowing the game to run smoother, load faster, and handle mods or large worlds more efficiently.
How to Allocate More RAM to Minecraft Step by Step
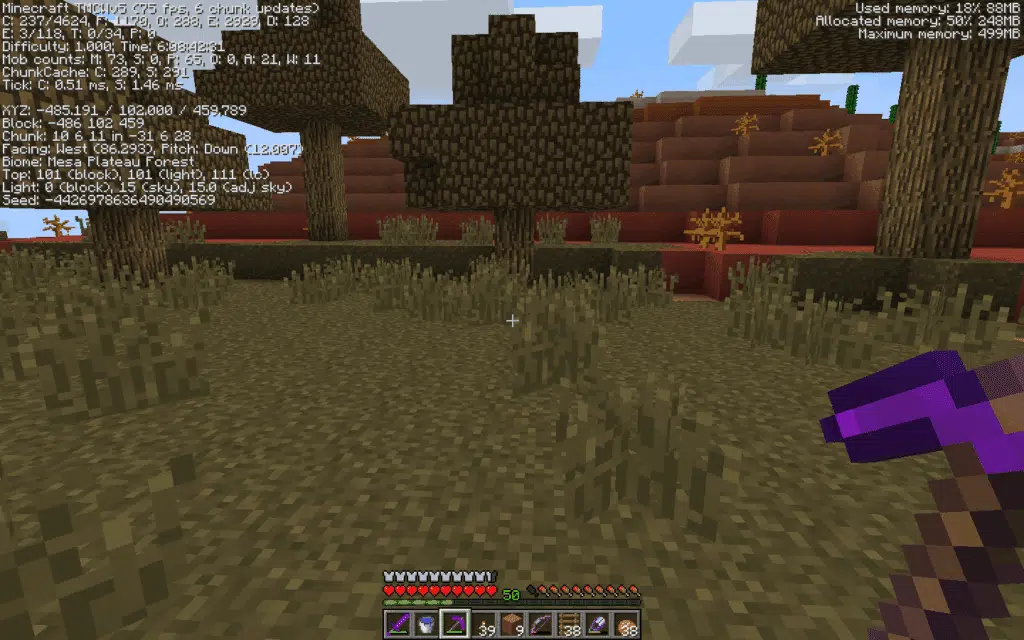
Before making changes, it’s important to understand where these settings are located and how they affect your game.
Accessing Minecraft launcher RAM settings
To begin, open your Minecraft Launcher and follow these steps:
- Go to the “Installations” tab;
- Select the version you want to edit;
- Click “More Options”;
- Locate the JVM arguments field.
This is where the Minecraft launcher RAM configuration happens.
Editing JVM arguments Minecraft RAM
Inside the JVM arguments, you’ll see something like:
-Xmx2G
This value represents the maximum amount of RAM Minecraft can use.
To increase it:
- Change 2G to 4G, 6G, or 8G depending on your system;
- Save the changes and launch the game.
This step is the core of any Minecraft ram allocation guide.
Minecraft Java RAM Settings Explained
Understanding what you’re changing is just as important as making the change itself.
What does RAM allocation actually do?
RAM helps Minecraft load chunks, entities, textures, and game processes. More RAM allows the game to handle more data at once.
This directly impacts:
- World loading speed;
- Chunk rendering;
- Mod performance;
- Overall stability.
How much RAM should you allocate?
Here’s a simple guideline:
- 2GB → Vanilla gameplay (basic worlds);
- 4GB → Light mods and shaders;
- 6–8GB → Heavy modpacks and large worlds.
Allocating the right amount is essential for proper Minecraft performance RAM optimization.
Increase Minecraft RAM Without Causing Issues
More RAM is not always better. Allocating too much can actually hurt performance.
Common mistakes players make
Avoid these errors:
- Allocating all available RAM;
- Ignoring system requirements;
- Using incorrect JVM values;
- Not testing performance after changes.
Best practices for RAM allocation
To safely increase Minecraft RAM, follow these tips:
- Leave at least 2GB for your system;
- Test different values gradually;
- Monitor performance after each change;
- Adjust based on your gameplay needs.
This ensures stable and optimized performance.
Minecraft Performance RAM: Before vs After
If you’ve been following a proper Minecraft ram allocation guide, you’ve probably wondered: does allocating more RAM really make that much difference?
The short answer is yes, but only when done correctly.
To make this clearer, let’s break it down in a practical way so you can understand exactly how increase Minecraft RAM impacts your gameplay.
Understanding RAM allocation impact in real gameplay
Before adjusting your Minecraft Java RAM settings, the game typically runs with a default allocation of around 2GB. This works fine for basic gameplay, but once your world grows or you start using mods, performance issues begin to appear.
Here’s what changes when you optimize your settings:
| Scenario | RAM Allocated | Performance |
| Default settings | 2GB | Medium (lag in heavy areas) |
| Optimized setup | 4–6GB | Smooth gameplay |
| High-end setup | 8GB+ | Best for modded gameplay |
Now, let’s walk through what this actually means for you.
- Default (2GB): This is the standard setup in most Minecraft launcher RAM configurations. It works, but you’ll likely experience lag in crowded areas, slower chunk loading, and occasional stuttering.
- Optimized (4–6GB): This is the sweet spot for most players. If you’re playing survival, using light mods, or exploring large maps, this range delivers a noticeable improvement. Worlds load faster, gameplay feels smoother, and overall stability increases.
- High-end (8GB+): This setup is ideal for heavy modpacks, shaders, and complex builds. However, it only works well if your system can support it. Otherwise, allocating too much RAM may actually reduce performance.
So, the key takeaway here is simple: more RAM helps, but only up to a certain point.
Finding the ideal balance for your setup
One of the most common mistakes players make when learning how to give Minecraft more ram is thinking that allocating the maximum possible memory will automatically improve performance.
In reality, Minecraft doesn’t benefit from unlimited RAM. In fact, excessive allocation can cause instability due to inefficient garbage collection in Java.
Here’s how to approach it the right way:
- Start with 4GB and test performance;
- Increase gradually if needed;
- Monitor FPS, loading times, and stability;
- Avoid allocating more than half of your total system RAM.
When using jvm arguments Minecraft RAM, always aim for balance instead of extremes.
If your system has 8GB total RAM, allocating 4GB is usually ideal. If you have 16GB, you can safely test 6–8GB, especially for modded gameplay.
In the end, optimizing Minecraft performance RAM is not about pushing limits, but about finding the perfect balance between your game’s needs and your system’s capacity.
And once you hit that balance, the difference in gameplay becomes immediately noticeable.
Advanced JVM Arguments Minecraft RAM Optimization
If you want to go further, you can tweak advanced settings.
Additional JVM tweaks
Some advanced users modify JVM arguments for better performance:
- Garbage collection tuning;
- Memory allocation balance;
- CPU optimization.
However, these changes should be made carefully.
When to use advanced settings
Only apply advanced tweaks if:
- You use heavy modpacks;
- You experience memory-related lag;
- You understand JVM behavior.
Otherwise, the basic setup is enough for most players.
Tips to Improve Performance Beyond RAM
Adjusting memory is a huge step, but it’s only part of the equation. Even if you’ve already followed a proper Minecraft ram allocation guide, you might still experience lag, stuttering, or slow loading times.
That’s because Minecraft performance depends on multiple factors working together — not just RAM.
If you really want to increase Minecraft RAM benefits and feel the difference in gameplay, you need to optimize the entire environment around the game.
Other ways to boost performance
Once your Minecraft Java RAM settings are properly configured, the next step is fine-tuning in-game and system settings.
Here are some practical adjustments that can significantly improve performance:
- Lower graphics settings (turn off fancy graphics, clouds, and smooth lighting);
- Reduce render distance to decrease chunk loading demand;
- Use performance mods like OptiFine or Sodium;
- Close background applications that consume CPU and RAM;
- Update your graphics drivers regularly;
- Use fullscreen mode for better resource allocation.
These changes directly impact how efficiently your system handles the game, especially when combined with optimized Minecraft launcher RAM settings.
For example, lowering render distance reduces how many chunks the game loads at once. This not only decreases RAM usage but also reduces CPU and GPU strain, which results in smoother gameplay overall.
How performance settings and RAM work together
Think of it this way: RAM is just one piece of the puzzle.
Even if you allocate more memory using jvm arguments Minecraft RAM, the game can still struggle if other settings are too demanding.
For instance:
- High render distance + low-end CPU = lag;
- Heavy shaders + insufficient GPU = stuttering;
- Too many background apps = memory conflicts.
That’s why combining RAM adjustments with smart performance settings is the best way to increase Minecraft RAM efficiency and get consistent results.
Connection stability matters too
Now, if you play single-player, hardware optimization is usually enough.
But in multiplayer, things change completely.
Performance is no longer just about your PC, it also depends on how stable your connection is to the server.
Even with perfect Minecraft performance RAM settings, you might still experience:
- Delayed block placement;
- Rubberbanding (when your character moves back suddenly);
- Slow entity loading;
- Lag spikes during combat.
This happens because your data is constantly traveling between your device and the game server.
So, if your connection is unstable, your gameplay will suffer, no matter how well you configured your RAM.
That’s why optimizing both your system and your connection is the real key to smooth Minecraft gameplay.
How ExitLag Improves Your Minecraft Experience
Even with optimized RAM settings, lag can still happen in multiplayer servers.
Why connection affects performance
Online gameplay depends on stable communication with the server. If your connection is unstable, you may experience:
- Delayed actions;
- Rubberbanding;
- Chunk loading issues;
- Disconnections.
How ExitLag helps
ExitLag improves your connection by:
- Routing your data through optimized paths;
- Reducing packet loss;
- Stabilizing your ping;
- Improving response time.
Unlike a VPN, it doesn’t change your location, it simply ensures the best route to the game server. This makes a noticeable difference in multiplayer performance.
FAQ
It depends on your setup, but 4–6GB is ideal for most players.
Yes, it can reduce performance and affect your system.
It can improve stability and reduce lag, but FPS also depends on GPU and CPU.
In the launcher, under Installations → More Options → JVM arguments.
Yes, modded gameplay usually requires more memory.
Boost Your Performance with ExitLag and Play Without Limits
Mastering how to allocate more RAM to Minecraft is one of the best ways to improve your gameplay, especially if you deal with lag or performance drops.
But for the best experience, especially online, connection quality is just as important.
With ExitLag, you can enjoy smoother gameplay, stable connections, and better responsiveness in multiplayer servers.
Try ExitLag now and take your Minecraft performance to the next level.
Got questions or want to connect with other players? Join the conversation at the ExitLag Forum!