The Rocket Raccoon Marvel Rivals character isn’t just a sidekick, he’s a powerful Strategist-class hero whose gameplay rewards tactical thinking, smart positioning, and creative support. In a title packed with brawlers and damage-dealers, Rocket stands out as a compact powerhouse, blending healing, mobility, revival tools, and team-wide buffs.
His effectiveness lies not just in raw healing numbers, but in how skillfully you can combine his limited tools into massive team impact. From bouncing healing orbs around walls to dropping a game-saving revive beacon in the middle of a chaotic teamfight, Rocket’s skill ceiling is high and mastering him makes you one of the most valuable players in your squad.
Whether you’re a healer main, tactical support player, or just someone who loves to play mind games with the enemy, this is your ultimate guide to using Rocket Raccoon to maximum potential.
Why Rocket Raccoon Is a Must-Pick Strategist
Rocket is ideal for players who thrive on outthinking opponents rather than outgunning them. He brings significant value to any team composition by combining:
- Healing through bouncing orbs that can reach around corners and cover tight angles
- Revival potential that allows second chances during clutch battles
- Armor pack generation for passive sustain between fights
- Ultimate damage buffs that can secure teamfight dominance
Unlike pure healers, Rocket also contributes solid poke damage, making him a hybrid utility that does more than just keep others alive.
What Role Does Rocket Raccoon Play?
Rocket Raccoon is listed as a Strategist hero, not a pure support. His classification highlights that he’s not just there to restore HP, he’s an enabler of fights. He shapes outcomes through tools that manipulate team positioning, tempo, and enemy focus.
- Who should play him: Tactical players, former MOBA supports, Overwatch-style flex mains
- Best scenarios: Escort fights, control point maps, tight indoor arenas
- Weaknesses: Limited active escapes, long cooldowns, high timing dependency
Rocket is not a beginner-friendly pick. His high cooldowns and the need for predictive decision-making mean that players who commit to learning his toolkit will get far more value than casual users.
Rocket Raccoon Abilities Explained in Depth
| Ability | Type / Use | Tips |
| Bombard Mode (Primary) | Damage / poke | Use when allies don’t need healing; great for poking backlines safely. Rarely wins duels vs. focused duelists, but can pressure supports. |
| Repair Mode (Orbs) | Healing over time | Launch at walls in choke points; healing strength is moderate and scales with healing power. Allies near orbs heal gradually as the orbs slow near injured teammates. |
| Jetpack Dash / Wall Run | Mobility / escape | Two dashes available; also has wall-climbing for repositioning. Powerful but not enough to survive without proper positioning. |
| B.R.B. (Beacon) | Ally revival | Revives one ally who dies in its radius. Must be placed preemptively and in a safe, hidden spot, preferably behind cover. Can be destroyed. Also generates armor and jetpacks. |
| Ultimate (C.Y.A.) | Team damage buff | Grants significant damage amp to nearby allies, exact bonus may vary by patch. Use during team ult stacks or last pushes. |
ExitLag: A Support for Stability
Rocket Raccoon’s strength lies in precise healing, timed utility, and reaction-based reviving. But those actions demand network responsiveness.
ExitLag can help:
- Players suffering from latency or instability
- With stabilizing packet loss and jitter during beacon use or ult casts
- By improving input accuracy in fast-paced scenarios
While not universally needed, it may benefit players with inconsistent connections or playing on distant servers.
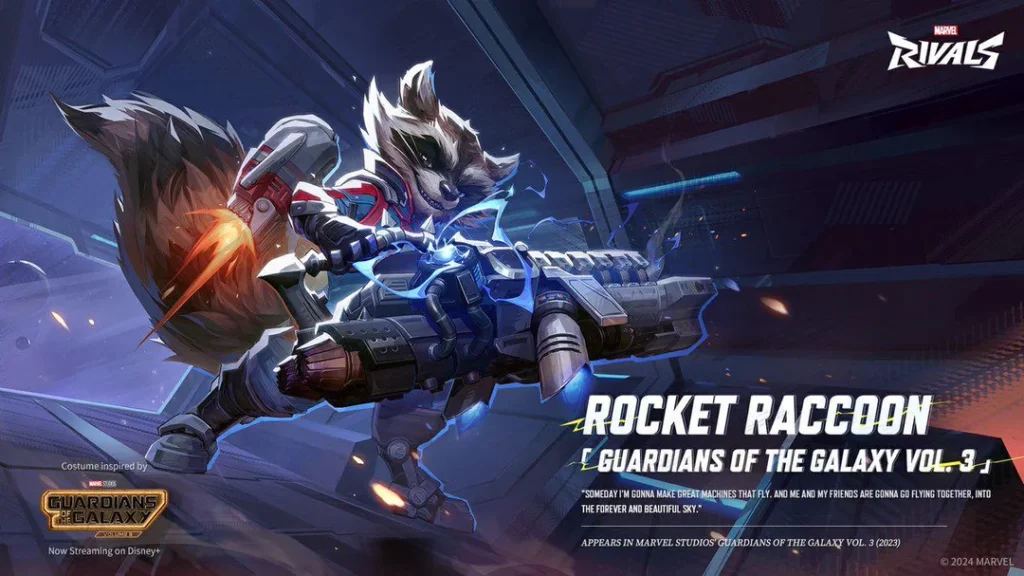
Rocket Raccoon Skins: Tactical Fashion Choices
Rocket has received a variety of skins, many tied to events:
- Sunshine Raccoon – Confirmed release on May 8, 2025 (Summer Event)
- Other skins – Symbiote, Guardians Vol. 3, Bounty Hunter, Will of Galacta (availability may vary)
Note: Skin availability changes with events and seasons. Always confirm in-game or through official channels.
Rocket Raccoon in Action: Tactical Tips
- Pre-place Beacon Wisely
- Position behind cover where you expect team fights, but avoid obvious spots. If enemies destroy it before the fight, its utility is lost.
- Bounce Orbs Smartly
- Use map geometry. Bounce off walls or terrain for maximum reach and sustain, especially in corridors or tight spaces.
- Time Your Ult for Fight Peaks
- The damage buff is strongest when synced with ally ultimates or during pivotal clashes.
- Don’t Ignore Offense
- In downtime or when healing isn’t needed, apply poke damage with Bombard Mode. It pressures enemy supports and forces repositioning.
- Save Your Dashes
- Don’t blow both charges escaping minor pressure. Reserve at least one for disengaging from flankers.
Common Pitfalls to Avoid
- Misplacing or delaying the beacon
- Overcommitting to healing and ignoring damage opportunities
- Using ult alone or out of sync with team
- Floating into dangerous lines of sight without cover
Rocket’s Counters and Vulnerabilities
Rocket is vulnerable to burst damage and flankers, especially:
- Spider-Man – Can close distance rapidly and lock down Rocket
- Psylocke – High burst assassin who thrives on isolating supports
- Other gap-closers or AoE stunners
Avoid dueling such heroes alone. Always stay near allies or safe ground.
Team Synergy and Matchups
Best teammates:
- Frontline tanks (to peel and anchor teamfights)
- Mid-range DPS who can benefit from Rocket’s damage buff
- Duelists who draw fire while Rocket supports from behind
Risky pairings:
- Squads full of assassins with no frontline
- Teams that don’t coordinate around the beacon or ult timing
Practical Combat Examples
- Choke point fight: Bounce orbs off walls into clustered allies. Pre-place beacon behind cover. Pop ult as your team pushes.
- Separated team: Stick with whoever is taking most pressure; beacon becomes a mobile anchor point for healing and regrouping.
- Enemy dive: Dash backward, drop beacon in a retreat path, and heal yourself plus allies while the fight unfolds around you.
Advanced Combos with Rocket Raccoon
Rocket’s tactical strength is amplified when you combine his tools with map awareness and team composition. Here are a few advanced strategies:
Beacon Baiting Technique
- One high-risk, high-reward strategy is to place the B.R.B. beacon just inside a common enemy path or choke point.
- This works best when the enemy team is forced to push – such as on payload maps or control point zones – where ignoring the area would be a loss.
- Ensure that the beacon is placed behind cover or terrain to avoid preemptive destruction.
- Baited fights give your team the opportunity to collapse while enemies waste cooldowns trying to deny the revive zone.
Flank Surveillance with Healing Orbs
- In maps with tight corridors, bouncing orbs toward expected flank routes may provide auditory or visual cues if enemies are present.
- This is situational and relies on the player’s attention to sound design and healing interactions.
- Can help identify when assassins like Psylocke or Spider-Man are rotating.
Ult Synchronization
- Coordinate C.Y.A. with high-impact AoE ultimates to amplify their effectiveness:
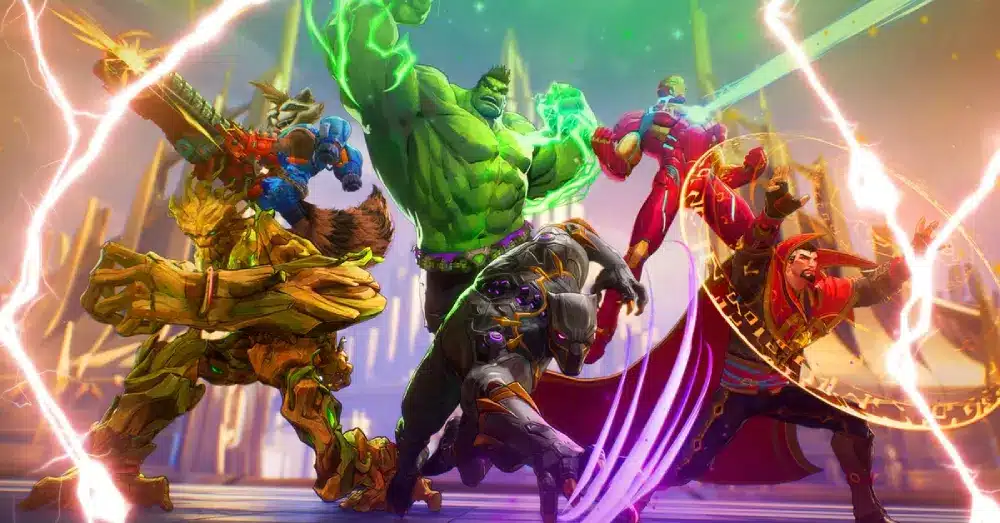
- Hulk’s seismic slam can wipe teams when damage is boosted.
- Storm’s monsoon provides excellent control that benefits from the amp.
- Star-Lord’s gravity field becomes a death zone under Rocket’s ultimate.
- Timing matters, ideally, activate C.Y.A. during the second engagement of a fight when enemy defensives are on cooldown.
Best Team Compositions
Rocket performs best when protected and allowed to play backline safely.
Ideal Allies
- Hulk / Iron Fist – Serve as frontline anchors that peel threats off Rocket.
- Storm / Scarlet Witch – Their crowd control and AoE damage benefit hugely from Rocket’s ultimate.
- Peni Parker – Benefits from buffs and can shield Rocket when under pressure.
Note: Some guides debate Rocket’s synergy with Luna Snow. While Luna offers utility, her area control and slow fields can sometimes interfere with Rocket’s positioning. It’s best to coordinate positioning between the two.
Risky Allies
- Double assassin comps like Loki + Psylocke: Lack sustain and coordination; Rocket is left alone.
- No tank setups: Rocket gets hard-targeted and lacks space to operate.
Rocket Raccoon Counters
Dangerous Opponents
- Spider-Man – Can use Web Grab or Web Swing to displace Rocket and pull him into kill zones. He can also safely destroy the beacon from range.
- Psylocke – With her teleport dash and high burst combo, she eliminates Rocket quickly if caught unguarded.
- Doctor Strange – His zoning tools, like portal traps and long-range pressure, make it hard for Rocket to maintain safe space.
How to Mitigate
- Always position your beacon behind solid geometry.
- Use dash and wall run reactively, not as traversal unless safe.
- Stay near tanks or peelers who can soak or deflect dive threats.
- Be mindful of hero pick order during draft phase, avoid matchups where Rocket would be exposed early.
Map-Specific Tactics for Rocket Raccoon
Yggsgard
- Beacon placement is strong behind high ground railings near the main bridge.
- Keep in mind: enemies can flank using side tunnels, always have a secondary retreat or cover zone.
- Healing orbs can bounce across the middle hall and support multiple lanes of engagement.
Tokyo 2099
- Narrow alleys allow for clean orb bounce angles.
- Dash and jetpack allow Rocket to access vertical perches that are hard to chase.
- Beacon can bait fights near vending machine zones with decent cover.
Asgard Citadel
- Place beacon behind central statues or in shrine corners.
- Great for funneling enemies into a kill zone if your team holds the upper ground.
- The map’s layout favors Rocket’s orb bounce mechanics thanks to pillars and chokepoints.
Ranked Play Tips
- Comms increase Rocket’s effectiveness by 2x – especially for ult timing and beacon placement calls.
- Always rotate with your tank or secondary DPS, not solo.
- If your beacon is consistently destroyed, adjust placement strategy. Avoid placing it in the same spot round after round.
- Use training mode to learn bounce paths, orb physics, and beacon safe spots for every map.
Extra Tips for Competitive Matches
- Learn enemy cooldown windows. Drop your beacon when burst threats are on cooldown.
- Don’t waste C.Y.A. in early fight trades. Wait for commitment or counter-engage.
- In payload maps, beacon the next turn corner instead of your current one.
- Against flanking enemies, bait them into line of sight while you dash backwards and kite.
General Disclaimer:
All game images used in this blog belong to NetEase and Marvel Games. They are used for informational/educational purposes only and do not imply endorsement or affiliation with the rights holde
Got questions or want to connect with other players? Join the conversation at the ExitLag Forum!