Minecraft is one of the most creative sandbox games ever made, and nothing reflects that creativity better than your character’s appearance. In Minecraft, your skin is your identity. Whether you want a warrior, a futuristic explorer, or something completely original, learning how to create Minecraft skin gives you total control over how you are seen in the game.
This guide is a deep, structured walkthrough of everything you need to create Minecraft skin: tools, design principles, editing techniques, and step-by-step instructions. You will also learn how to use a Minecraft skin maker, explore a custom Minecraft skin workflow, understand how to make skin Minecraft properly, and master any Minecraft skin creator or skin editor Minecraft tool available online.
What Does It Mean to Create Minecraft Skin?
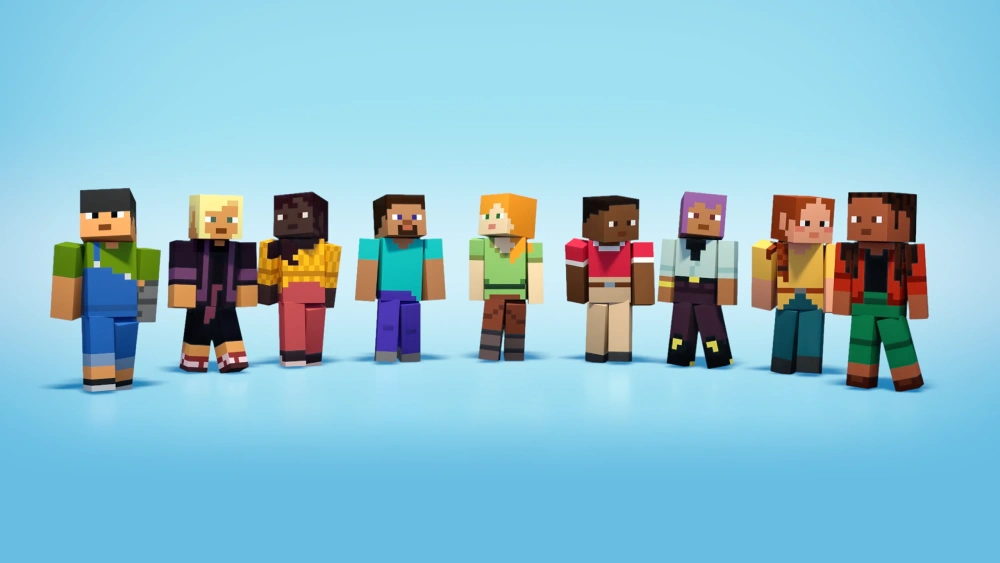
To create Minecraft skin means to design the texture file that wraps around your in-game character model. This file controls every visible pixel of your avatar: face, arms, torso, and legs.
A Minecraft skin is usually a PNG image with a specific layout. Each part of the image corresponds to a different part of the character model. When you upload it, the game maps the pixels onto your 3D character.
At its core, when you create Minecraft skin, you are doing digital pixel art that becomes a playable identity inside the game world.
Players often use this process to:
- Express personality
- Represent fandoms or characters
- Roleplay in servers
- Stand out in multiplayer worlds
- Match themed builds or clans
Why Custom Minecraft Skin Design Matters
A custom Minecraft skin is more than decoration. It is part of your in-game identity. In multiplayer servers especially, your skin is the first impression other players get.
A well-designed skin can:
- Make you instantly recognizable
- Show creativity and skill
- Improve roleplay immersion
- Match your Minecraft builds or theme
- Reflect your personality or branding
This is why many players invest time learning how to design and refine their skins instead of using default options.
Ready-Made vs Custom Minecraft Skin Options
There are two main approaches when you want to create Minecraft skin:
1. Ready-Made Skins
These are pre-designed skins available for download. You simply apply them without editing.
Pros:
- Fast and easy
- Huge variety available
- No design skills required
Cons:
- Not unique
- Many players may use the same skin
- Limited personalization
2. Custom Minecraft Skin
A custom Minecraft skin is built or edited from scratch using a Minecraft skin maker or online editor.
Pros:
- Fully unique identity
- Complete creative control
- Better for branding or roleplay
- More satisfying creatively
Cons:
- Requires time
- Slight learning curve
If your goal is originality, learning to create Minecraft skin from scratch is the better long-term choice.
Classic (Steve) vs Slim (Alex) Models
Before you start designing, you must understand the two Minecraft character models:
Steve Model
- Wider arms
- Classic Minecraft look
- More space for bold designs
Alex Model
- Slimmer arms
- Slightly more modern appearance
- Better for detailed sleeve designs
When using any Minecraft skin creator or skin editor Minecraft tool, selecting the correct model is critical. If you choose wrong, arm textures may look misaligned in-game.
Core Components of a Minecraft Skin File
A Minecraft skin is not random art—it follows a strict layout.
It includes:
- Head (front, back, sides, top, bottom)
- Torso (front and back)
- Arms (left and right)
- Legs (left and right)
- Optional outer layer (jackets, hoodies, armor)
Understanding this structure is essential before you learn how to make skin Minecraft properly.
Best Tools to Create Minecraft Skin
To create Minecraft skin efficiently, you need the right tools. These are usually browser-based or downloadable editors.
Common options include:
- Minecraft skin maker platforms
- Online skin editors
- Community editors with 3D previews
Key Features of Good Tools:
- Real-time 3D preview
- Pixel-level editing
- Color palette tools
- Layer support
- PNG export support
A good Minecraft skin editor makes the process significantly easier by letting you see changes instantly.
Understanding Minecraft Skin Resolution
Most skins use:
- 64×64 resolution (standard)
- 128×128 resolution (HD skins in some tools)
Higher resolution allows:
- More detail
- Smoother gradients
- Better shading effects
However, standard 64×64 remains the most compatible across all versions.
Step-by-Step Creation, Tools, And Advanced Design
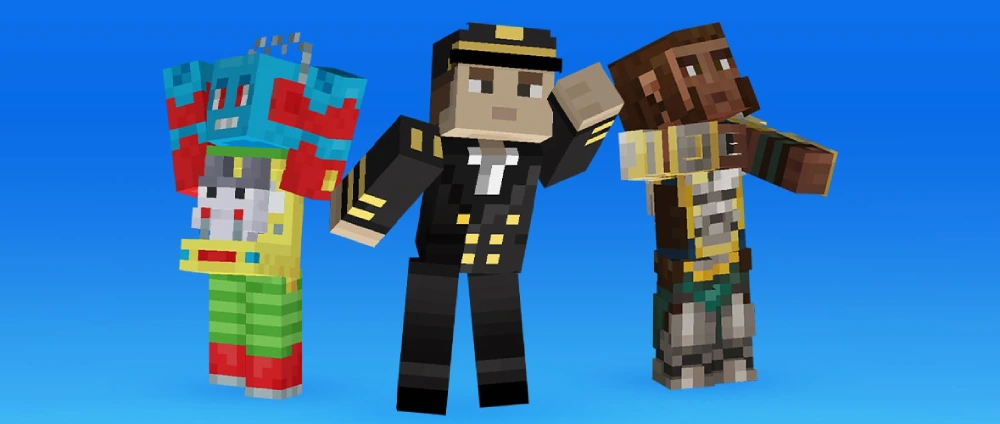
Step 1: Choosing a Minecraft Skin Maker Platform
The first step in how to make skin Minecraft is selecting the right editor.
Popular choices include:
- Browser-based editors
- Community skin platforms
- Advanced pixel art tools
Each Minecraft skin creator has its own strengths:
- Some are beginner-friendly
- Some focus on advanced editing
- Some are community-driven
Step 2: Using a Skin Editor Minecraft Tool
A skin editor Minecraft tool is where the actual creation happens. These tools allow you to:
- Paint pixels directly on the model
- Rotate the character in 3D
- Apply colors precisely
- Add shading and depth
- Preview in real time
This step is where your idea starts turning into a playable skin.
Step 3: Designing Your First Skin
When you create Minecraft skin, follow a structured design process:
Start with a Concept
Ask:
- Is this character human, fantasy, or robotic?
- Is it inspired by a theme (medieval, sci-fi, anime)?
Choose a Color Palette
Avoid random colors. Stick to:
- 3–5 main colors
- Consistent shading tones
- Contrasting highlights
Build in Layers
Good skins use depth:
- Base layer (skin/clothing)
- Shadow layer (depth effect)
- Outer layer (jackets, armor, accessories)
Step 4: Advanced Design Techniques
To make a professional custom Minecraft skin, use these techniques:
Pixel Shading
Add darker pixels on edges for depth.
Noise Reduction
Avoid over-detailing small areas; Minecraft scales skin textures heavily.
Symmetry Control
Faces often need symmetry, while clothing can be asymmetrical.
Highlighting
Use lighter tones on:
- Forehead
- Shoulder tops
- Knee areas
Step 5: Saving and Exporting Your Skin
Once your design is complete:
- Export as PNG format
- Ensure correct resolution (64×64 recommended)
- Verify model alignment (Steve or Alex)
This file is what you upload to Minecraft.
Popular Tools
| Tool | Best Feature | Difficulty | Ideal For |
| Minecraft skin maker (basic editors) | Simple interface | Easy | Beginners |
| Nova Skin-style editors | Advanced layers + 3D preview | Medium | Intermediate users |
| Community platforms | Sharing + inspiration | Easy | Creative exploration |
| Advanced pixel editors | Full control | Hard | Professionals |
This table helps you choose the right platform depending on your experience level.
Step 6: Uploading Your Skin to Minecraft
After you create Minecraft skin, you need to upload it.
Java Edition:
- Go to Minecraft profile page
- Upload PNG skin file
- Select Steve or Alex model
- Save and launch game
Bedrock Edition:
- Open Dressing Room
- Import custom skin
- Apply to character slot
This ensures your skin Minecraft file appears correctly in-game.
Step 7: Troubleshooting Common Issues
Even experienced users face problems:
Skin Looks Broken
- Wrong model selected
- Misaligned pixels
Missing Parts
- Upload format incorrect
- File not saved as PNG
Texture Glitches
- Overlapping outer layers
- Wrong resolution used
Fixing these ensures your Minecraft skin creator workflow stays smooth.
Step 8: Inspiration Sources for Better Skins
If you struggle with ideas:
- Browse community galleries
- Study trending designs
- Analyze color schemes
- Remix existing skins
This is one of the fastest ways to improve your skills when using any Minecraft skin maker.
How to Use Minecraft Skin Editor Efficiently
A skin editor Minecraft tool becomes powerful when used correctly:
- Rotate model frequently
- Zoom into facial details
- Save versions as you go
- Experiment with shading
Mastering these habits helps you create higher-quality skins faster.
Creative Ideas for Custom Minecraft Skin Designs
If you want inspiration for a custom Minecraft skin, try:
- Cyberpunk characters
- Medieval knights
- Fantasy wizards
- Space explorers
- Superhero variants
- Animal hybrids
These themes are popular because they translate well into pixel art.
Advanced Tip: Branding Your Skin
Many players use skins for identity building:
- Streamers match branding colors
- Server players create faction themes
- Roleplayers build consistent characters
When you create Minecraft skin with branding in mind, consistency becomes key.
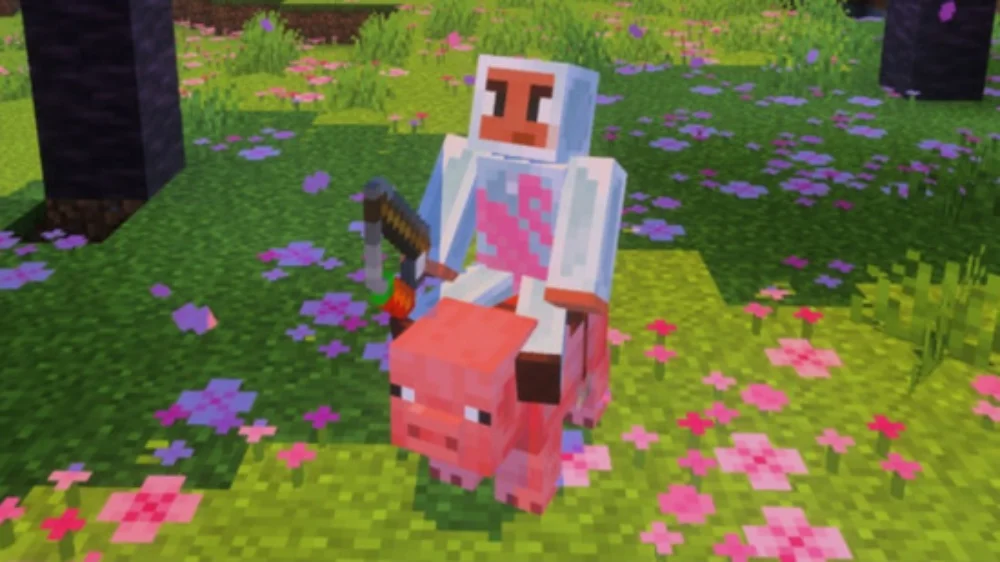
Final Thoughts On How to Create Minecraft Skin
Learning how to create Minecraft skin is one of the most rewarding creative skills in Minecraft. It allows you to transform a simple character model into something completely personal and expressive. For those wanting to improve your experience in the game even more, you can count on tools like ExitLag, which allow you to have optimized performance and reduced lag.
FAQ
To create Minecraft skin, use a Minecraft skin editor like Nova Skin or MinecraftSkins. Design your character, export as PNG, and upload it to your Minecraft profile.
Open a Minecraft skin maker, start from a blank template or base skin, customize colors and details, then export and upload your design.
You use a skin editor Minecraft tool to draw pixels on a 3D model and export the final design as a PNG file.
A custom Minecraft skin is made by editing every part of the character texture manually or using layers for clothing and shading.
You either design them from scratch or modify existing templates using online editors, then upload them into the game.
There is no single best tool, but browser-based editors are ideal for beginners, while advanced editors offer more control.
Yes, many players use Minecraft skins download libraries to edit existing designs before customizing them further.
Got questions or want to connect with other players? Join the conversation at the ExitLag Forum!