Killjoy Valorant is one of the most strategic sentinel agents in the game, known for her powerful abilities that control areas and provide valuable intel. In this article, we will explore everything you need to know about Killjoy Valorant — from her unique Valorant Killjoy abilities and how to play Killjoy Valorant effectively, to the best Killjoy maps and optimal setups.
Whether you’re looking for a detailed Killjoy setup guide, Killjoy tips and tricks, or the best Killjoy Valorant lineups, this complete guide will help you master Killjoy Valorant role and strengthen your gameplay. As a key member of the Valorant sentinel agents, Killjoy’s utility and tactical advantages are essential for winning rounds and controlling the battlefield.
Who Is Killjoy in Valorant?

As one of the most iconic Valorant sentinel agents, Killjoy has become a fan favorite for players who love strategic gameplay and high-tech defenses.
Brief Lore and Role in the Valorant Protocol
Killjoy is one of the most brilliant tech minds in the Valorant Protocol. Introduced as a sentinel agent, she specializes in defensive strategies using her unique gadgets to control space and gather intel. Known for her inventive engineering skills, she builds devices that can detect, slow, and damage enemies — making her a key asset for site control and lockdown situations.
Nationality, Style, and Personality
Hailing from Germany, Killjoy embodies precision and efficiency. Her style reflects her inventive nature: she wears a signature yellow jacket, a beanie, and tech-enhanced accessories that showcase her tinkerer personality. Killjoy is confident, witty, and occasionally sarcastic, often showing pride in her gadgets while teasing her teammates about their lack of technological know-how.
Killjoy Valorant Abilities Explained
Killjoy is a sentinel agent known for her powerful control and area-denial skills. Understanding Valorant Killjoy abilities is key to mastering her and learning how to play Killjoy Valorant effectively. Below is a breakdown of each of her abilities and tips on how to maximize their use.
| Ability | Description | Cooldown / Duration | Range / Radius | Tips & Tricks |
| Nanoswarm (C) | Invisible grenade that deals damage in an area over time when triggered. | 40 seconds cooldown | ~5-meter radius | Place in common enemy pathways or spike sites to delay or damage enemies. Use with Alarmbot or Turret for combo damage. |
| Turret (Q) | Deploys a turret that automatically shoots enemies within a 180° cone. | 40 seconds cooldown | Detects enemies up to 30 meters | Position in unexpected spots to gather intel or cover flanks. Use to distract or slow enemy advances. |
| Alarmbot (E) | Sends out a bot that detects enemies in range and applies a vulnerability debuff when triggered. | 35 seconds cooldown | 15-meter radius | Place near common entry points to reveal enemy positions and make them easier to finish off. Combines well with Nanoswarm. |
| Lockdown (Ultimate) | Deploys a device that, after a short delay, detains all enemies in a large radius, preventing their movement. | 1:40 minutes cooldown | 30-meter radius | Use at the start of rounds or during site retakes to stop enemy pushes or initiate team attacks. Timing is critical for maximum impact. |
Mastering Valorant Killjoy abilities involves knowing the best placement and timing of her utility to control the battlefield and gather intel. When learning how to play Killjoy Valorant, focus on using her Alarmbot and Turret to gain early enemy info, then lock down areas with Nanoswarm and her ultimate for team fights.
Killjoy Setup Guide: Best Positions by Map

Mastering the best Killjoy maps and setups is essential to maximize her potential. Maps like Ascent, Split, and Lotus perfectly complement Killjoy’s playstyle, allowing her to control key choke points and secure areas with her utility. Below is a Killjoy setup guide highlighting optimal positions for her Turret, Alarmbot, and Nanoswarm on these maps.
Ascent
- Turret: Place it behind the box near B Main to cover B site entrance, providing early warning and chip damage.
- Alarmbot: Set it near B Default plant spot to detect and debuff enemies pushing through B Main.
- Nanoswarm: Hide it under the Default plant site on B or at Mid Link to block enemy advances or force them to reposition.
Split
- Turret: Position it on A Rafters to cover A Heaven entrance and catch enemies rotating.
- Alarmbot: Deploy near Mid Vent to monitor enemy Mid control attempts.
- Nanoswarm: Place inside A Default plant spot or on Mid Bottom to deter or delay enemy plants and pushes.
Lotus
- Turret: Place near A Lobby corner to watch for enemy pushes through the mid connector.
- Alarmbot: Set close to B Site entrance to detect rotations or aggressive plays.
- Nanoswarm: Hide on B Default or in the Garden area to cover spike plant spots and delay enemy movement.
Why These Maps Work for Killjoy
Ascent, Split, and Lotus are favored best Killjoy maps because of their tight chokepoints and multi-level sites, which let Killjoy’s utility control space efficiently. Her ability to lock down areas and gather intel fits perfectly with these layouts, making her an indispensable sentinel on these battlegrounds.
Killjoy Valorant Lineups and Advanced Traps

Mastering Killjoy Valorant lineups is essential for players looking to elevate their gameplay with precision utility placement. Knowing the best spots for Nanoswarm grenades and other traps allows you to effectively deny enemy plants or defuses and control key areas with ease. Below, you’ll find some essential Killjoy tips and tricks for advanced setups.
Defensive Nanoswarm Spots to Deny Plant or Defuse
- Ascent B Site Default Plant: Toss a Nanoswarm grenade directly under the spike plant spot. When the enemy attempts to plant or defuse, detonate it to inflict significant damage and disrupt their action.
- Split A Site Default Plant: Position your Nanoswarm on the floor near A Default plant spot but tucked in a corner. Use lineups from common angles to ensure it covers the plant area without being easily spotted.
- Lotus Mid Site: Place Nanoswarm grenades in choke points where enemies often attempt to defuse or plant, such as behind crates or near bomb sites’ entrances.
Additional Killjoy Tips and Tricks for Lineups
- Use your Alarmbot and Turret in tandem with Nanoswarm grenades for maximum disruption.
- Practice common community lineups to hit precise spots that maximize damage and surprise.
- Watch for enemy tendencies to pre-emptively place utilities before a push or retake.
Killjoy vs. Other Valorant Sentinel Agents

When discussing Valorant sentinel agents, Killjoy stands out for her powerful area control and technological utility. However, understanding how she compares to other popular sentinels like Cypher, Sage, and Chamber is crucial for choosing the right agent depending on your team composition and map.
Advantages and Limitations of Killjoy Compared to Other Sentinels
- Killjoy excels at controlling tight spaces with her turret and Nanoswarm grenades, making her ideal for defensive holds on maps with narrow chokepoints like Ascent or Split. Her ultimate Lockdown can halt enemy pushes in large areas, but its effectiveness depends on timing and team coordination.
- Cypher offers unparalleled intel gathering with his Spycam and Trapwires, excellent for watching flanks and gathering information. However, he lacks Killjoy’s direct damage potential from Nanoswarm and turret.
- Sage is a strong healer and team support sentinel, with her ability to revive teammates and slow enemy pushes with her Barrier Orb. Unlike Killjoy, Sage focuses more on sustain than area denial.
- Chamber combines sentinel utility with lethal precision through his ability to place traps and use long-range weapons. He’s versatile for both intel and aggressive plays but has less crowd control compared to Killjoy.
Comparative Table of Valorant Sentinel Agents
| Agent | Area Control | Utility Versatility | Damage Potential | Intel Gathering | Support Capability |
| Killjoy | ★★★★☆ | ★★★★☆ | ★★★☆☆ | ★★☆☆☆ | ★★☆☆☆ |
| Cypher | ★★★☆☆ | ★★★☆☆ | ★☆☆☆☆ | ★★★★★ | ★☆☆☆☆ |
| Sage | ★★★☆☆ | ★★★☆☆ | ★☆☆☆☆ | ★★☆☆☆ | ★★★★★ |
| Chamber | ★★★☆☆ | ★★★☆☆ | ★★★☆☆ | ★★★☆☆ | ★★★☆☆ |
Understanding the strengths and weaknesses of each Valorant sentinel agents helps you decide when to pick Killjoy or her counterparts based on your preferred playstyle and the map dynamics.
Conclusion
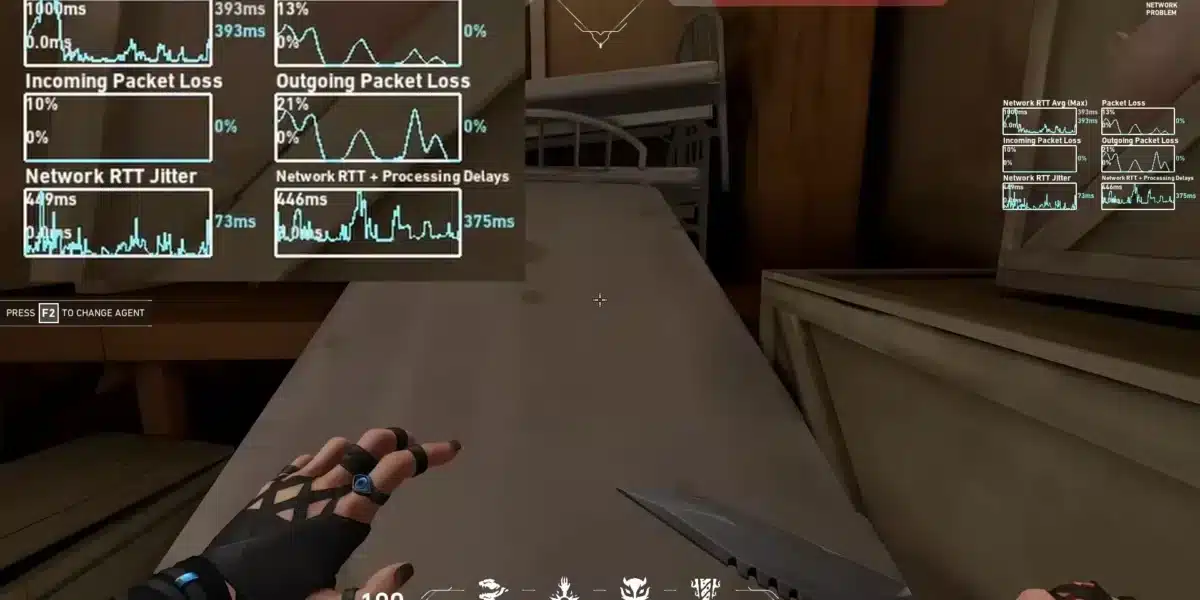
Killjoy Valorant remains one of the most effective sentinel agents for players who enjoy strategic, area-control gameplay. If you want to elevate your gameplay with Killjoy and dominate your matches, make sure to practice her Valorant Killjoy abilities and experiment with advanced setups. For the best experience, especially in competitive ranked games, try using ExitLag to improve your connection stability and reduce lag, ensuring you never miss a crucial moment.
Frequently Asked Questions (FAQ)
Killjoy is a sentinel agent specializing in area control and intel gathering. She uses gadgets like turrets, Alarmbots, and Nanoswarm grenades to slow and damage enemies, making her ideal for defensive play.
Place Killjoy’s turret in unexpected spots to gather early information and distract enemies. Combine Alarmbot with Nanoswarm grenades to maximize damage and deny spike plants or defuses.
Maps like Ascent, Split, and Lotus are considered the best Killjoy maps because their tight chokepoints and multi-level sites allow Killjoy to control space effectively.
Yes, Killjoy is excellent for ranked play due to her ability to control areas and provide valuable intel, helping teams secure sites and clutch rounds.
Compared to other Valorant sentinel agents like Cypher, Sage, and Chamber, Killjoy excels in area denial and damage output but relies heavily on gadget placement and team coordination.
Got questions or want to connect with other players? Join the conversation at the ExitLag Forum!