REPO is not your average horror-action game. It throws you into a nightmarish world filled with grotesque enemies, each deadlier and more unpredictable than the last. Whether you’re playing solo or with friends, knowing how to kill monsters in REPO is critical for survival.
This guide delivers powerful tips for defeating all 19 REPO monsters—from Spewer to Apex Predator, Robe, Headman, and the terrifying Clown. You’ll get strategies, weapon suggestions, team roles, mutation insights, and combat loadouts designed for both solo and squad play.
Let’s dive deep into every creature’s weakness—and how to exploit it.

Why Combat Knowledge Matters in REPO
REPO’s atmosphere is terrifying—but its gameplay is punishing. Every enemy behaves differently, and simply running or shooting won’t cut it. You need timing, precision, and understanding.
Mastering how to kill monsters in REPO means:
- Surviving longer, even during high-difficulty rounds
- Completing missions faster
- Minimizing ammo and resource usage
- Helping your squad instead of dragging them down
- Mastering the unique combat rhythm and stealth mechanics of each map
New players often ask: “Who are these monsters, and how do we kill them?” Let’s start with identifying your targets.
Full Combat Strategies for All REPO Monsters
Below is an expanded table providing comprehensive intel for every enemy type currently in the game. This includes detailed descriptions of their behavior, weaknesses, and the most effective way to eliminate them:
| Monster | Behavior Description | Kill Tip | Best Weapon or Tool | Threat Level |
| Apex Predator | Click-bait creature that transforms and charges | Never click it. Use ranged weapons after reveal | Shotgun, Burst Rifle | Medium |
| Animal | Crawls into you, disrupts loot | Melee to push back. Avoid proximity | Bat, Melee Tool | Low |
| Banger | Explosive skulls with AoE damage | Eliminate from range. Avoid cluster damage | Sniper, SMG | High (in groups) |
| Bowtie | Uses gusts to pin you against walls | Stay mobile, strike between gusts | SMG, Long-Ranged Melee | Medium |
| Chef | Jumps and spins with knives | Dodge jump, then counterstrike | Crossbow, Shock Mine | High |
| Clown | Lasers, illusions, teleportation | Use pulse scanner, EMPs. Break line-of-sight | EMP Grenade, Pulse Scanner | Extreme |
| Gnome | Swarms loot, destroys items | Grab and smash quickly, especially in packs | Hands-on, Bat | Medium |
| Headman | Fast, stuns, deadly charge | Shoot legs mid-charge, use electric traps | Electric SMG, Caltrops | Very High |
| Hidden | Invisible kidnapper | Watch breath prints and listen closely | Shotgun blast or regroup fast | High |
| Huntsman | Sound-reactive sniper | Stay silent, misdirect with tossed objects | Silence + Ping Lure | Extreme |
| Peeper | Forces gaze, then attacks | Break sight immediately using cover | Object Shielding | Medium |
| Mentalist | Lifts and slams players | Interrupt with rapid DPS or move out of orb | Shotgun, AoE Rounds | High |
| Reaper | Fast melee slasher | Avoid face-to-face combat. Use corners | Shotgun, Dash Tactic | High |
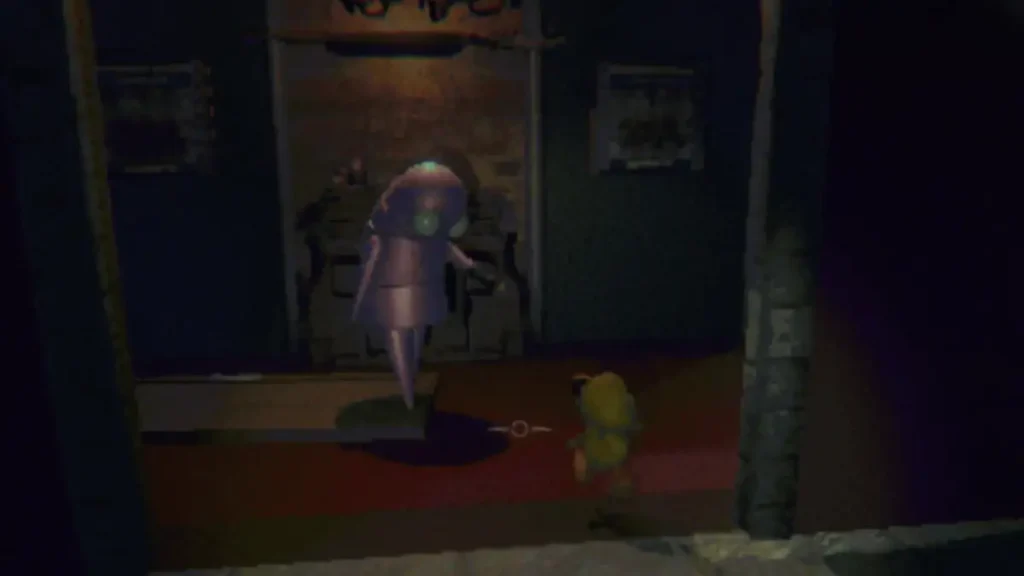
| Robe | Appears behind and one-shots | Don’t turn around. Use third-person perspective tactics | Avoidance Only | Extreme |
| Rugrat | Throws valuable items as projectiles | Keep items out of reach. Kill before it arms | Melee, Fast DPS | Medium |
| Shadow Child | Damages if stared at too long | Look away within 4 seconds | Peripheral View Awareness | Medium |
| Spewer | Vomits acid across large areas | Elevate, burst fire to mouth while dodging vomit | Scoped Rifle, SMG | High |
| Trudge | Slow-moving with pull ability | Avoid line of sight, stay hidden | Patience + Hide | Low-Medium |
| Upscream | Screams and stuns in tight spaces | Melee or range burst quickly | Bat, SMG | Low |
These breakdowns provide everything you need to improve survivability and optimize mission runs. Use this table in real-time strategy planning, especially when entering unfamiliar maps or team coordinating under pressure.

Monster Mutations: Late-Game Threats
As you progress deeper into missions, monsters mutate. These variants are tougher, faster, and come with new attack patterns, sound cues, and often break established rules of engagement. These aren’t just slightly stronger enemies—they can fundamentally change your approach mid-run.
Key Mutation Examples
- Spewer Variant: Launches acid orbs that explode on contact, covering wide areas in damaging goo. These orbs can also bounce off surfaces, hitting players in cover.
- Blind Guy Variant: Uses echolocation to bypass standard audio decoys, can pinpoint movement through walls. Your silence isn’t always enough anymore.
- Clown Mutation: Summons visual clones that detonate upon destruction. These illusions do splash damage and are harder to detect in low-light zones.
- Headman Berserker: Gains speed and removes traditional wind-up cues. His charge becomes instant, and his stun window shrinks dramatically.
- Reaper Frenzy: Swings faster, enrages if hit but not killed. Attacks faster after destroying a valuable item.
- Upscream Howler: Screams affect larger AoE and now disable your HUD momentarily, blinding your minimap and ammo count.
How to Counter Mutants
- EMP and Shock Traps: Perfect for disrupting chain abilities like Clown illusions or Reaper frenzy
- Pulse Scanner: Detects hidden variants or reveals fake clones
- Team-Based Focus Fire: Especially when facing Reaper or Mentalist variants that punish solo play
- Rotate Squad Roles: Assign temporary roles mid-mission if you’re overwhelmed—switch sniper to support if medical supply is low
Best Loadouts: Solo and Squad
Every piece of gear you bring impacts your chances against advanced threats. Extreme variants and mutations demand tailored kits.
Best Solo Loadout (Advanced)
- Primary Weapon: Scoped SMG with Stun Mod (stops rush attacks)
- Secondary Weapon: Sledgehammer (quiet and lethal in stealth)
- Support Tools: EMP Mine (for groups), Pulse Scanner (recon)
- Utility Items: Audio Decoy, Healing Injector (pop on stun recovery)
Best Squad Roles & Switching
Tank (Player 1)
- Shotgun with AoE blast
- Caltrops to slow rushers
- Shock Mines to control entry points
Sniper (Player 2)
- Scoped Rifle with pierce mod
- Pulse Scanner for mutant detection
- EMP Grenade for trap zones
Support (Player 3)
- Light SMG with Silence mod
- Healing Drone and revival injectors
- Smoke Bomb for escape
Utility (Player 4)
- Crossbow with traps
- Radar for illusion detection
- Decoys and anti-rush tools
Switching Roles Based on Monster Encounter
- Robe Appears → Utility switches to vision spotter; Sniper disables visual clones
- Spewer Variant → Tank draws fire while Support heals area splash
- Headman Berserker → All players use stun gear; Sniper focuses on flanks
ExitLag: The Game-Changing Advantage
Precision is everything in REPO. A single lag spike during a charge or scream can wipe your team. ExitLag prevents this.
Start your Exitlag 3 days Trial!
Benefits of Using ExitLag
- Removes ping spikes during cluttered monster phases
- Boosts connection stability when switching between roles or traps
- Preserves voice chat sync so callouts land in real-time
- Lowers packet loss, which directly affects stun shots and detection gadgets
Extreme Mode: Survive the Impossible
Extreme Mode is unlocked after completing a set of standard missions. It changes the game entirely.
Rule Changes
- Ammo scarcity (you start with less, pickups are rarer)
- Monsters respawn periodically after kill
- Random boss spawns at mid-objective
- Traps do more damage, especially in choke points
Pro Tactics
- Conserve Ammo: Use melee and environmental kills early
- Stick Together: Always move in buddy teams; solo = death
- Map the Spawn Cycle: Track where bosses tend to appear
- Speedrun Objectives: Skip unnecessary kills
- Sound Discipline: Disable unused mics; use ping system
Map-Specific Combat Tips
Labs
- Use silence tools only
- Avoid glass hallways—Huntsman hears everything
Theater
- Light reveals illusions (Clown)
- Pulse scan stage props; they often hide monsters
Storage Vaults
- Lock your cart area early
- Rugrat and Gnome work together to damage loot
Reactor Core
- Verticality is key; avoid Spewer vantage points
- Use EMPs to block electric surge traps
Squad Communication & Role Rotation
Combat success in REPO is about live adaptation. Here’s how to rotate roles fast:
- If Sniper runs out of ammo, Support drops their SMG and switches to revive duty
- When Tank goes down, Utility absorbs aggro with smoke and rotates healing
- If Utility is isolated, Sniper leads nav and scans monster threats remotely
Advanced Mutant Traps
These are setups specifically for late-stage enemies:
- Clown Box Trap: Place EMPs and mines near mirrored props. Lure illusions.
- Spewer Funnel: Use stairwells with decoys to trap under fire.
- Huntsman Decoy Bomb: Toss sound lure into enclosed zone with door slam timing.
High-Performance Utility Builds
- Silent Dash: Light SMG + 2 Smoke Bombs + Inject Boost
- Trap Lord: Crossbow + 3 deployables + Recharge Battery
- Clutch Medic: Revive Shot + Healing Drone + Pulse Scanner
FAQ: Advanced REPO Combat
How to recognize a mutated monster?
Look for glowing eyes, color shifts, and new sounds (echolocation clicks, for example).
Can you un-aggro Headman?
Only if no one fires after he roars. Retreat and break sight line fast.
What’s the best way to recover from a wipe?
Use fallback zones marked in the radar. Have a player kite enemies.
Is ExitLag a must in squads?
If you’re playing above Normal difficulty—yes. It prevents desync on revive and loot sync.
Final Thoughts
If you’ve made it this far, you’re no longer a survivor—you’re a monster hunter.
Mastering advanced tactics and ExitLag makes you unstoppable. Whether you’re soloing mutant runs or carrying squads in Extreme, precision and control are everything.
You now know every threat, every map trick, and every loadout build that gives you the edge.
Download ExitLag, sync your gear, and dominate REPO like a true elite.
All game images used in this blog belong to REPO’s developers. They are used for informational/educational purposes only and do not imply endorsement or affiliation with the rights holders.
Got questions or want to connect with other players? Join the conversation at the ExitLag Forum!