The minecraft armor stand is one of the most versatile decorative tools in the entire game. It allows players to display armor sets, organize gear more efficiently, and add style to bases with unique visual setups. Knowing how to make an armor stand in Minecraft gives you a huge advantage when designing storage rooms, armories, or creative builds.
The minecraft armor stand appears simple, but it offers deep customization depending on the edition you play. From smooth stone slabs to classic sticks, crafting the structure requires only a few easily obtainable resources. Understanding what it is, where you gather its components, and how to use it effectively will improve your gameplay flow.
Minecraft Armor Stand Basics
What the Armor Stand Is
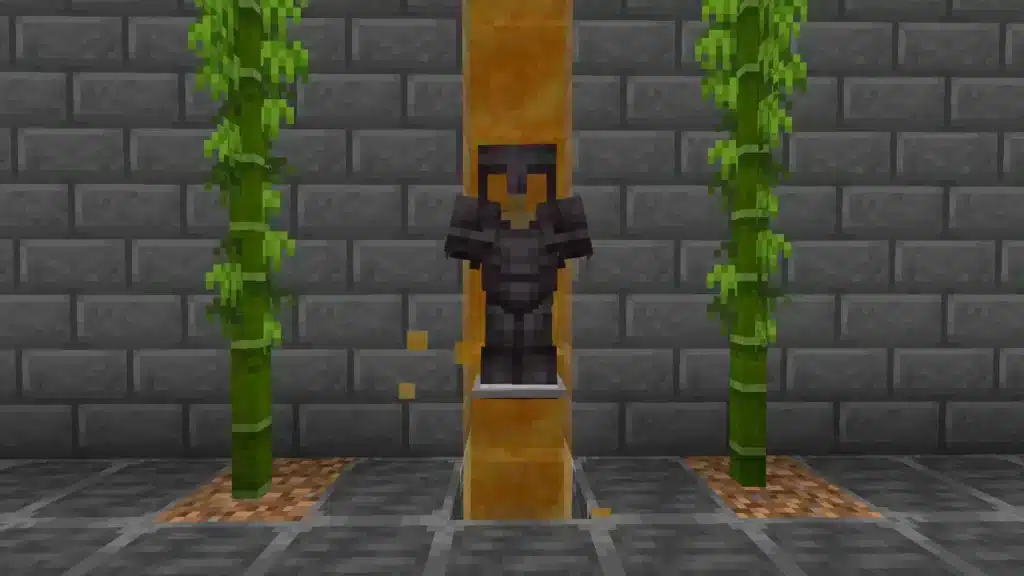
The armor stand is an entity used to hold and display items such as armor, carved pumpkins, mob heads, and elytras. Players place it in bases, corridors, and themed builds to showcase their gear.
Where to Obtain the Crafting Materials
The basic components are simple:
- Sticks come from any type of wood.
- Smooth stone slabs are created in a furnace using stone.
These items are available early in the game, making the armor stand perfect for beginners.
How to Craft the Minecraft Armor Stand Recipe
Crafting the minecraft armor stand recipe is straightforward. You need:
- Six sticks
- One smooth stone slab
- A crafting table
Follow this basic method:
- Open the crafting table.
- Place three sticks in a vertical row.
- Add one stick on each side of the center stick.
- Insert the smooth stone slab in the bottom center slot.
- Collect your armor stand.
Learning how to make minecraft armor stand takes only seconds, and once crafted, you can place as many as you need.
How to Use the Armor Stand in Minecraft
Armor stands can hold:
- Helmets
- Chestplates
- Leggings
- Boots
- Elytras
- Pumpkins
- Mob heads
Players often use them to:
- Display valuable enchanted sets
- Organize armor types
- Decorate bases
- Create role‑play scenes
With creativity, the armor stand becomes a core part of any aesthetic setup.
Enhancing Minecraft Multiplayer Performance with ExitLag
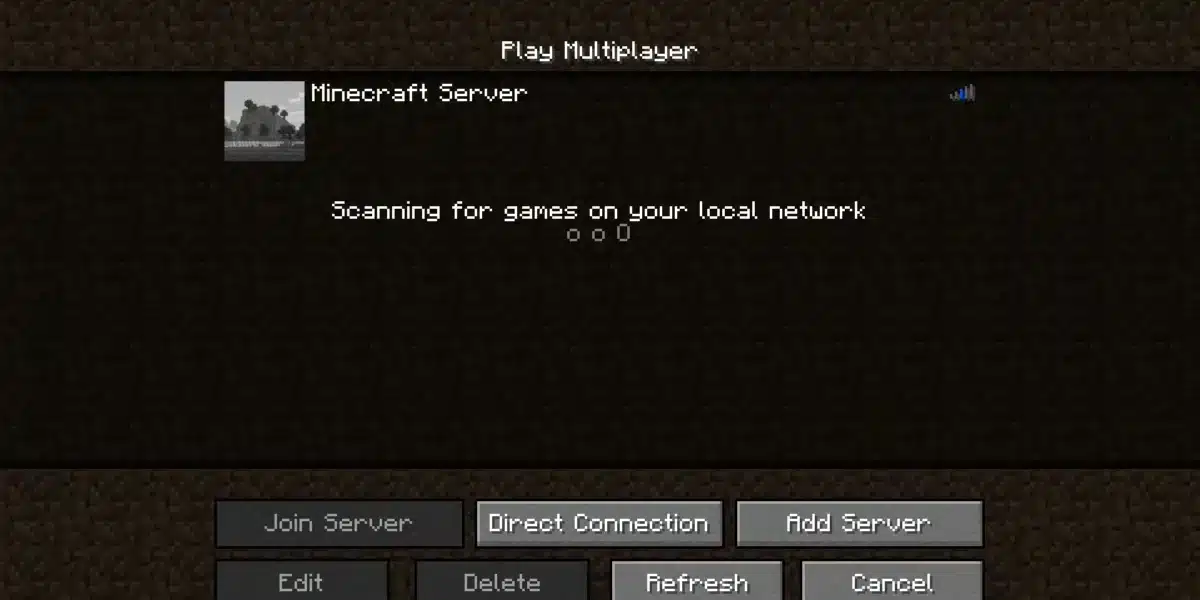
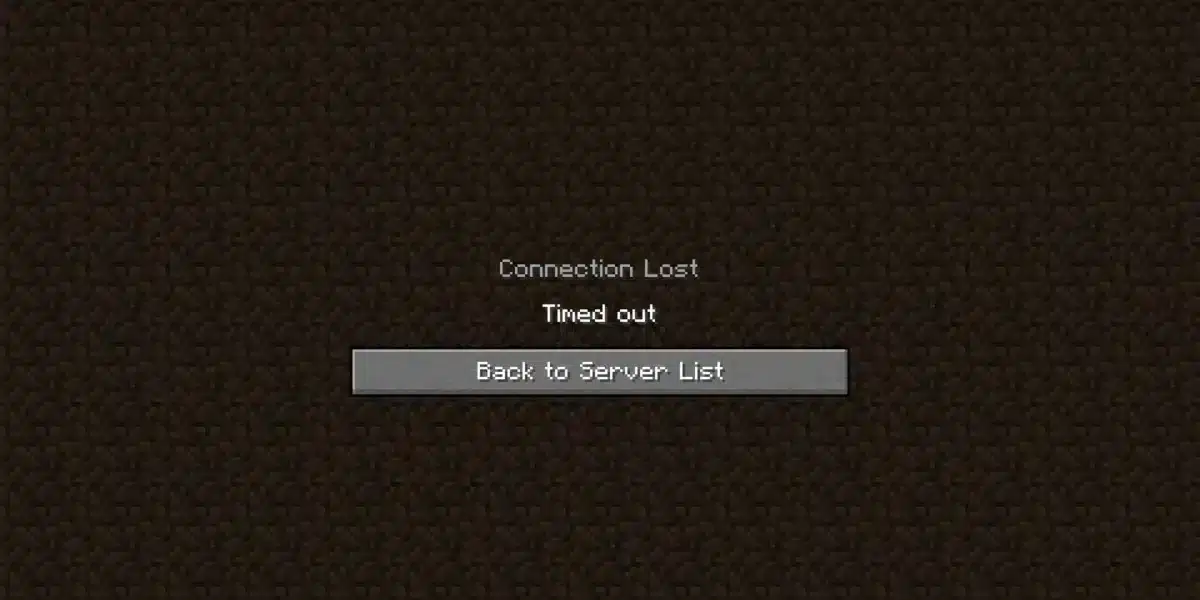
Minecraft is primarily an offline game, but players who join servers may face lag, ping spikes, or unstable connections. ExitLag ensures smoother, more stable multiplayer sessions.
ExitLag delivers:
- Multipath connection for higher stability
- Worldwide server routing
- Real-time optimization
- Traffic Shaper for efficient data flow
- Multi-Internet failover protection
How to Set Up ExitLag
- Create your ExitLag account.
- Download ExitLag.
- Choose Minecraft and apply the routes.
- Enjoy the best experience with ExitLag ON!
ExitLag does not optimize offline gameplay-it enhances online connectivity for PC and mobile only.
Crafting Differences in Minecraft Editions
Java Edition
In Java Edition, armor stands offer a wide range of customization options. Players can:
- Change poses by sneaking and right‑clicking the armor stand.
- Add arms only through commands or datapacks.
- Use /summon armor_stand with NBT tags to create custom poses, invisible stands, miniature stands, marker entities, and more.
Java’s flexibility with NBT data makes it the preferred edition for advanced redstone builders, map creators, and players who enjoy intricate decorative setups.
Bedrock Edition
In Bedrock Edition, the behavior of armor stands differs significantly:
- Players can change poses manually by sneaking and interacting with the armor stand, just like in Java.
- The armor stand comes with arms by default, removing the need for commands.
- Commands are optional and used only for advanced or highly specific poses.
- Bedrock includes some exclusive poses not present in Java.
This distinction between default arms and manual posing makes Bedrock armor stands more accessible for beginners while still offering creative freedom.
Expanded Comparison
Below is an expanded overview of how both editions differ:
Java Edition Highlights:
- No arms by default
- High customization via commands
- Ideal for datapacks and complex builds
- Manual posing available
Bedrock Edition Highlights:
- Arms enabled by default
- Manual posing supported
- Additional preset poses
- Commands used only for advanced customization
Why These Differences Matter
Players switching between editions often feel confused when armor stand behavior changes. Understanding these variations allows you to:
- Build consistent decoration styles across editions
- Adapt redstone or command‑based systems
- Create role‑play environments that behave as expected
These distinctions become especially important in long‑term survival worlds or multiplayer servers where aesthetic consistency matters.
Decoration Ideas for the Armor Stand Minecraft Setup for the Armor Stand Minecraft Setup
Best Locations to Place Armor Stands
- Storage rooms
- Base entryways
- Blacksmith-themed builds
- Role‑playing areas
Creative Decoration Concepts
- Medieval armories
- Enchanted gear displays
- Trophy rooms
- Battle training halls
These setups bring personality and style to your world.

Advanced Uses for the Armor Stand in Minecraft
The armor stand in Minecraft goes far beyond simple decoration. Once you understand advanced placement, command options, and interaction mechanics, the armor stand becomes a powerful tool for storytelling, automation, and highly detailed aesthetic builds.
Players often search for terms like how to craft an armor stand in Minecraft, how do you make a armor stand in Minecraft, and armor stand Minecraft recipe when attempting more complex builds.
Creative Role‑Play Applications
Armor stands can be arranged to simulate battle scenes, merchants, guards, or NPC-like figures inside villages and castles. Players also use items such as mob heads and pumpkins to give each stand a unique identity.
Interactive Adventure Map Elements
Map makers rely heavily on armor stands for:
- Quest givers
- Hidden traps
- Visual storytelling elements
- Miniature statues created using NBT tags such as {Small:1b} (Java)
These small details enrich gameplay and immersion.
Advanced Crafting Knowledge and Recipe Clarifications
Many players look up armor stand Minecraft recipe, armor stand recipe Minecraft, and how to craft a armor stand in Minecraft because they want accurate details. While the base recipe is simple, several misconceptions exist:
- The recipe never changes between updates.
- Smooth stone slabs are required, not regular slabs.
- Sticks must follow the exact pattern or the recipe fails.
Knowing precisely how to make a armor stand in Minecraft pc is essential for players using both editions.
Below is a complete restatement of the crafting logic for SEO clarity:
- Six sticks form the central body and arms.
- One smooth stone slab forms the base.
- Crafting works on Java, Bedrock, and Education Edition.
If you ever wondered, how to make armor stand Minecraft, the answer is consistent across versions.
Redstone Mechanics and Movement Effects
Armor stands can interact with:
- Pistons
- Redstone triggers
- Slime blocks
- Honey blocks
- Block update detectors
Creative players use armor stands for:
- Animated scenes
- Moving statues
- Auto‑equipping rooms (Java)
- Hidden doors with armor stand detection (Bedrock)
This mechanical depth makes them an essential tool for advanced redstone engineers.
Armor Stand Posing: Expert Level
Knowing how to make armor stand in Minecraft is only the beginning. True mastery comes from understanding posing systems.
Java Edition Advanced Poses
Players can manipulate each limb using commands like:
/summon armor_stand ~ ~ ~ {Pose:{RightArm:[0f,90f,0f],LeftArm:[0f,270f,0f]}}
This allows ultra‑precise rotation angles.
Bedrock Edition Advanced Poses
Bedrock includes:
- Manual pose cycling
- Built‑in arms
- Extra preset animations
Commands are optional but expand possibilities.
Best Display Ideas Using Armor Stands
Whether you’re using them for decoration or utility, the following ideas help maximize your minecraft armor stand creativity.
Themed Armor Galleries
Create themed halls for:
- Diamond, Netherite, Gold, and Iron sets
- Enchanted armor displays
- Speedrunner trophy rooms
- PvP victory showcases
Custom Characters Using Armor Stands
Players combine:
- Heads
- Carved pumpkins
- Elytras
- Banners
These elements produce unique characters for villages, castles, or minigames.
Multiplayer Bases and Community Builds
Players who search for how to make an armor stand in Minecraft often plan large multiplayer bases. Armor stands help define zones, mark storage rooms, and create visual hierarchy.
Some popular concepts:
- Guardian statues near base entrances
- Blacksmith armor walls
- Training grounds with dummy targets
- Player memorabilia halls
Armor Stand Capabilities Across Editions
| Feature | Java Edition | Bedrock Edition |
| Arms by default | No | Yes |
| Manual posing | Yes | Yes |
| Advanced command posing | Yes | Optional |
| NBT customization | Extensive | Limited |
| Built‑in preset poses | No | Yes |
| Redstone movement potential | High | High |
Most Creative Uses for Armor Stands
- Miniature statues for interior builds
- Castle armory racks
- Weapon displays
- Unique NPCs for multiplayer hubs
- Trap activation entities
- Animated scenes using redstone
Steps for Perfect Armor Stand Placement
- Clear a full block of space.
- Position the stand at eye level.
- Use shift‑click for precise placement.
- Add armor starting from the helmet down.
- Use poses to finalize the scene visually.
Final Thoughts on Minecraft Armor Stands
The armor stand is one of Minecraft’s most flexible tools. Once you learn how to make an armor stand in Minecraft, the creative potential becomes limitless. From simple gear displays to advanced sculptures, armor stands elevate any base.
And for multiplayer builders, ExitLag ensures your online sessions remain stable so you can focus entirely on creativity.
Disclaimer
All game images used in this blog belong to Mojang Studios. They are used for informational/educational purposes only and do not imply endorsement or affiliation with the rights holders.
Got questions or want to connect with other players? Join the conversation at the ExitLag Forum!