A solid Minecraft survival house is the foundation of any successful gameplay in survival mode. Whether you’re fending off mobs at night or storing precious resources, your base is your safe haven — and building it right is essential.
If online play ever stutters, this guide to fix Minecraft lag covers practical steps to stabilize ping and reduce packet loss on multiplayer servers.
Many players underestimate how crucial it is to design a functional and secure Minecraft survival house. A well-planned home not only protects you but also helps organize your gear, improves mobility, and boosts efficiency in the early and late game.
What Is a Minecraft Survival House?
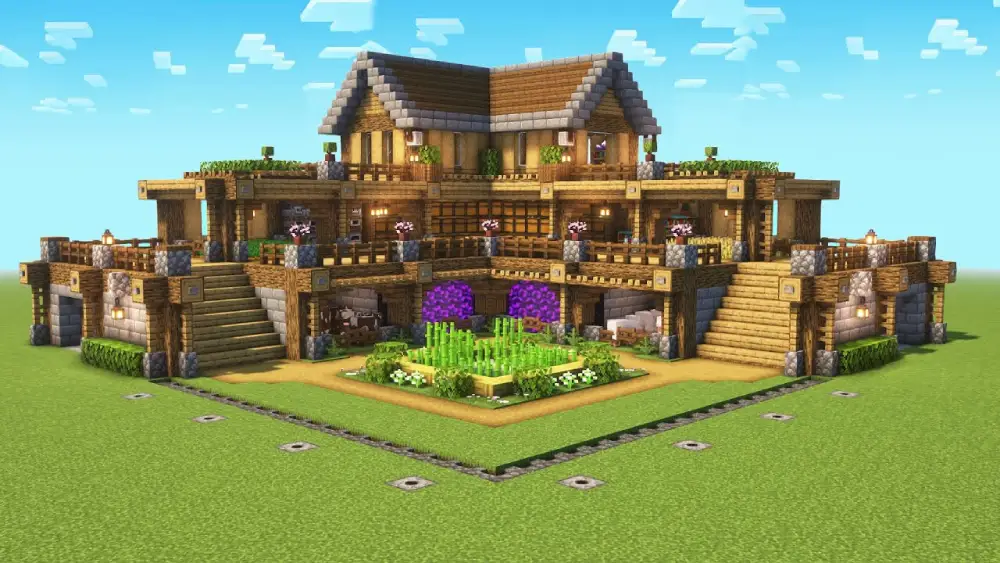
A Minecraft survival house is a structure built by players in Survival Mode to serve as a base of operations. Unlike creative builds that focus purely on aesthetics, survival houses are designed with functionality in mind: safety, storage, crafting, and resource management.
These houses typically include basic necessities like beds, chests, furnaces, crafting tables, farms, and sometimes underground mines or enchantment rooms. The best survival houses strike a balance between utility and visual appeal.
How ExitLag Improves Your Minecraft Survival Experience
While most players enjoy Minecraft in single-player mode, many also play with friends or join public multiplayer servers. In these environments, lag and high ping can affect gameplay — especially when exploring large areas or in PvP scenarios. ExitLag helps optimize your connection to reduce latency and improve stability, keeping your Minecraft survival house and sessions uninterrupted when playing online.
Essential Features of a Good Minecraft Survival House
Strategic Location
Choose a location that offers access to natural resources, flat terrain, and proximity to caves or villages. According to LifeWire and other Minecraft communities, solid materials and smart placement reduce creeper damage and increase survival odds.
Strong Foundations
Start with durable materials like stone, brick, or cobblestone, which better resist explosions from creepers compared to wood. Reinforced foundations also make future upgrades easier.
Secure Doors and Lighting
Use iron doors combined with pressure plates or buttons — in most Java Edition setups, zombies cannot activate stone pressure plates, though behaviors may vary depending on version or server settings. Always light your base with torches, lanterns, or glowstone to prevent mob spawning in dark corners or shaded outdoor areas.
Organized Storage
Label your chests and organize by item category (tools, ores, food, etc.). This keeps crafting efficient and prevents item loss.
Multi-Level Design
Designing multi-level houses gives vertical storage and extra safety. Use basements for mines or upper levels as lookout towers.
Types of Minecraft Survival Houses
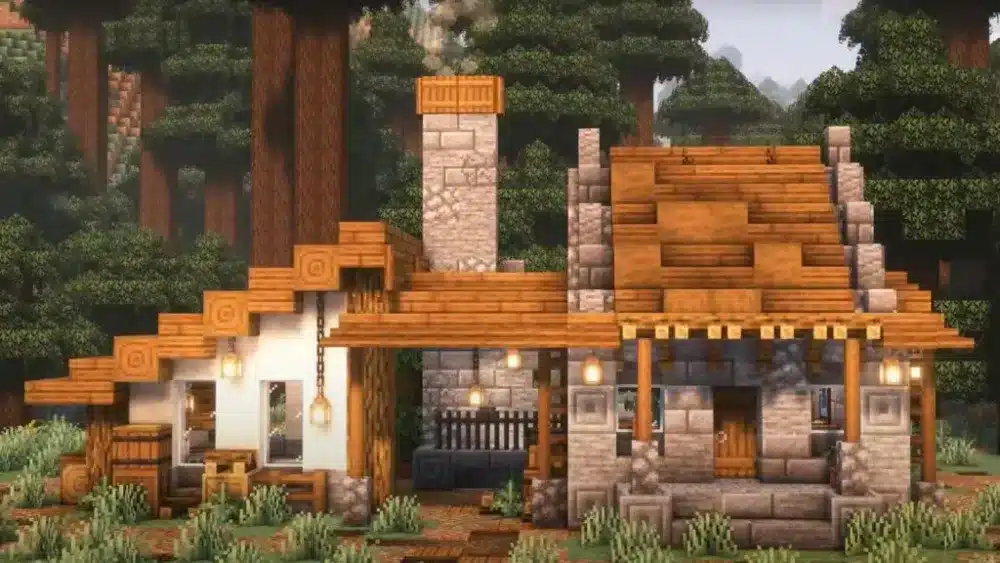
Classic Wooden Cabin
Simple, resource-friendly, and easy to expand. Ideal for beginners in any biome.
Underground Bunker
Excellent protection from mobs and PvP threats. Requires digging and hidden access points. Great for late-game defense.
Treehouse Base
Elevated safety from mobs like creepers. Requires scaffolding or ladders, making it better for intermediate players who have bamboo and string.
Modern Fortress
Stylish, reinforced, and often automated. Concrete, glass, and redstone make it functional and defensive. Recommended for advanced builders.
Mountain Shelter
Hidden within cliffs. Excellent natural camouflage and defense. Ideal for stealth play or resource conservation.
Building the Perfect Minecraft Survival House
- Gather core materials: wood, cobblestone, iron, glass
- Flatten your building area or dig into terrain
- A good starter layout might use a 7×7 or 9×9 base with 3-block-high walls — this is optional and can vary depending on biome and resources
- Add a roof with slabs or stairs for style and protection
- Place torches or lanterns around the exterior
- Install an iron door and glass windows for visibility and defense
- Furnish with crafting tables, chests, furnace, and bed
- Build a nearby crop or animal farm
- Include an interior mine entrance if needed
- Upgrade over time with redstone features, nether blocks, or enchanted gear
For crisp detailing on early builds, this step-by-step stonecutter guide shows how to craft and use the stonecutter to save materials and unlock more precise block variants.
Design Tips and Creative Ideas
- Mix wood and stone for contrast and durability
- Decorate interiors with flower pots, paintings, or banners
- Use fences or walls to define your territory
- Add hidden tunnels or trapdoors for quick escapes
- Quick Tip: Don’t place your bed near windows on Day 1 — mobs may spot and attack you upon waking up
Example Layouts
| Design Type | Size | Difficulty | Best For |
| Wooden Cabin | 7×7 | Easy | Early game starts |
| Underground Bunker | Varies | Medium | Hardcore players |
| Treehouse | 5×5 (base) | Medium | Jungle biomes |
| Fortress | 10×10+ | Hard | PvP & Multiplayer |
| Mountain Shelter | Custom | Medium | Stealth & Defense |
Materials You’ll Need
- Oak or spruce logs
- Cobblestone or stone bricks
- Iron ingots (for doors/tools)
- Glass panes]
- Torches, lanterns, or glowstone
- Crafting table and furnace
- Chest(s)
- Bed
- Fence gates and fences
- Water bucket (for farms)
- Copper blocks (version 1.21+) for advanced decoration
Upgrading Your Survival House
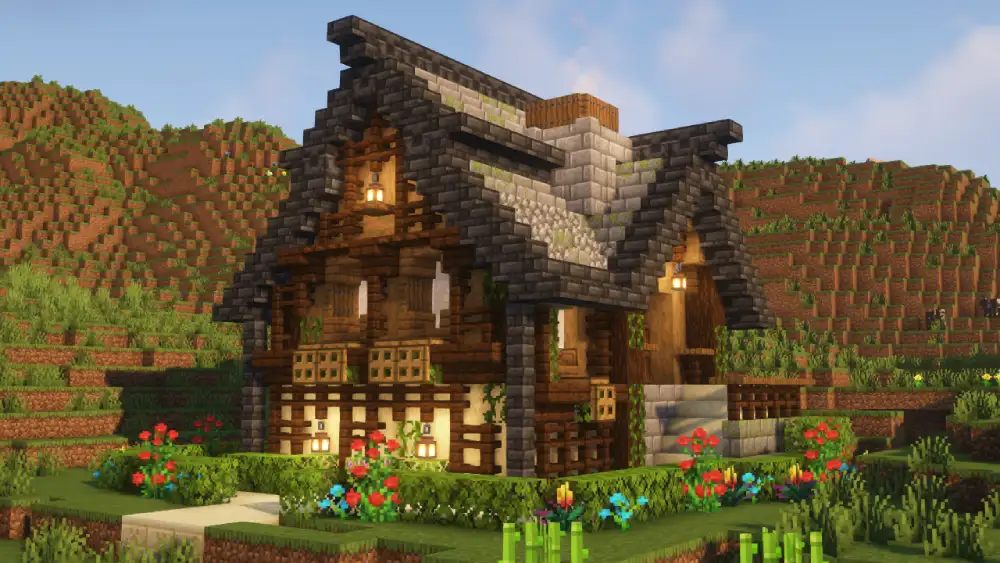
Add Redstone Features (Intermediate/Advanced)
Consider adding automatic doors, hidden passageways, or item sorters later in the game. These require redstone, repeaters, and knowledge of circuitry — ideal for experienced players.
Create Farms and Food Supply
Grow crops like wheat, carrots, and potatoes. Raise cows, pigs, and chickens for steady food and materials.
Enchanting and Brewing Stations
Build an enchantment area with bookshelves and a brewing stand for potions — essential for The Nether or boss fights.
If you prefer to follow clear build plans, this beginner-friendly Minecraft house tutorial walks through layouts, roof tricks, and expansion paths you can adapt for Survival Mode.
Secondary Structures to Build
- Watchtower
- Barn or stable
- Fishing hut
- Nether portal platform
- Large storage room
Why Your House Matters in Minecraft Survival
Your Minecraft survival house isn’t just a shelter — it’s the foundation of everything you’ll do. From crafting and farming to defending and expanding, your home supports survival and progress.
Good home design reduces panic during mob attacks, helps you navigate harsh biomes, and becomes your launchpad to dimensions like The Nether and The End.
Best Biomes for Minecraft Survival Houses
Plains
Flat, open areas perfect for beginners and farming.
Forest
Excellent for gathering wood. Ensure good lighting to reduce mob spawns — shadows in thick foliage can lead to surprise attacks.
Mountains
Great views and natural defense. More challenging to build but rewarding.
Taiga
Cold climate with evergreen trees and wolves. Cozy aesthetic.
Savanna
Flat and bright with unique acacia wood and low rainfall.
Quick Survival Checklist Before Your First Night
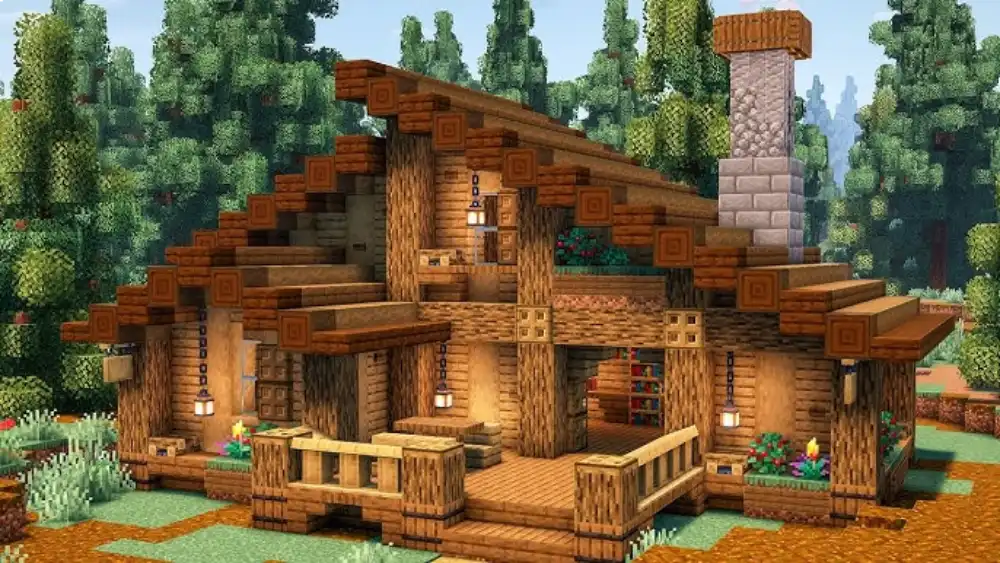
- ✓ Light up the area around your home
- ✓ Place a chest with tools, food, and emergency items
- ✓ Sleep with walls and roof fully enclosed
- ✓ Avoid windows next to beds
- ✓ Prepare a pickaxe and furnace early
- ✓ Start a small food source nearby
- ✓ Optional: Dig a basic mine entrance under the house
For visual tutorials, building examples, and walkthroughs, check out community videos on YouTube such as Wattles, BlueNerd, or the official Minecraft channel.
To follow official news, patch notes, and guides, visit Minecraft’s official website for updates from Mojang Studios.
Advanced Minecraft Survival House Additions
Automated Farming Systems (Intermediate+)
Upgrade your Minecraft survival house by adding auto-farms once you have mid- to late-game resources. These systems often require redstone, dispensers, and hoppers:
- Auto wheat/carrot/potato farm
- Egg and chicken cooker
- Sugar cane piston farm
Note: These setups may be resource-intensive and are better suited for experienced players.
Mob-Proofing Strategies
- Use fences, walls, or natural barriers like water moats
- Elevate entrances with stairs and trapdoors
- Set up daylight sensors to activate defensive lighting (check compatibility in your world or server settings)
Interior Optimization
- Color-code rooms for quick navigation
- Add item frames to label chests visually
- Install pressure plates for easy access doors
Decorative Blocks (Version 1.21+)
- Polished deepslate or copper blocks for structure and contrast
- Hanging signs for custom labels
- Chiseled bookshelves (added in 1.20 “Trails & Tales”) for actual book storage and redstone interactions
⚠️ Common Mistake
Avoid using glass as your main roof in survival bases — explosions from creepers or ghasts can shatter it. Use slabs or stairs for added blast resistance.
Redstone Ideas for Survival Homes
Useful Redstone Creations
- Auto-smelters: Smelt ores using furnaces, hoppers, and chests
- Hidden doors: Use pistons for camouflaged entrances
- Trash bins: Use dispensers to drop items into lava or cacti
Security Systems
- Alarm system with note blocks
- Tripwire or pressure plate traps
- Base lockdowns with sticky pistons and levers
Version Tip: Redstone behavior may differ slightly between Java and Bedrock editions. Always test in your version.
Multiplayer and PvP Protection
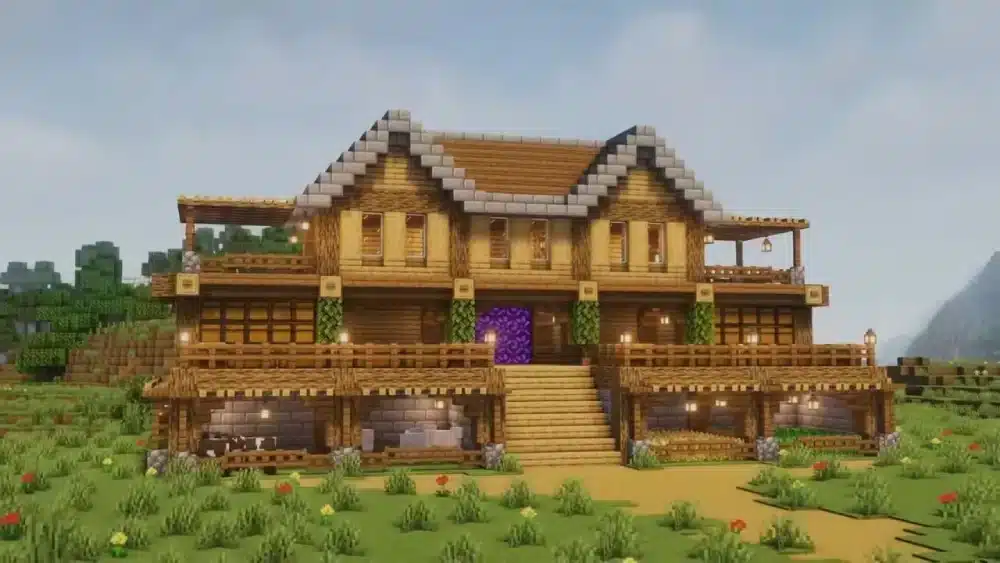
In multiplayer survival worlds, your Minecraft survival house may be at risk from other players. Enhance protection with:
- Hidden stash rooms
- Multi-layer walls
- Trap-filled hallways
Note: Server protection plugins (e.g., WorldGuard, GriefPrevention) only apply to modded or hosted servers — not in vanilla single-player or realms.
Resource Management and Expansion
Storage Rooms
Design a warehouse area with labeled aisles:
- Blocks and minerals
- Food and farming
- Enchanting and potion supplies
Trading Area with Villagers
Create a secure space for trading with villagers:
- Assign workstations (lectern, smithing table, fletching table)
- Use trapdoors and walls to keep them protected
- In newer versions, villagers offer unique trades based on their job roles and experience level
Exploration Preparation Room
Include a room for:
- Maps and compasses
- Armor stands and spare gear
- Backup tools and weapons
Keep a travel chest with:
- Extra food and torches
- Empty shulker boxes (if post-End game)
- Potions, water buckets, and building blocks
Thematic Builds and Seasonal Variants
- Winter Lodge: Snowy roofs, fireplaces, spruce and stone
- Desert Outpost: Sandstone, clay, cacti, flat roofing
- Jungle Temple Base: Mossy stone, vines, traps and bridges
Note: Thematic builds offer creative variety but don’t necessarily affect gameplay or defense — always prioritize safety and functionality.
Community Inspiration Sources
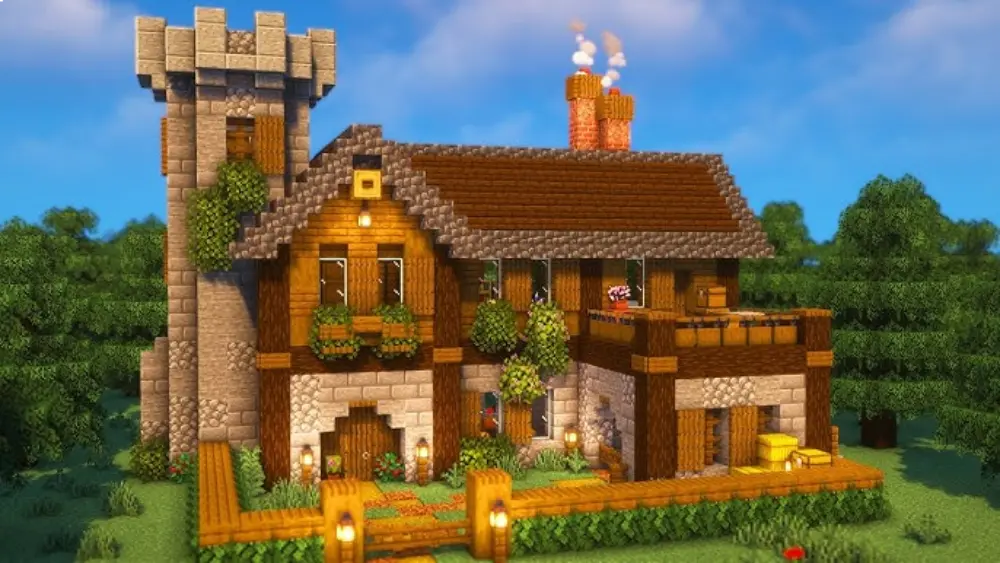
- YouTube channels: Wattles, BlueNerd, Pixlriffs
- Reddit: r/Minecraft and r/Minecraftbuilds
- Minecraft Schematics and PlanetMinecraft
FAQ
Start with durable materials (stone, cobblestone), good lighting, and secure doors. Build away from dark forests and include fences.
A 7×7 or 9×9 square with 3-block-high walls is great for beginners. Customize based on terrain and resource availability.
Yes! Redstone adds automation and protection features. Start with basic systems like auto-smelters or piston doors. Save advanced builds for later.
Plains and mountains offer clear views and minimal shadows. Forests require more lighting to prevent mob spawning.
Add farms, enchanting areas, storage systems, and security measures. Upgrade materials as you gain resources.
All game images used in this blog belong to Mojang Studios. They are used for informational/educational purposes only and do not imply endorsement or affiliation with the rights holders.
Got questions or want to connect with other players? Join the conversation at the ExitLag Forum!