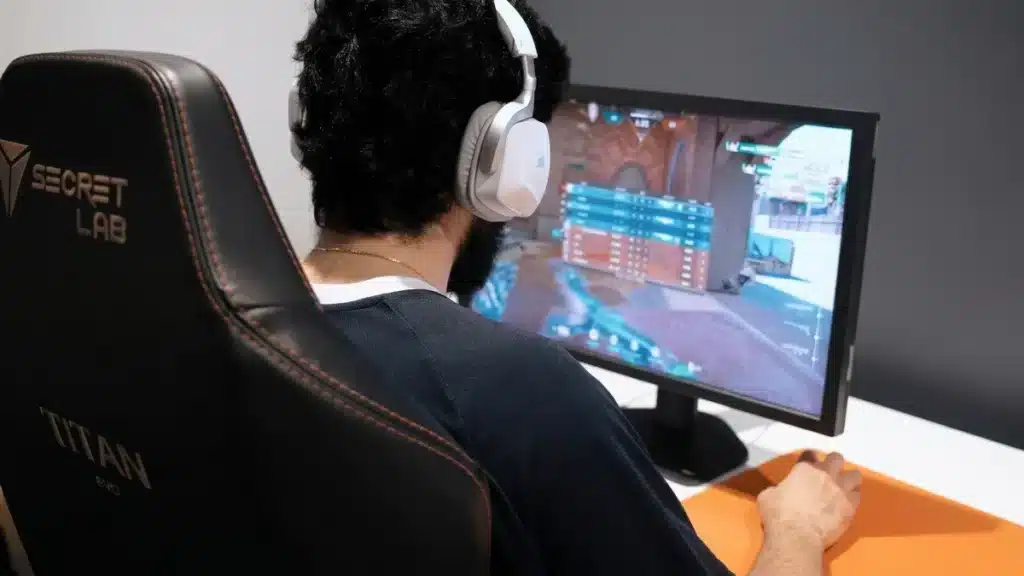
Understanding Valorant maps is one of the biggest factors separating casual players from consistent ranked climbers. Every map presents different sightlines, rotations, choke points, and strategic opportunities that can completely change how a match unfolds.
Mastering Valorant maps requires more than simply memorizing callouts. Players must understand how each layout influences agent selection, utility usage, rotations, and team coordination. This knowledge becomes increasingly important as the competitive meta evolves. And before we continue, know that to know more about all the relevant content about gaming, you just have to check our blog.
What are Valorant maps and why do they matter?
The current Valorant maps ecosystem continues to change with every patch and Valorant map rotation update. What makes a map successful in competitive play? Layout balance, strategic depth, and opportunities for both attackers and defenders all contribute to a healthy map design.
Maps define the flow of every Valorant match. Unlike many tactical shooters, Valorant introduces unique mechanics and environmental features that significantly influence gameplay.
Each Valorant map encourages different strategies and agent compositions.
Because of this, players who understand map-specific tactics often outperform mechanically stronger opponents.
How maps affect gameplay
Map design impacts almost every aspect of a match.
Important elements include:
- Entry routes
- Defensive positions
- Rotation timings
- Utility effectiveness
- Sightline control
These factors influence how teams attack, defend, and adapt throughout each round.
As a result, strong map awareness often leads to better decision-making.
Why map knowledge improves ranked performance
Players who understand the current Valorant map pool gain several advantages.
Benefits include:
- Faster rotations
- Better positioning
- Smarter utility usage
- Improved communication
- Stronger site executions
Therefore, map mastery remains one of the most valuable skills for competitive improvement.
Check also: The Latest Valorant Update: What’s New and What to Expect
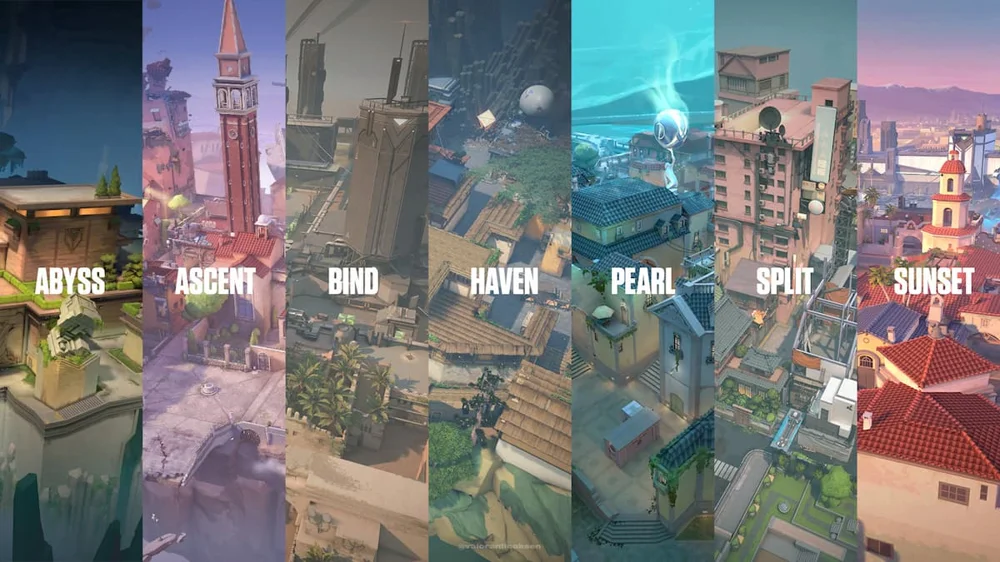
All Valorant maps currently available
The game has expanded significantly since launch.
Today, all Valorant maps offer distinct visual styles, mechanics, and strategic challenges.
Each addition introduces new tactical possibilities that keep the meta evolving.
Complete Valorant map list
Current maps include:
- Bind
- Haven
- Split
- Ascent
- Icebox
- Breeze
- Fracture
- Pearl
- Lotus
- Sunset
- Abyss
Each map brings unique strengths and weaknesses.
Some reward aggressive playstyles, while others favor slower, methodical strategies.
How maps differ from one another
Several maps introduce mechanics unavailable elsewhere.
Examples include:
- Teleporters on Bind
- Three sites on Haven
- Rotating doors on Lotus
- Vertical combat on Icebox
- Large open spaces on Breeze
These features help ensure that no two maps feel identical.
Consequently, players must adapt their approach depending on the battleground.
You may also like: The Best Valorant skins: How to Get Them and Which Are Worth It
Valorant map pool and competitive rotation
Not every map is available in ranked play simultaneously.
Riot maintains a rotating Valorant map pool designed to keep competitive gameplay fresh and balanced. This system encourages players to continuously adapt.
What is the Valorant map pool?
The ranked pool contains a limited selection of maps approved for competitive play.
The active pool typically includes seven maps at a time.
This approach helps:
- Reduce complexity
- Maintain balance
- Improve matchmaking consistency
- Support esports competition
- Encourage strategic diversity
Because of that, players should focus practice on maps currently in rotation.
How Valorant map rotation works
The Valorant map rotation system periodically removes and reintroduces maps.
Reasons include:
- Balance updates
- Layout adjustments
- Meta shifts
- Technical improvements
- New map releases
For example, maps like Breeze and Fracture have previously left the ranked pool before returning after updates.
This system keeps gameplay fresh while allowing Riot to improve older maps.
Check this: Valorant Schedule: Upcoming Events, Tournaments, Updates & Maintenance
Valorant mapping fundamentals for competitive success

Effective Valorant mapping goes beyond remembering where sites and callouts are located.
It involves understanding how teams move throughout the map and how pressure affects rotations.
This knowledge helps players anticipate enemy decisions before they happen.
Learning callouts efficiently
Clear communication remains essential in Valorant.
Important callout categories include:
- Site locations
- Mid control areas
- Defender positions
- Rotation routes
- Utility landmarks
The faster teammates exchange information, the stronger their overall coordination becomes.
Understanding map control
Map control is one of the most important concepts in tactical shooters.
Teams establish control by:
- Clearing angles
- Using utility
- Gathering information
- Holding key positions
- Limiting enemy movement
Strong control creates opportunities for successful site executions and defensive holds.
As a result, understanding Valorant mapping concepts directly improves ranked performance.
Read also: Understanding Valorant Rank Distribution and the Competitive Ladder
Best Valorant maps for different player roles
Every player approaches Valorant differently. Some prefer aggressive entries, while others focus on information gathering, site control, or defensive anchoring.
Because of this, certain Valorant maps naturally favor specific roles and playstyles.
Understanding where your preferred agents perform best can significantly improve your impact.
Best maps for duelists
Duelists thrive in environments that reward mechanical skill and aggressive engagements.
Top duelist-friendly maps include:
- Icebox
- Sunset
- Split
- Ascent
These maps provide opportunities for:
- Fast entries
- Vertical movement
- Isolated duels
- Mid-control fights
- Aggressive flanks
Agents like Jett, Raze, and Reyna often excel on these battlegrounds.
Best maps for controllers and sentinels
Controllers and sentinels benefit from layouts that reward strategic utility placement.
Strong options include:
- Lotus
- Haven
- Ascent
- Bind
These maps allow players to:
- Deny critical areas
- Slow pushes
- Control rotations
- Gather information
- Support teammates
As a result, utility-heavy compositions often perform exceptionally well on these maps.
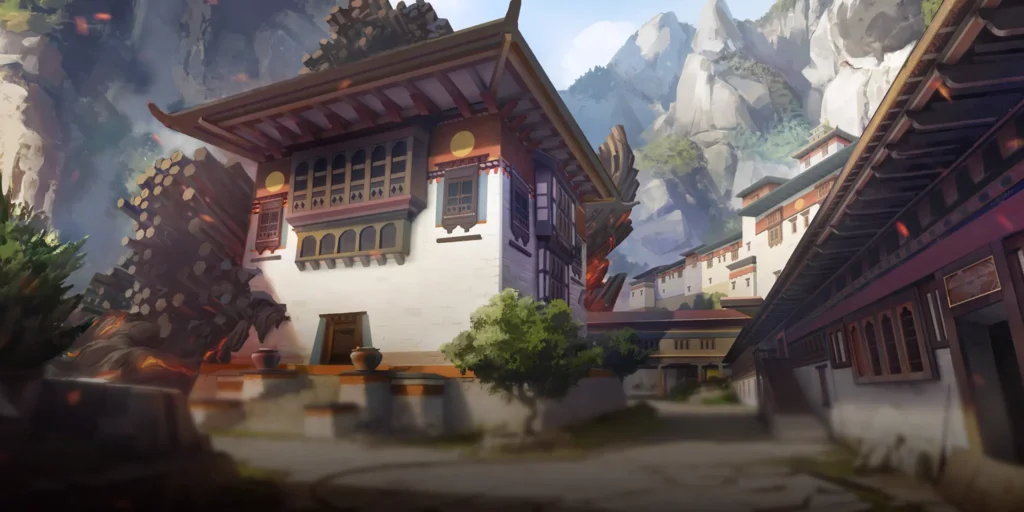
New Valorant map additions and future updates
Riot continues expanding the game through new battlegrounds and regular adjustments.
Every new Valorant map introduces fresh strategies while reshaping the competitive landscape.
These additions prevent the game from becoming predictable.
Valorant new map trends
Recent releases show several design trends.
Modern maps often emphasize:
- Dynamic rotations
- Multiple entry points
- Greater verticality
- Flexible utility usage
- Strong mid control
This philosophy creates more opportunities for strategic depth and creativity.
Consequently, players must continually adapt to remain competitive.
What to expect from future releases
Future maps will likely continue expanding tactical possibilities.
Potential features include:
- Interactive map mechanics
- Alternative rotation paths
- New environmental hazards
- Enhanced vertical gameplay
- Expanded strategic options
Because Riot constantly evolves the game, every Valorant new map has the potential to reshape the meta.
Check also: Valorant PS5: Learn Everything You Need to Know About It
New 1v1 map Valorant experiences and custom game modes
While Valorant primarily focuses on team-based gameplay, many players enjoy practicing mechanics through custom experiences.
The growing popularity of the new 1v1 map Valorant community highlights the demand for isolated skill-based encounters.
These maps help players sharpen individual mechanics.
Why 1v1 maps are popular
Custom duel maps offer focused practice opportunities.
Benefits include:
- Improved aim
- Faster reaction times
- Better movement
- Crosshair placement training
- Consistent repetition
Because of this, many competitive players use 1v1 maps as part of their training routine.
How 1v1 practice improves ranked gameplay
Dedicated mechanical practice helps players perform better in real matches.
Regular training can improve:
- Entry duels
- Clutch situations
- Confidence
- Precision
- Decision-making under pressure
Therefore, incorporating custom practice maps into your routine can accelerate improvement.
Valorant maps comparison table
The current map selection offers a wide variety of strategic experiences.
| Map | Key Feature | Best For |
| Bind | Teleporters | Controllers |
| Haven | Three Sites | Sentinels |
| Ascent | Mid Control | Beginners |
| Split | Verticality | Duelists |
| Icebox | Multi-Level Combat | Aggressive Players |
| Breeze | Long Sightlines | Operators |
| Fracture | Dual Attacker Entry | Coordinated Teams |
| Pearl | Traditional Layout | Balanced Play |
| Lotus | Rotating Doors | Controllers |
| Sunset | Mid Control Focus | Duelists & Initiators |
| Abyss | High Vertical Potential | Flexible Strategies |
This variety is one of the reasons Valorant remains one of the most strategically diverse tactical shooters available today.
How ExitLag helps on Valorant maps
Map knowledge is important, but consistent performance also depends on connection quality.
Even the best strategy can fail when lag interferes with critical moments.
Therefore, stable networking remains essential.
Reducing lag during competitive matches
Network instability often causes:
- Delayed utility usage
- Missed shots
- Rubberbanding
- Packet loss
- Inconsistent movement
These problems become especially noticeable on larger maps with frequent rotations.
ExitLag helps reduce these issues by optimizing traffic routes in real time.
Improving responsiveness across every map
Benefits of optimized routing include:
- Lower ping
- Better hit registration
- Reduced packet loss
- Faster responses
- Greater connection stability
As a result, players can focus entirely on mastering Valorant maps without worrying about network-related interruptions. ExitLag can drastically improve your gameplay for an accessible price. To know more, check our pricing page.
Frequently asked questions (FAQ)
Currently, all Valorant maps include Bind, Haven, Split, Ascent, Icebox, Breeze, Fracture, Pearl, Lotus, Sunset, and Abyss. Riot periodically expands this list through updates and new releases.
The active Valorant map pool changes regularly. Riot rotates maps in and out of competitive play to maintain balance, support esports competition, and keep gameplay fresh.
The Valorant map rotation system removes certain maps from ranked play while introducing others. This allows Riot to make improvements and prevents the competitive experience from becoming repetitive.
The most recent additions include Sunset and Abyss. Every new Valorant map introduces unique mechanics and strategic opportunities that influence the overall meta.
A new 1v1 map Valorant experience usually refers to custom community-created maps designed for duels and aim training. These maps help players improve mechanics, reaction time, and consistency.
Yes. ExitLag optimizes data routes between your device and game servers, reducing latency, packet loss, and connection instability for a smoother competitive experience.
You should check more games compatible with ExitLag at our official games page.
In conclusion
Mastering Valorant maps is one of the fastest ways to improve your overall performance. Whether you’re learning all Valorant maps, adapting to the latest Valorant map rotation, exploring a new Valorant map, or practicing on a new 1v1 map Valorant, understanding layouts and strategic opportunities provides a major competitive advantage.
Combined with consistent practice and ExitLag’s connection optimization, players can maximize their performance across every match and fully master the world of Valorant maps. Download ExitLag now!
Got questions or want to connect with other players? Join the conversation at the ExitLag Forum!