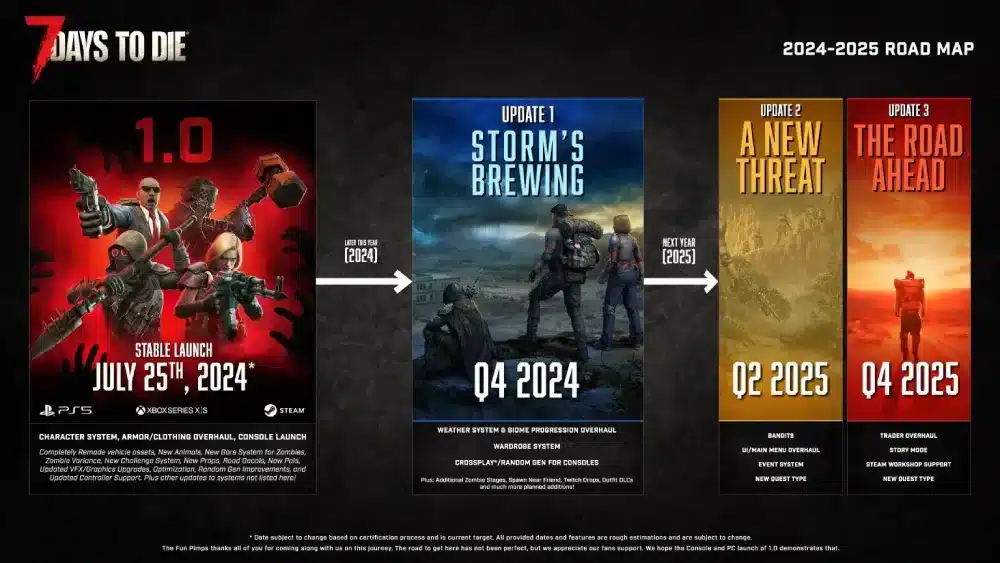
If you’re diving into Alpha 21 or the new 1.0 release of 7 Days to Die, hosting your own server is the best way to experience true survival with friends. Whether you want full control with a 7 Days to Die dedicated server, prefer the convenience of cloud hosting, or are trying to migrate your single-player world to multiplayer, the process can be as simple—or complex—as you make it.
In this complete guide, we cover everything about 7 Days to Die server setup in 2025. You’ll learn about hosting providers, transferring saves, running mods, managing errors like server failed allocations, and even setting up the new 1.0 experimental server files.
7 Days to Die Server Types: Which One Is Right for You?
There are several ways to host a 7 Days to Die server, depending on your needs, experience level, and budget.
Comparison of 7 Days to Die Server Options
| Server Type | Ideal For | Pros | Cons |
| Local Multiplayer (Peer-to-peer) | Casual private games | Quick to set up, no cost | Host PC must be online; lag risk |
| Dedicated Server (Self-hosted) | Advanced users, modding | Full control, best for modding | Requires good hardware and config |
| Cloud Server (GCP, AWS, etc.) | Developers, scalable setups | Remote access, scalable | Expensive, needs CLI experience |
| Commercial Hosting | Beginners, clans | Easy UI, 24/7 uptime | Monthly cost, limited file access |
Each option supports a 7 Days to Die multiplayer server, but performance and mod compatibility vary.
Benefits of Running a 7 Days to Die Dedicated Server
- 24/7 access for you and your community
- Mod support including overhaul mods like Darkness Falls or Undead Legacy
- Custom server commands and game rules
- Better stability than peer-to-peer hosting
- Full access to files and backups
A 7 Days to Die dedicated server provides the flexibility needed for large communities and advanced builds.
7 Days to Die 1.0 Server Hosting: What’s New?
With the release of 7 Days to Die 1.0, several changes have impacted how servers work:
- With the release of 7 Days to Die 1.0 (from stable builds), server files are available via SteamCMD and many hosting panels. Experimental builds may still be offered, but use them with caution.
- Multiplayer stability has been improved in version 1.0 through optimizations and bug fixes.
- Enhanced mod compatibility and performance improvements, particularly around world generation, asset model updates, and reduced load times.
When considering 7 Days to Die 1.0 server hosting, make sure your provider supports modding and world transfers.
How to Set Up a 7 Days to Die Dedicated Server (Windows)
- Download SteamCMD (Valve’s command‑line tool for Steam app management)
- Create a new server folder (e.g., C:\7DTDServer)
Install server files:
steamcmd +login anonymous +app_update 294420 validate +quit
- Edit serverconfig.xml for world settings, port, password, etc.
- Forward ports on your router/firewall, typically TCP 26900 and UDP 26900‑26902 (plus TCP 8080‑8081 if you want dashboard / control panel features).
- Launch startdedicated.bat
- Invite players using IP:Port or through Steam friends list
These steps cover the essentials of 7 Days to Die dedicated server hosting for 1.0.
7 Days to Die Server Mods: Enhancing the Game
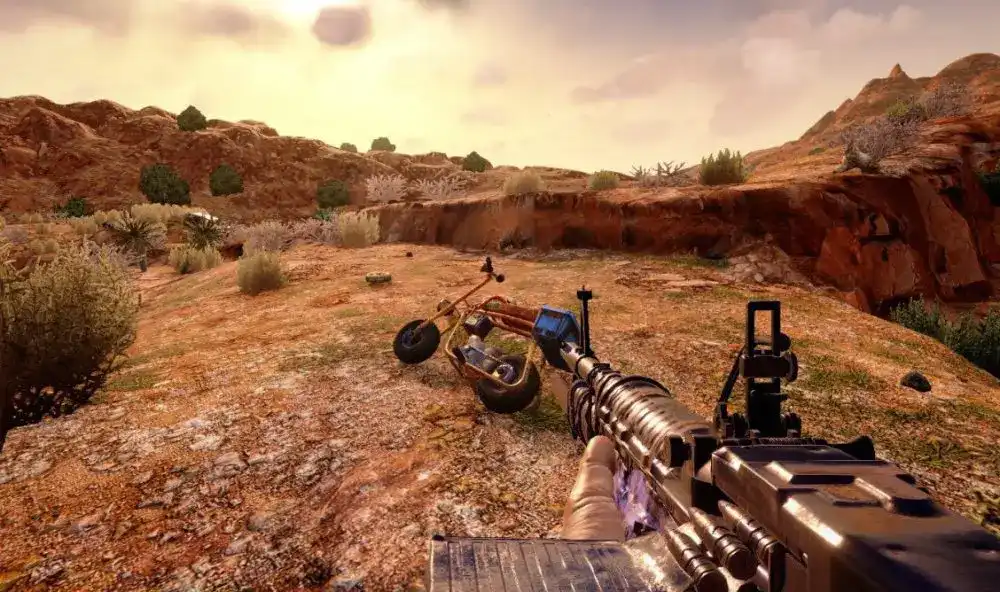
Modding is a core part of the community, and servers are the perfect place to push limits.
Popular Server Mod Categories:
- Overhaul mods: Total game conversions (e.g., Darkness Falls)
- QoL mods: Better crafting, UI improvements
- Admin tools: Extra commands, teleportation, anticheat
- Weapon and vehicle packs: Add variety and balance
If you’re aiming for a top 7 Days to Die modded server, install your mods inside the Mods folder within your dedicated server directory for 7 Days to Die.
Transferring a World to Your Server
If you’ve played hundreds of hours solo and want to bring your progress online, here’s how to do it.
How to Transfer World to a Dedicated Server
Copy the folder from:
%AppData%\Roaming\7DaysToDie\Saves\Navezgane\MyWorld
- Paste it into your dedicated server’s Saves folder
- Update the GameWorld and GameName fields in serverconfig.xml
- Relaunch the server
Now your friends can join your old world in full 7 Days to Die multiplayer server mode.
Troubleshooting: 7 Days to Die Server Failed Allocations
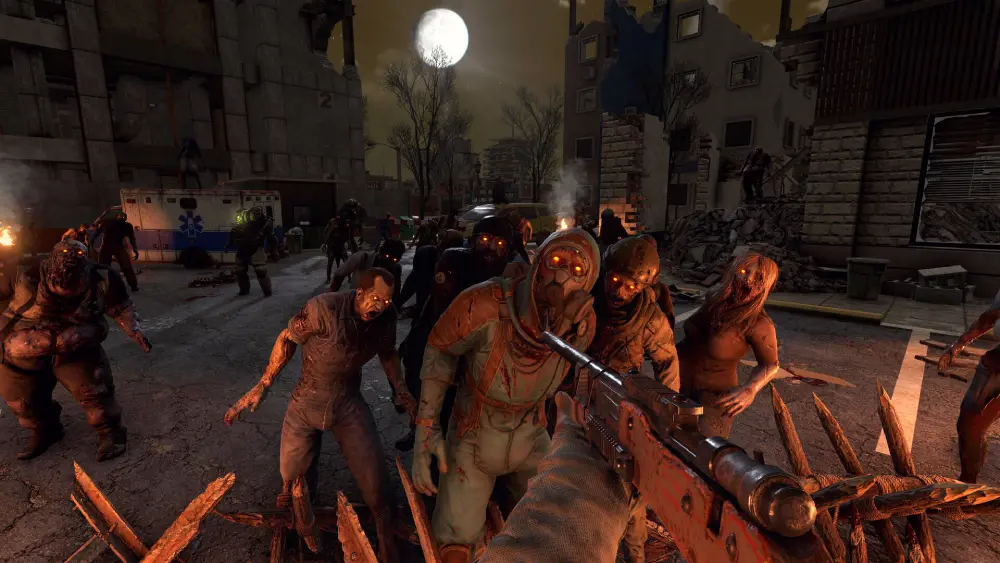
This error typically occurs when:
- RAM is insufficient (especially on modded servers)
- There are corrupted XML or prefab files
- You’re using outdated mods incompatible with 1.0
Fixes:
- Increase RAM allocation (8GB minimum recommended)
- Verify game files through Steam or SteamCMD
- Remove or update mods one by one
- Check logs in output_log.txt or server console
This issue is common among 7 Days to Die cloud server setups with low memory profiles.
7 Days to Die Server Commands for Admins
Once your server is running, you’ll want to use commands for moderation, spawning, and testing.
Common Server Commands:
| Command | Function |
| admin add <SteamID> | Grants admin rights to a user |
| give <item> <count> | Spawns an item in player inventory |
| teleportplayer <ID> | Teleports player to coordinates |
| saveworld | Forces a manual save |
| shutdown | Cleanly shuts down the server |
| kick <name> | Removes player from server |
| ban <name> | Bans a player permanently |
Run these from the server console or in-game as an admin.
ExitLag for Better Multiplayer Server Performance
Running or joining a 7 Days to Die server—especially across regions—can result in latency, packet loss, or rubberbanding. ExitLag optimizes your connection path to reduce lag during PvP, horde nights, and exploration.
Benefits of ExitLag:
- Lower ping to distant servers
- Smoother zombie AI interactions
- Less desync when hosting with mods
- Stable voice/chat experience during group play
If you’re managing a large community server or just joining one from another region, ExitLag keeps gameplay stable under pressure.
How to Set Up a 7 Days to Die 1.0 Experimental Server
Se você quer testar atualizações futuras ou novas mecânicas antes do lançamento oficial, configurar um servidor experimental é ideal.
7 Days to Die 1.0 Experimental Server Setup
- Open SteamCMD
Use the following command to download experimental files:
app_update 294420 -beta latest_experimental validate
- Configure serverconfig.xml with experimental world settings
- Set GameWorld to experimental maps (e.g., Navezgane, PREGEN10k)
- Launch startdedicated.bat
- Test mods individually, as many may break in experimental builds
These 7 Days to Die 1.0 experimental server files may change frequently, so backups are essential.
Tips for Server Stability and Mod Compatibility
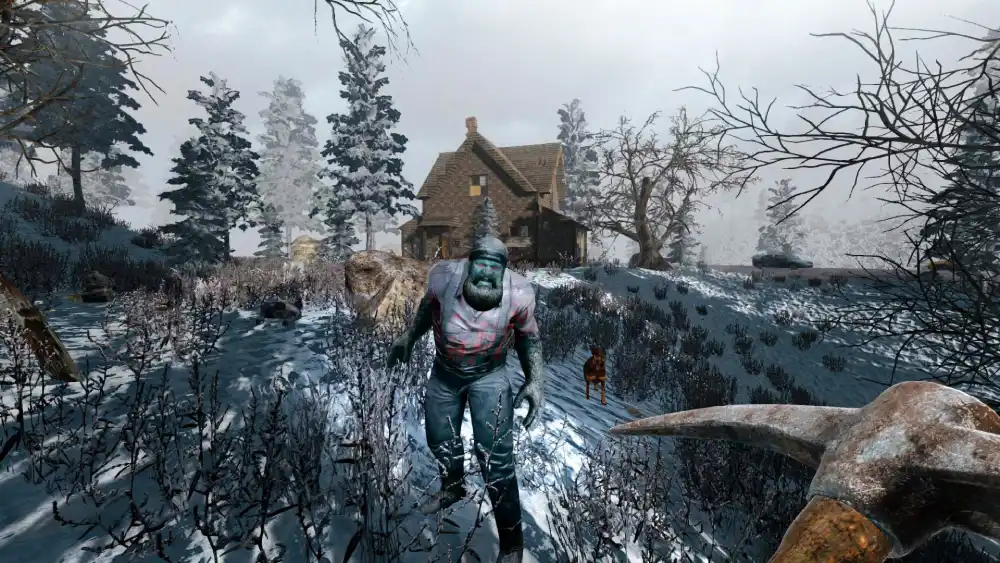
Running a 7 Days to Die server with mods or custom tweaks can stress memory and stability. Here’s how to stay ahead of crashes and lag.
Stability Tips for Hosting
- Use SSD-based hosting for faster chunk loading
- Allocate 8–12 GB RAM minimum for modded servers
- Keep mods updated—especially after game patches
- If there are anti‑cheat or server protection tools enabled, check whether they allow mod injection or whether certain mods are blocked — always ensure mods are compatible with your server’s security settings.
- Run daily server backups
Also, always monitor logs for error messages like “7 days to die server failed allocations”—these usually signal mod or memory issues.
Frequently Asked Questions (FAQ)
For most players, a managed hosting provider offers the best balance of stability and ease. For advanced users, dedicated server hosting or a 7 Days to Die cloud server gives maximum control.
Copy your local Saves folder into the dedicated server directory and match the name in serverconfig.xml. This lets you 7 days to die transfer world to dedicated server without restarting.
Check port forwarding, verify server files, and ensure your firewall isn’t blocking connections. This error is often tied to public visibility settings or missing DNS configs.
Yes, but you’ll need to validate mod compatibility. Mods built for Alpha 21 may need updates for 1.0. Some of the 7 Days to Die 1.0 server mods will require patching.
Final Thoughts: Choosing the Right 7 Days to Die Server Path
Whether you’re a new survivor or a long-time server admin, hosting a 7 Days to Die server unlocks the full potential of the game. From vanilla raids to overhaul mods, your server is the heart of your community.
And for performance, ExitLag keeps multiplayer fluid—no matter how many zombies are on screen, how many mods you’re running, or how far your players are from your host.
Set up your server. Invite your crew. Face the horde—on your terms.
All game images used in this blog belong to The Fun Pimps. They are used for informational/educational purposes only and do not imply endorsement or affiliation with the rights holders.
Got questions or want to connect with other players? Join the conversation at the ExitLag Forum!