Among all hostile mobs, the zombie in Minecraft dominates the early game. It teaches players basic combat, survival, and resource management — often being their first real challenge after nightfall. Understanding how zombies behave is the first step toward mastering both defense and efficient farming.
This guide covers everything you need to know: how zombies spawn and behave, how to cure a zombie villager, and how to build a zombie spawner or mob grinder for XP farming.
If you’re struggling with lag during fights or farm builds, read our guide on how to reduce ping and packet loss in Minecraft to keep gameplay smooth.
Use the quick index to navigate directly to: Basics • Drops • Cure • Spawner • Mob Farm.
Zombie Basics (Spawn, Behavior, Variants)

Zombies are the most iconic undead creatures in Minecraft. They spawn mostly in the. Overworld, appear in nearly every biome, and represent a constant nighttime threat.
Knowing where they come from, how they react, and which variations exist can change the way you survive and farm.
Spawn rules and behavior
Zombies spawn in areas with low light, usually level 7 or below. They appear mostly at night or inside caves, and they target the nearest player or villager within about 40 blocks.
Moreover, zombies burn in sunlight, except when they’re under shade, underwater, or wearing a helmet. They often spawn alone, but at higher difficulties, they can call reinforcements.
Behavior highlights:
- Detect players within 40 blocks.
- Burn in daylight unless protected by armor, helmets, or shade.
- Target villagers aggressively and convert them on contact.
- Summon reinforcements at Hard difficulty.
Beyond that, zombies also navigate around simple obstacles like fences or slabs, making base design a key survival factor. Therefore, strategic lighting, strong doors, and perimeter walls are essential.
Variants and unique traits
Several zombie types exist, each with distinct abilities and spawn conditions. Consequently, players must identify them quickly to react effectively.
Main variants:
- Zombie Villager: a normal villager turned undead; can be cured back to normal.
- Baby Zombie: faster, smaller, and capable of riding animals (chicken jockeys).
- Husk: desert version; does not burn under sunlight.
- Drowned: water-converted zombie that may wield a trident or nautilus shell.
Moreover, zombies sometimes spawn with weapons or armor, which increases their difficulty and durability. By contrast, these armored zombies drop valuable loot when defeated.
To help visualize, here’s a quick comparison:
| Variant | Burns in Sunlight | Special Feature | Common Biome |
| Zombie | Yes | Standard form | All Overworld |
| Baby Zombie | Yes (unless mounted) | Faster, can ride chickens | Any |
| Husk | No | Desert-exclusive | Desert |
| Drowned | No | Spawns underwater | Oceans/Rivers |
| Zombie Villager | Yes | Can be cured | Any Village |
Drops and XP Rewards
Zombies are a core source of early-game resources and XP. Understanding what they drop and how to maximize those rewards is essential for both beginners and experienced players.
Common and rare drops
Every zombie drops Rotten Flesh by default — the most frequent item, which can feed wolves or trade with clerics. However, they can also drop rare materials depending on your weapon’s Looting enchantment level.
Common drops:
- Rotten Flesh (primary drop)
- Sometimes equipment they spawn with (armor, sword, shovel)
Rare drops:
- Iron ingots
- Carrots
- Potatoes
- Used armor or tools (chance increases with Looting)
Beyond these, zombies also drop XP orbs upon death, rewarding players for consistent combat. Moreover, farming them effectively early on provides the XP needed for enchantments and repairs through anvil crafting.
XP mechanics and farming value
On average, each zombie drops between 5 and 7 XP orbs, depending on modifiers. Although small individually, this adds up quickly when using automated farms. Therefore, zombies are among the best early-game XP sources.
XP efficiency factors:
- Higher difficulty spawns stronger zombies, increasing XP yield.
- Looting does not affect XP but improves item drops.
- Spawners allow constant farming with minimal effort.
| Item | Drop Chance | Notes |
| Rotten Flesh | Always | Feed wolves or trade with clerics |
| Iron Ingot | 2.5% (up to 3.5% Looting III) | Useful for crafting |
| Carrot | 2% (up to 3%) | Can start farms |
| Potato | 2% (up to 3%) | Used for food and trading |
| Equipment (Armor/Tools) | Variable | Damaged items; smelt for nuggets |
In short, zombies combine low risk with consistent rewards — ideal for farming XP, loot, and villager trades early in any survival world.
How to Cure a Zombie Villager (Step-by-Step)
One of the most valuable mechanics involving the zombie in Minecraft is the ability to cure zombie villagers. This process not only restores them but also grants permanent trading discounts, turning a dangerous mob into a loyal merchant.
The curing sequence is simple but requires preparation, safety, and the correct materials. Let’s break down the essentials and the full procedure.
Materials you’ll need
Before attempting the cure, gather all necessary ingredients. Each item plays a crucial role, and combining them properly ensures the conversion works without losing your villager.
Required materials:
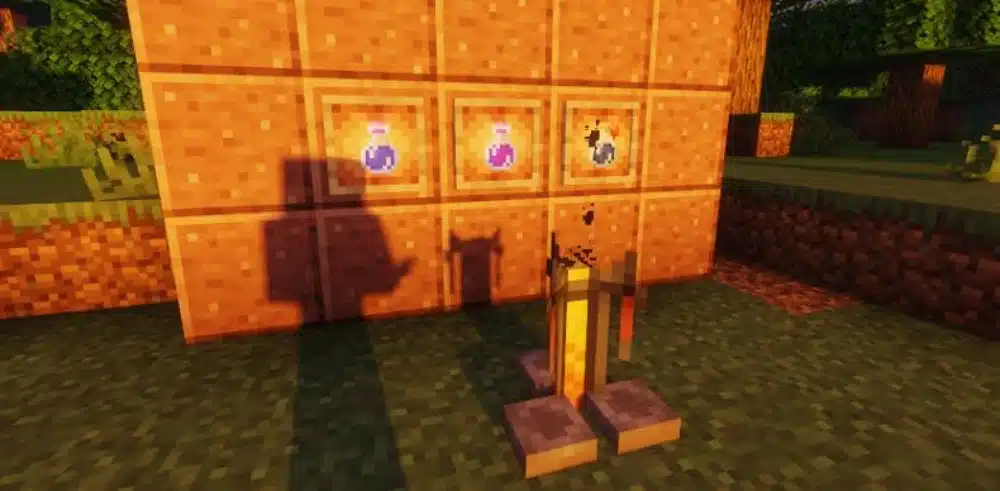
- Fermented Spider Eye: base ingredient to brew a Potion of Weakness.
- Gunpowder: makes the potion throwable (splash version).
- Golden Apple: triggers the curing process after potion contact.
- Brewing Stand: used to brew the potion (requires Blaze Powder as fuel).
Optional but recommended:
- Boat or Minecart to trap the zombie villager safely.
- Name Tag to prevent despawn during the curing process.
- Blocks or fences for protection from sunlight and other mobs.
Moreover, you can skip brewing by waiting for a witch to throw a Potion of Weakness on the zombie villager — a rare but possible shortcut. However, preparing the splash potion manually gives you full control and faster results.
Step-by-step cure process
Once you have everything ready, follow these steps carefully. Each phase must be completed in sequence; otherwise, the conversion might fail or the villager could die.
- Trap the zombie villager in a safe, shaded location. Use fences, boats, or minecarts to immobilize it.
- Throw the Splash Potion of Weakness directly on the zombie villager. You’ll notice gray particles when it works.
- Feed it a Golden Apple. Right-click (or use interaction key) while holding the apple. A crackling sound confirms activation.
- Wait several minutes. Keep the mob protected from sunlight and other mobs during this time.
- Completion: once cured, the villager will emit red particles and return to normal.
Pro tips for efficient curing:
- Build a small “curing chamber” using stone and torches to ensure safety.
- Cure multiple villagers in one area to maximize trade discounts.
- Keep an iron golem nearby for extra protection.
Zombie Spawner — How to Turn One into a Farm
Spawner blocks are the backbone of any efficient zombie XP farm. They cannot be crafted, so players must locate them in dungeons or mineshafts. Once found, a spawner can be converted into a powerful XP generator with simple tools and clever design.
Finding and preparing the spawner
Zombies naturally generate inside dungeons marked by mossy cobblestone and a central spawner cage. Once located, light up the area immediately to disable it and prevent being overwhelmed.
Preparation steps:
- Place torches on all four sides of the spawner to stop spawning.
- Clear the entire room of obstacles.
- Expand the area into roughly 9×9×5 blocks, leaving the spawner centered.
This layout maximizes spawn attempts and movement flow. Moreover, it simplifies the transport system needed for your collection chamber.
Materials checklist:
- Buckets of water (for channel creation)
- Signs or trapdoors (to control water flow)
- Hopper and chests (for item collection)
- Building blocks (stone or cobblestone recommended)
Beyond that, ensure your spawner is within the Overworld and not too close to other farms — otherwise, the spawn cap may reduce efficiency.
Designing the farm and kill system
Once the room is shaped, design the zombie transport and kill mechanism. The goal is to weaken zombies for one-hit kills while funneling all drops into a collection chest.
Basic setup:
- Create water streams flowing toward a central 2×2 drop chute.
- Use signs to suspend water layers so zombies fall through.
- Build a vertical chute that drops mobs 20–23 blocks to reduce health safely.
- Place hoppers at the bottom linked to chests for automatic collection.
Optional optimizations:
- Add an AFK platform about 24–32 blocks away to keep the spawner active.
- Install an on/off lever to flood the chamber and pause spawning when needed.
- Use a trident killer (Bedrock Edition) or sweeping sword for automation.
| Component | Function | Recommendation |
| Spawner Room | Spawn zone | 9×9×5, centered |
| Water Channels | Move mobs | Flow toward drop chute |
| Drop Height | Lower health | 20–23 blocks |
| Collection | Gather items | Hopper + Chest |
| AFK Zone | Keep active | 24–32 blocks away |
Consequently, this setup produces a continuous XP flow and item collection system with minimal maintenance. Additionally, using Looting III on your weapon enhances rare drops such as iron, carrots, and potatoes.
For smoother FPS during intensive farming, use tools like ExitLag to reduce jitter and stabilize latency when the spawner is active — especially on multiplayer servers.
Mob Grinder — Simple Design Without a Spawner
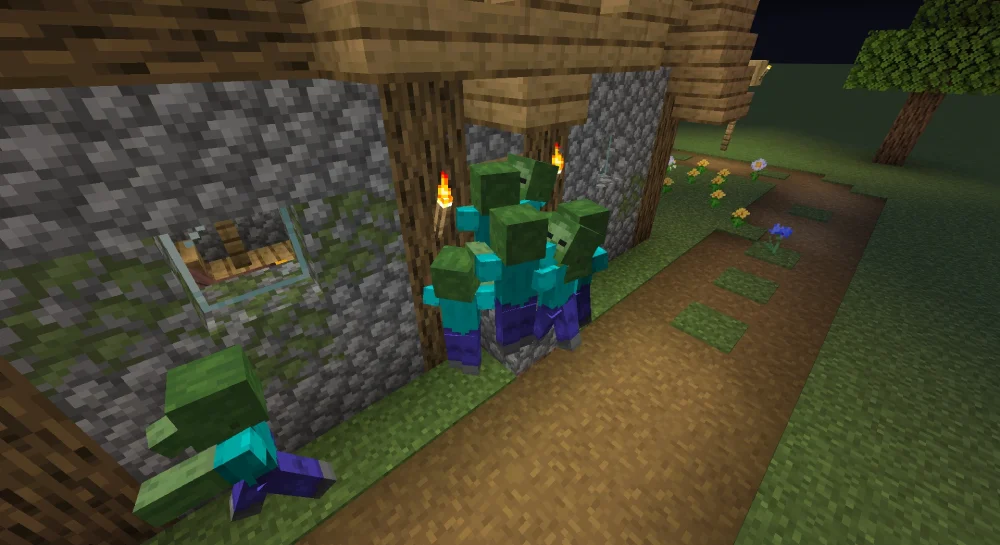
Building a mob grinder in Minecraft is an efficient alternative when you don’t have access to a dungeon spawner. This design uses natural mob spawning in dark areas to collect XP and rare drops safely.
Core design and layout
A mob grinder relies on controlled darkness and fall damage to kill mobs automatically. Consequently, it’s one of the most scalable early- and mid-game farms.
Basic blueprint:
- Build a tower with three or four spawning platforms, each three blocks tall.
- Keep the inside completely dark for maximum spawn rate.
- Use water channels at the edges to push mobs toward a central drop chute.
- Configure a 22–23 block fall for consistent one-hit kills.
Advantages:
- Works for zombies, skeletons, and creepers.
- Requires minimal redstone or advanced materials.
- Easy to expand vertically for higher efficiency.
Moreover, this layout suits both new and experienced players because it requires simple materials such as cobblestone, signs, and buckets. Beyond that, illumination control directly affects spawn rate, so block all nearby light sources carefully.
Optimization tips:
- Light up surrounding caves to force mobs to spawn inside the grinder.
- Use slabs on top layers to prevent external spawns.
- Add an AFK platform 100–128 blocks above the farm for best performance.
Advanced automation and variants
After your grinder is functional, consider adding automation layers to increase output and convenience. These improvements also help with resource sorting and smoother performance.
Enhancements to consider:
- Trident killer or auto-swing device for faster kills (Bedrock edition).
- Hopper filters to separate Rotten Flesh, armor, and tools.
- Smelting setup to recycle damaged iron gear into nuggets.
Furthermore, ensure the grinder sits inside one chunk to avoid misaligned redstone or hopper lag. As a result, item transport remains stable even on multiplayer servers.
Security and Village Defense Against Zombies
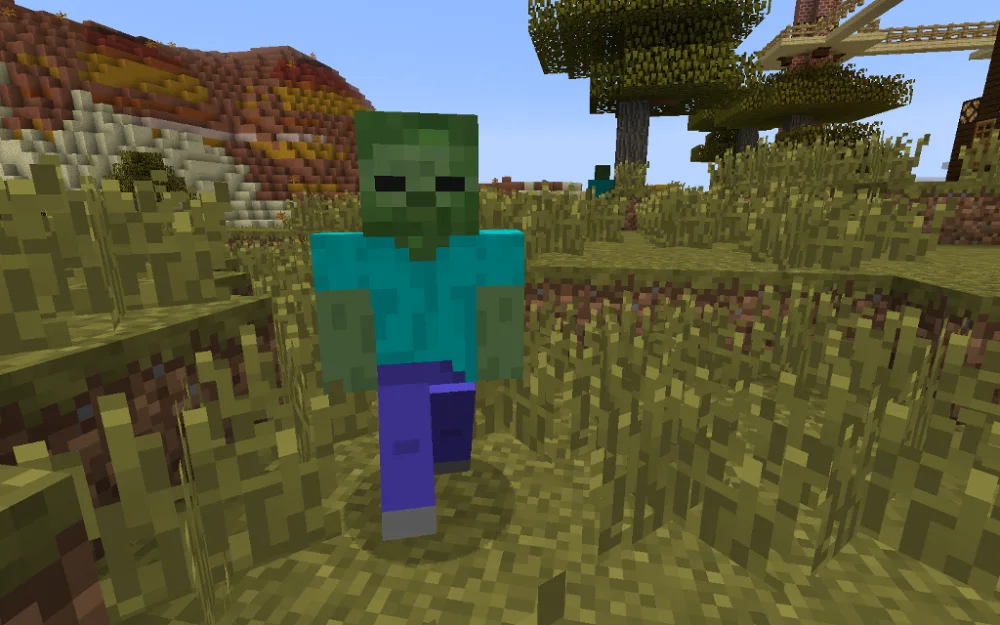
Survival in Minecraft depends as much on defense as it does on farming. Protecting your villages and players from zombies prevents chaos and resource loss during raids or long nights.
Protecting villages and villagers
Villages attract zombies due to high villager density and wooden doors. Therefore, fortifying them properly keeps both villagers and trades safe.
Key defenses:
- Replace all wooden doors with iron doors or trapdoors. Zombies can break wooden ones on Hard mode.
- Surround the village with fences, walls, or trenches to limit access.
- Add torches, glowstone, or lanterns to maintain full lighting coverage.
- Summon an iron golem to patrol for hostile mobs.
- Use a bell to send villagers indoors automatically at sunset.
Moreover, moving key villagers such as clerics or librarians into secure trading halls adds another layer of protection. Consequently, your economy remains intact even during a siege.
Beyond that, zombies cannot climb walls or jump fences, which means layered barriers effectively neutralize most threats before they reach the core of your settlement.
Player defense and proactive survival
Players should also prepare to counter zombie attacks when exploring caves or surviving nights outside villages.
Practical combat strategies:
- Keep a shield ready to block melee hits.
- Equip helmets on trapped zombies to prevent burning (useful for farms).
- Use bows or crossbows for ranged control.
- Stay on high ground when surrounded to reduce incoming hits.
- Maintain backup weapons and food in your hotbar for emergencies.
Furthermore, enchantments like Smite or Sharpness on swords drastically increase efficiency against undead mobs. Meanwhile, Fire Aspect burns zombies temporarily but preserves loot if used cautiously.
FAQ
Below are the most common queries about zombies in Minecraft, answered clearly and concisely to help you survive, build farms, and protect your villages.
On Hard mode, zombies can break wooden doors. Use iron doors or redstone mechanisms to keep them out safely.
Use a Splash Potion of Weakness and then feed a Golden Apple. Wait for the conversion in a secure, shaded location until the villager is cured.
It’s not possible to craft one. Find a naturally generated dungeon spawner underground and convert it into a farm for XP and drops.
Yes, unless they are wearing a helmet, standing in shade, or mounted (for example, as a chicken jockey).
No. Husks are the desert variant of zombies and are completely immune to sunlight.
The Future of Minecraft Zombies: Mastering Control and Defense
In conclusion, the zombie in Minecraft remains one of the most versatile mobs in the game — both a danger and a resource. From villager curing to XP farms and village defense, mastering zombie mechanics lets you turn survival into strategy.
To explore freely and farm without lag, use ExitLag for better stability, faster routes, and smoother multiplayer sessions. Discover everything the zombie in Minecraft offers — with precision, power, and total control.
Got questions or want to connect with other players? Join the conversation at the ExitLag Forum!